A few more jobs have been completed since the last blog update, although progress has been slower than anticipated because of other commitments, general laziness, dithering and procrastination.
However, documenting the restoration process via this blog is one way of ensuring that I keep on going with the work. After all, there may be some of you out there in the etherweb that might otherwise feel cheated if I were not committed to completing the restoration, or more likely: committed to doing the work but without proof of the journey and no outcome to show for it. This is all sounding like a political party manifesto, which it isn’t but I’m sure you get the point….
Anyway, it’s starting to get cold, damp and generally autumnal, therefore spending long hours in the unheated workshop is losing its appeal when compared with sitting at home in front of the woodburner with a glass of wine and the rest of the Internet to finish off. Carry on I must though, so here we are – in no particular order:
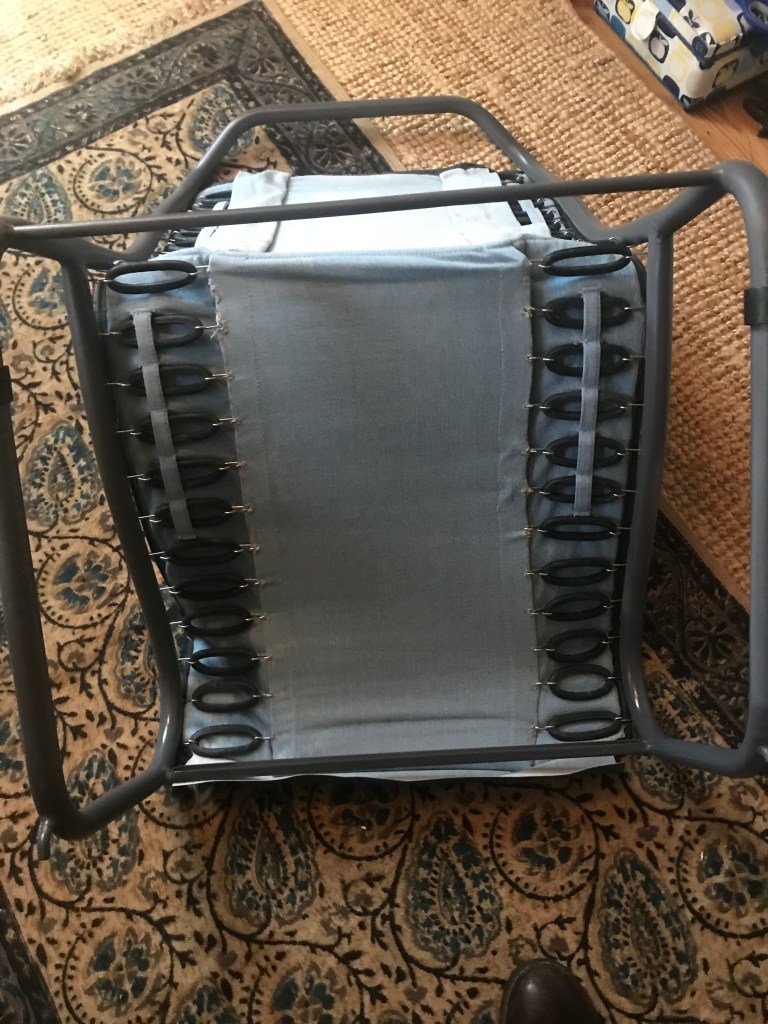
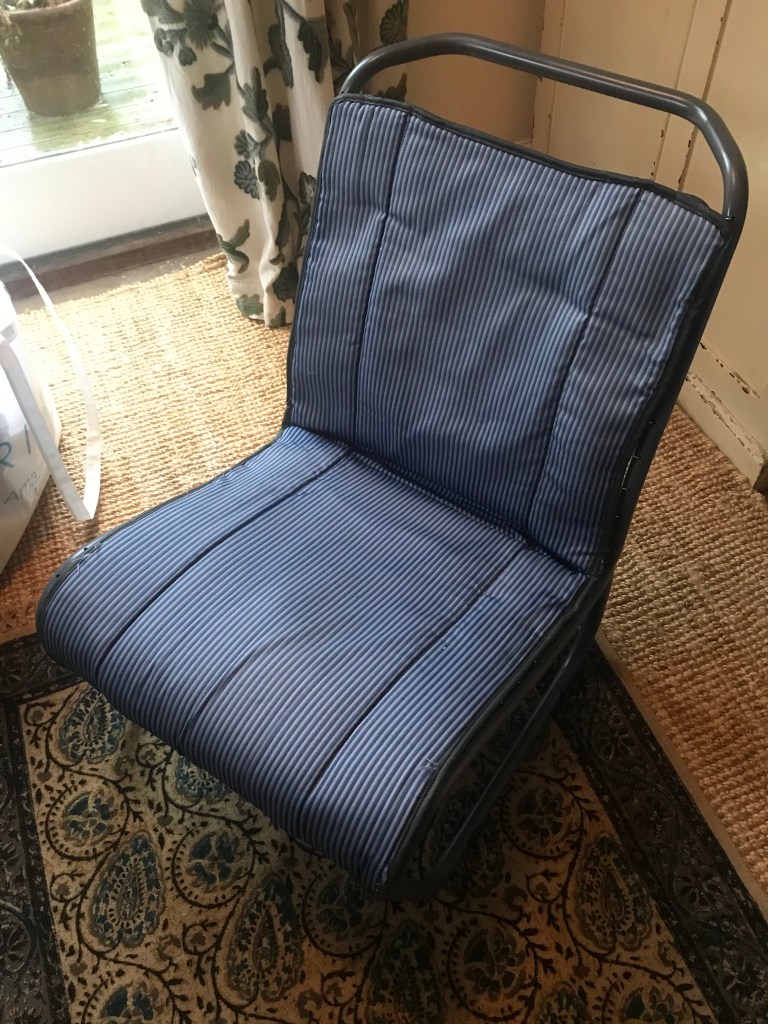
Seats – luckily there are only 2 of these in the Van. Both have had new covers in the not too distant past (6 or 7 years ago at a guess) and although grubby, looked like they might clean up ok. Once I’d undone and removed the 44 rubber bands that attach the cover to the frame on each seat, I decided that a quick 20 minutes in the washing machine might bring them up nicely. First I had to remove the 4 wires in each seat which the rubber bands hook on to. They were a bit rusty so I gave them a quick coat of paint before re-inserting them into the newly laundered covers. The rubber bands had not fared as well, they are quite perished and stretch more than they should. This makes the seat baggy, unsupportive and uncomfortable (not unlike the Government), so a new set of bands was ordered for each seat. They come in sets of 50, so I’ll have a few spares. No doubt I will lose these immediately by putting them ‘somewhere safe’. When I do eventually need them (assuming I manage to find them again) , they will be perished and useless, so I might as well throw them away now. As well as the spares, I have 88 perished rubber bands that I can’t quite bring myself to throw away, so perhaps I should put all of them in a plastic bag, throw them in the garage and forget about them.
I also stripped and painted the seat frames with the correct AC140 Grey paint that I intend to use for the wheels and front bumper. Overall this was a satisfying job to get completed, although it all took much longer than I thought it would.
The front bumper is in a much worse state that I thought – there’s lots of corrosion and deep pitting. Also, it looks like the previous owner has chopped off the 2 ‘fillets’ of metal that the front edge of the bonnet sits on, so now I think I might just as well get a new bumper. £60 or so will get me a period 2CV bumper to which I can fit my existing over-riders and rubber inserts. £130 will get me a nice new PO tubular bumper with integrated over-riders. I think the PO bumper will suit the van better than the standard one, so maybe that’s what I’ll get, although at twice the cost of the standard offering, I’m wondering if its worth it.
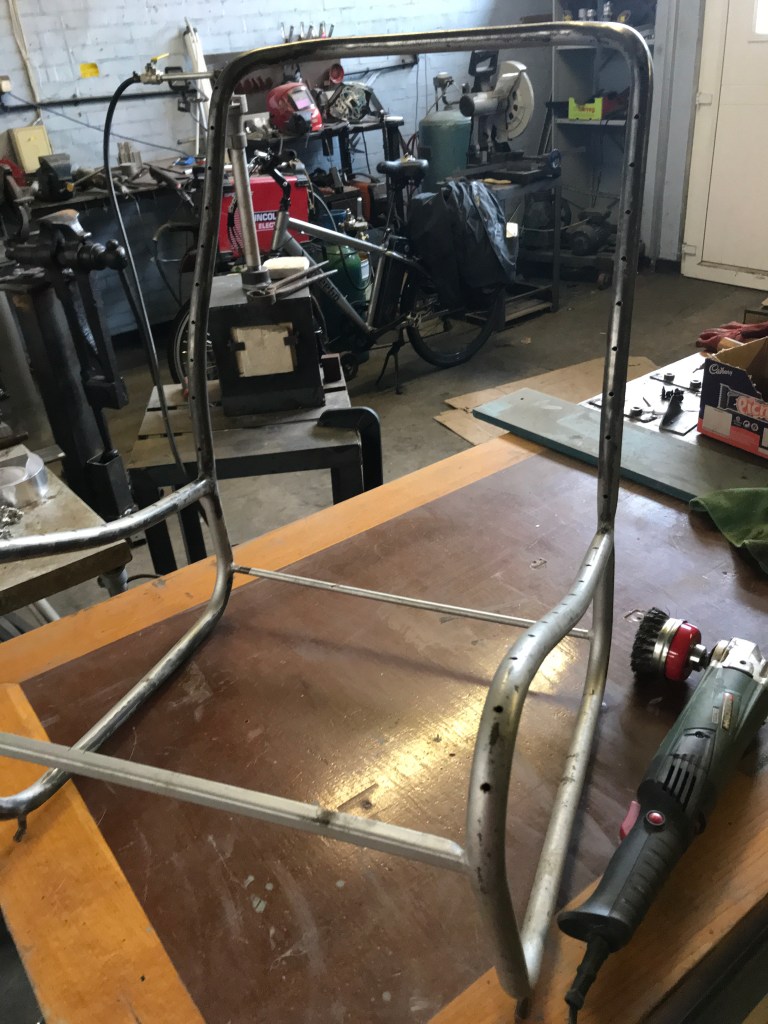
Lamp bar – cleaned and sanded as best I can. There was lots of thick brush coated paint to flatten off. I did think about getting it back to bare metal with the wire bush and angle grinder, but there are wires poking out of its various orifices (orifi?) and it’s altogether an awkward shape to deal with, so will take an age to strip and since most of it is hidden when the bonnet is down, I’m taking the less onerous option. This will also get a coat of the grey AC140 paint before re-fitting. No picture of this as it’s still a work in progress
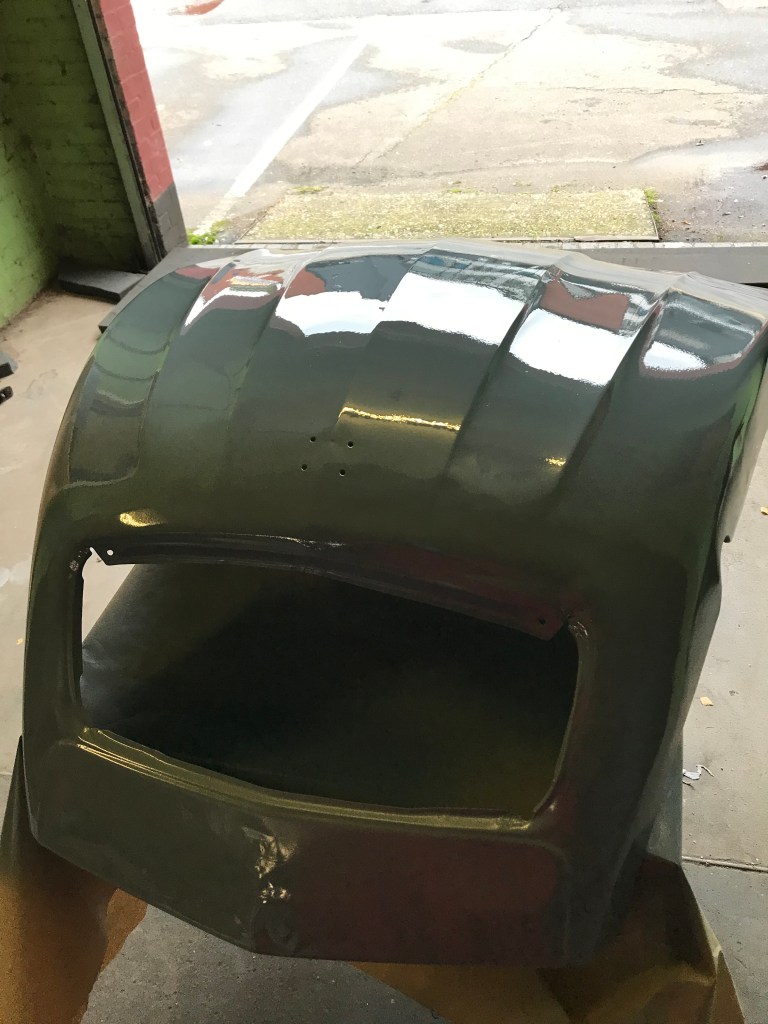
More paintwork – I painted the outside of the bonnet but again had issues with the paint gun. It as if the ‘tractor’ paint I’m using has a very short ‘use by’ time once mixed with the thinner. More than 5 mins or so and it starts to clog up the gun internals. Anyway it looked horrible so I grabbed another spray gun with a much larger 1.7ml nozzle and blasted a lot more paint on the bonnet. It levelled out nicely, so much so that it’s much better than the rest of the shell and wings which I’ve already sprayed. I might have to flatten it all off and spray it again but then it could be that I’m the only person that will either notice or care.
I also painted the triangular panels that sit between the front wings and the bonnet – for the 3rd time. The first time I did them they came out dry and dusty (wrong gun setting), The second time, I laid a very thin sheet of plastic over them a day after they were painted – to keep the dust off. Unfortunately they were still in the process of drying and the plastic sheet melted itself into the paint and made a right royal mess of it. Third time lucky – this is what they look like now

Rear doors – painted and looking ok. The lower edge of each is a bit shabby but they are not too bad overall and will do until such time as I can replace them

Vent flap – I sprayed far too much paint on this, which left it looking very wrinkly. This was after I’d already painted it and then dropped it on the gritty workshop floor in my haste to put it somewhere safe while the paint dried properly. It wrinkled mostly in the dimples where the inner and outer panels are spot welded together, so I have flattened it off with some 800 grit wet and dry paper, ready to be painted again. I’ll do this along with the driver and passenger doors, both of which need quite a bit of work before they will be ready for paint.
Chassis and running gear – Whilst literally waiting for the paint to dry, I’ve started the thankless job of cleaning up the engine, gearbox and chassis parts. As with the rest of the van, these have all been attended to in the previous restoration, so cleaning and repainting where necessary seems to be the way to go. I’ve toyed with the idea of using a pressure washer to get the dirt and grease off but I don’t want to get water into places where it should not go (ie electrics mainly), so I’ve resorted to using a bucket load of isopropyl alcohol wipes. The wipes work ok on dust and light grease but are not so good for shifting the really grimy stuff. I’m going to try with some ‘Gunk’ on the really greasy bits, but instead of using a pressure washer to rinse off the Gunk, I’ll use a wallpaper steam stripper (without the ‘pad’ at the end of the hose) and see if it will work as a makeshift ‘steam cleaner’ – more on this later if it’s a success. If it doesn’t work as anticipated I’ll try the jet wash. The other problem with using a jet wash is that there is no water in the workshop, so I’ll have to hook it up to a container, which will need to be elevated at least a couple of metres above ground level, otherwise there will be no water pressure and the jet wash won’t work. First world problems…
