Just a short update from the workshop as I haven’t spent much time on the van for the last couple of weeks. I did have a bit of a tidy up, which mostly consisted of putting tools away and sifting through the dozens of plastic bags which comprise most of the vans entrails. Anyone who works in IT and databases will recognise this as having reduced a load of stuff to third normal form, now you need to create rows and tuples to store them. I have bags of nuts, bolts, bits of plastic and components which came off together and are organised – well labelled at least with names such as Wiper stuff, Rusty Flap fittings, Speedo, Misc… you get the idea.
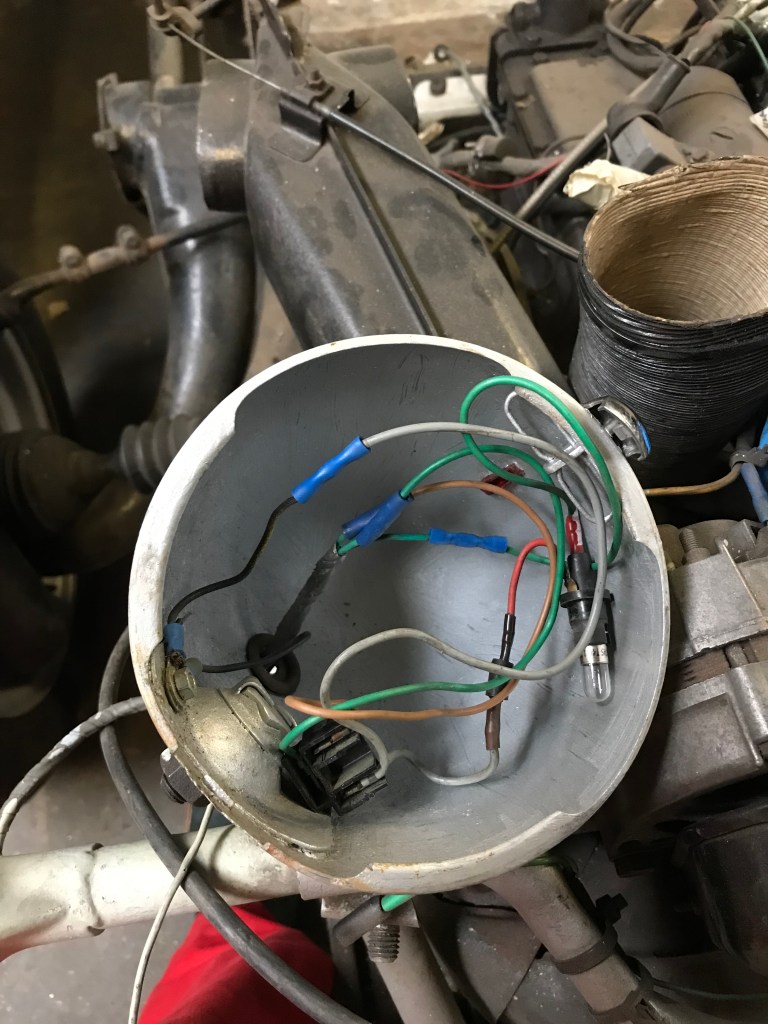
Still, it feels like I have turned a corner with the work on the van by getting the shell finished off in top coat – ok, it’s not perfect but it is much better than it was when I started. I still have reservations, for example, whether the driver and passenger doors will fit their respective apertures, will I be able to get the wiring loom back together given that all the careful labelling I did has long since faded away or dropped off altogether, plus a host of other small anxieties that keep popping into my head. Of these, the electrics are a real concern. It seems like I have a number of spare wires, some have connectors on, others do not. There are 2 wires which come out of the engine. One of these goes to the coil and the other has not obvious home – the other wire from the coil disappears into the loom and (I think) reappears at the ignition switch end at the other end. To add to the confusion, lots of new bits of wire have been added to the loom, crimped on with those horrible blue plastic connectors which look like they have been left on a railway line and run over by a train.
Anyway, there are other things I can sort out before I tackle the wiring rats nest, such as the rest of the panels which need to be painted.
Rear doors – these are in a friable state to say the least. The bottom inch or so has suffered from rust and previous repairs, which although valiant have not stood up well to years of UK weather. I’d like to repair them properly but repair sections are not available and I don’t have the tools to make my own. So, it will be a bit of welding and filler work so that I can put them back on while I look around for some replacements. Rear doors are available for the AK400 (large ripple, square window) and the AK250 (small ripple but oval window) but not the AK350 which has small ripple steel and a square window. If they were available new, they would not be cheap and are as rare as hens teeth second hand. If you are reading this and you have a spare pair of rear doors for an AK350, drop me a line.
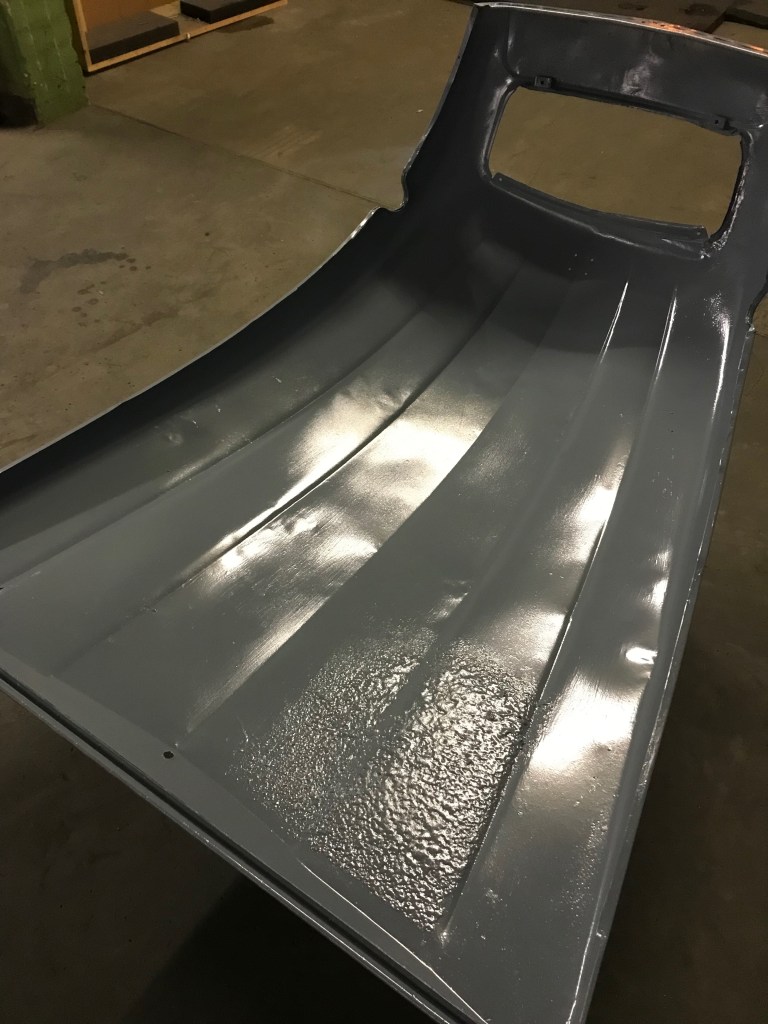
Bonnet – I painted the inside of the bonnet – just for completeness really, as most of the underside will be covered by the soundproofing. Soundproofing which looks like a bit of old carpet underfelt and probably does nothing to dampen any noise, but will be re-instated. The bonnet had previously been brush painted silver, so was just flattened off with some 250 grit wet and dry before painting with top coat. You can see a bobbly bit where the battery sits close to the underside of the bonnet. This looked like black tar and has been part of the bonnet for a long time. I wonder if it’s a factory finish – put on to protect the paint from battery fumes? Someone may know…
Vent flap – aka ‘the rusty flap’. I don’t have a ‘before’ picture but after stripping off the many layers of household and silver paint, I found some evidence of Bleu Neve, so it could be that this is the original 1966 panel. It’s certainly well made and no-where near as corroded as I though it would be. A dose of phosphoric acid, and a coat of etch primer will see it last a good few more years hopefully. I will have to make a small repair to one end of the strip which holds the captive screws as the one at the end has sheered off but the rest is sound. Oh – I and can confirm that paint stripper can be used to remove paint from the rubber seal as well. Why people don’t use masking tape is beyond me.
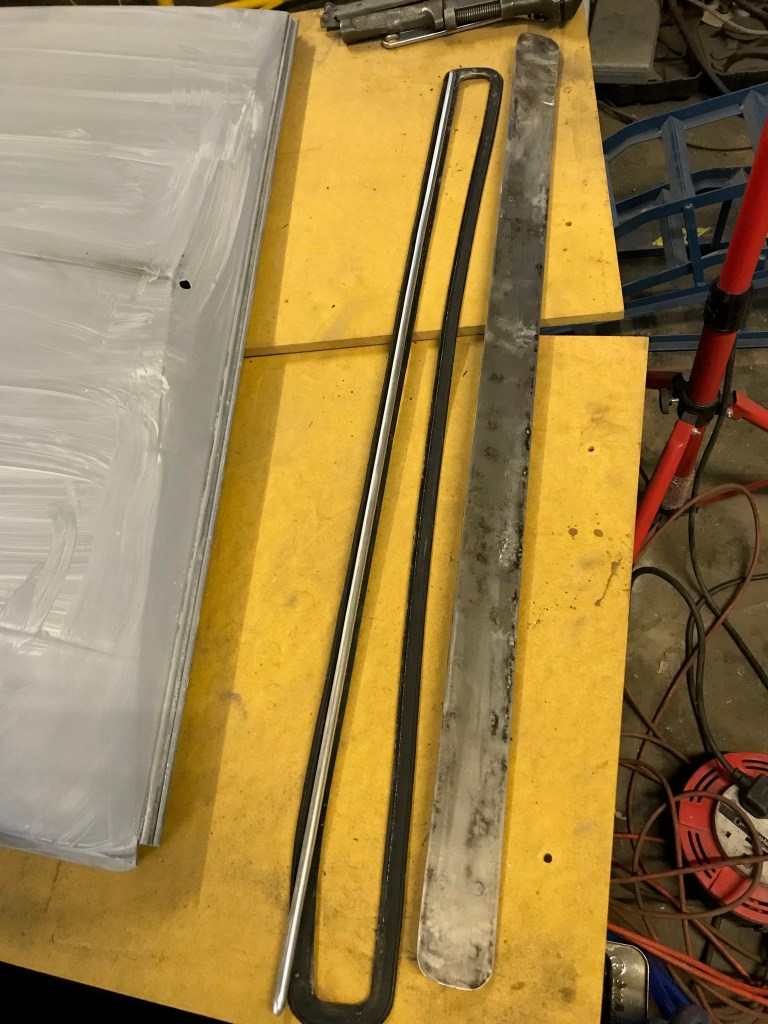
Rear door check straps – I stripped off the paint from these by leaving them in the plastic bag with paint stripper in it. I’m going to leave them bare metal as there is still enough zinc plating on them to prevent them going rusty and they just won’t look right if I paint them.

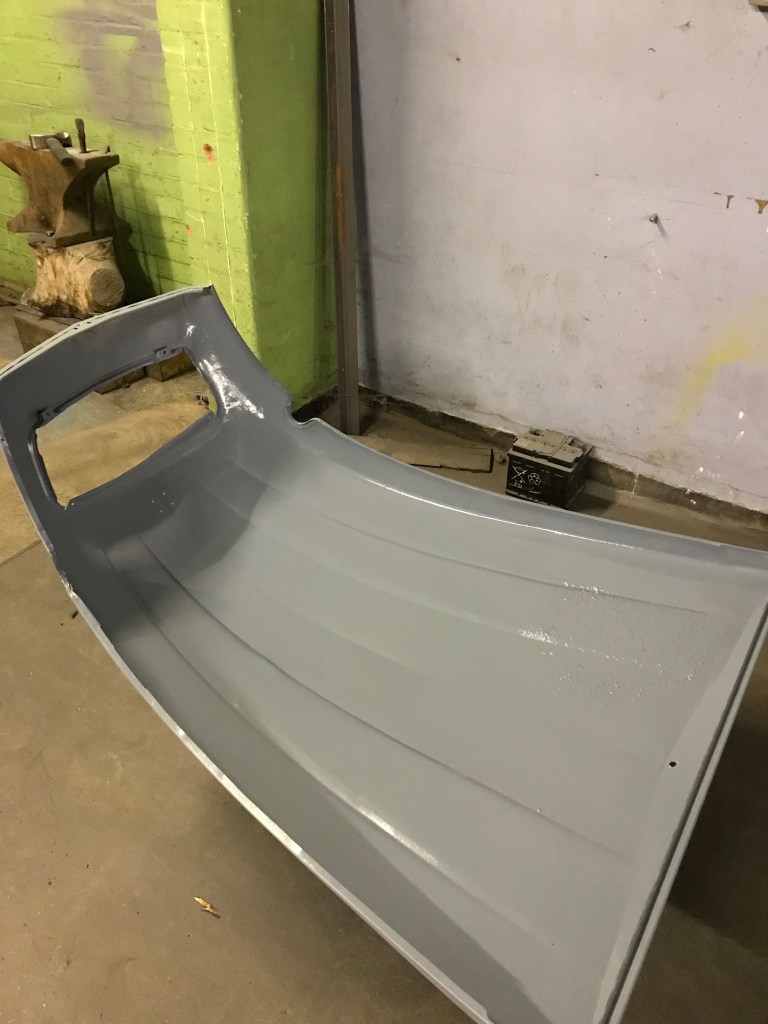
I’ll have to paint the upper wing to bonnet panels again because of the poor paint finish and water issues I had in the last painting frenzy. I’m still in two minds about giving the body another going over. I have lots of paint but there’s every chance that I’ll have some other paint related problem and could just end up making it look worse. I guess at some point I’m just going to have to walk away and accept it for what it is.
Chassis and other bits. The lamp bar is ok, but has many wires cable tied to the outside of it as well as those that are neatly tucked away inside. I’m not sure what all the extra wires as for but I found at least one which just runs from one headlamp shell to the other on the earth point of each. Quite why it is there is a mystery. I will remove it when I take off the lamp bar for stripping and painting.
Front bumper – I spend a good hour or so removing the bumper, quite why it took so long is a mystery – I might have had a brain shut down part way through or perhaps I just fell asleep. Anyway- although badly pitted in places, looks as if it can be rescued. The over-riders are good, the rubber strip is in a sorry state but I think I’ll just tidy it up by sanding it down with some fine wet and dry paper. The main bumper bar will get the full angle grinder wire brush treatment on all sides, etch, primer and paint. The bumper, lamp bar and wheels are all currently painted silver but AC140 Gris Rose is, I believe the correct colour. I think I prefer silver, so there will be some procrastination before I make a decision.
The chassis will need some attention. It is thankfully very sound with just a little surface rust on the top sheet of steel. Because this bit is visible when the body is put back in place, I want to get a durable and reasonable finish on it. I expect these two requirements are mutually exclusive, so there will be more dithering over what products to use and how best to apply them. Brush paint or spray? Chassis paint or something similar to what I’m using on the body?
Wheels – two are damaged, one badly and probably beyond repair, the other has a kink in the rim, which I might be able to sort out with the hammer and dolly. All the wheels will need sanding down before I can repaint them. So, I’ll have to buy one new wheel, perhaps two. They come ready finished in Gris Rose, so perhaps I’ll paint the other 3 or 4 the same colour, or I could get 4 new wheels, have 3 spares and scrap the damaged pair – what to do…?

The wire with no obvious home is probably for the oil pressure switch. The other end connects to a wire in the loom that goes to the warning light. Carry on the good work!
LikeLike