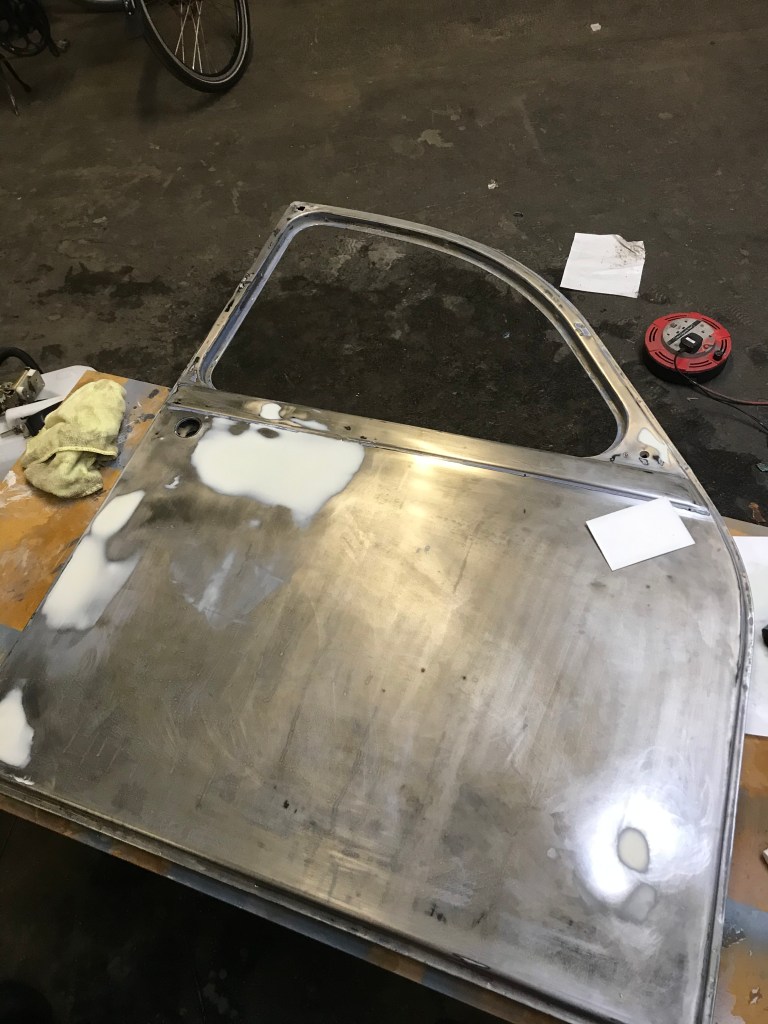
Back to the doors. I had another look at the drivers door today, which to be honest I’d written off as not worth doing for 2 reasons:- Firstly the outer panel is dented, not badly but there are 2 large areas of shallow dents which looked like they would be difficult to sort out and secondly, the lower edge where the door seal locates is rusted out in places. I do have another pair of doors which are not rusted at the bottom but which have lots of dents and rusty scabs on them. So – it’s a question of how much work it will take to sort out the old doors compared with what I need to to with the replacements. As I’ve already stripped the old doors down to bare metal, which was a mission that I’d rather not repeat and – and because the replacement door need the same treatment and also need to be repaired, I going to stick with what I started with. Old doors it is then.
There’s a big shallow dent just under the door handle where someone (erm.. me..) used their knee to close the door on account of the fact that the somehow the door had become larger than the aperture it was designed to fit into. I can’t planish out the dent and I’m not confident that I can heat shrink the metal to get it straight again, so I decided to fill it with a skim of filler. Not my favourite method of repair but needs must.
For the uninitiated, a here’s a bit of filler about filler. Body filler is a resin based 2 part product, the filler which comes in a tub or tin and a tube of hardener. Mix the 2 parts in the prescribed ratio – a golf ball sized lump of filler to a pea sized piece of hardener. Mix well – until all the streaks of hardener have blended in with the filler and apply. I use an ‘onion skin’ pad to mix the filler on, but anything clean and smooth will do and then apply it with a plastic spreader. It’s not easy to get the right amount on first time, you need to put just a bit more on than is needed and you need to get it as flat as possible, without streaks and lines and you need to do all this before it goes off, which means you have about 3 or 4 minutes to spread it out. Once it’s on, leave it to dry. Don’t be tempted to keep fiddling with it, you will make a hash of it and get annoyed.
When it has gone off – after about 5 or 10 mins depending on temperature, you can flatten it off with some wet and dry paper. I use 240 grit paper lubricated with water and I wrap the paper around a sanding block. It’s important to keep the paper flat across the surface of the filler, otherwise you risk following the profile of the original dent – in which case you’ll have spent a load of time and energy and will have made little improvement.
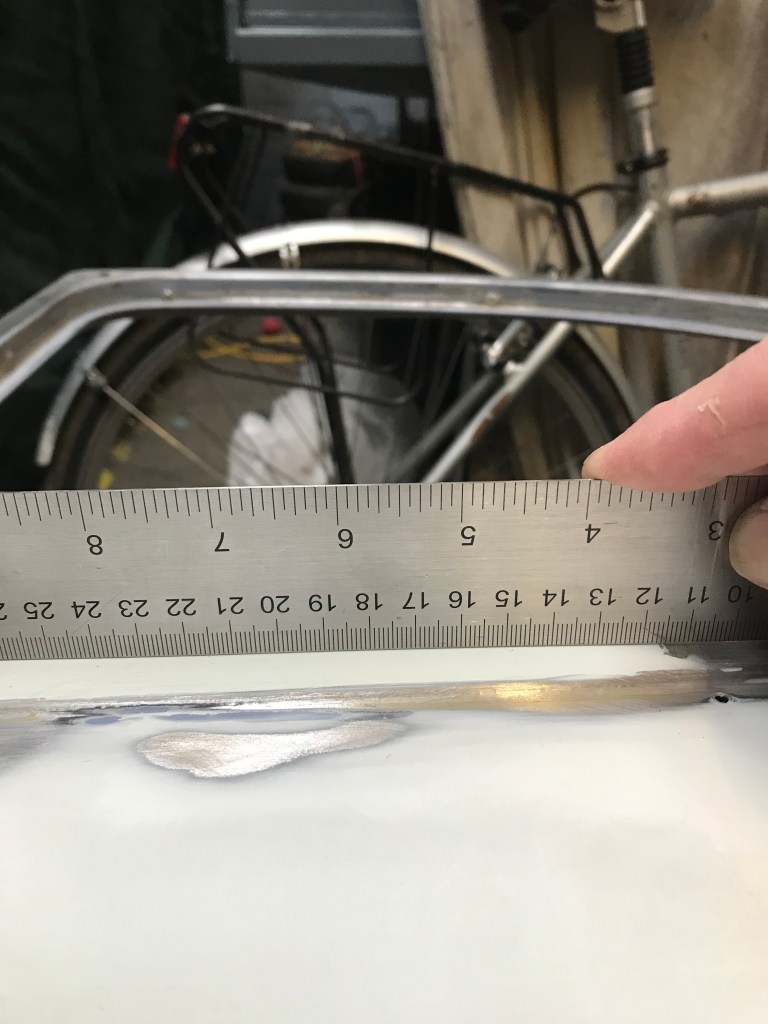
There’s a good example of this in the picture below. I’d filled the dent and then set about sanding it flat but didn’t have enough filler, so the sanding block and paper just followed the contours of the dent. You can see the gap under the straight edge.
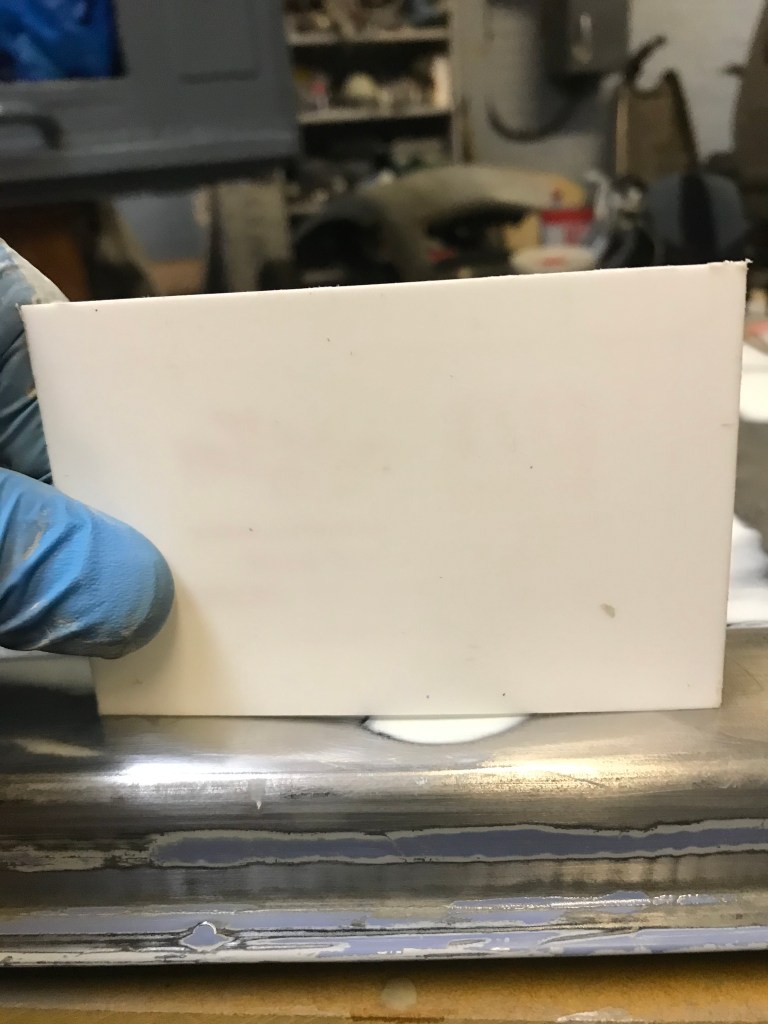
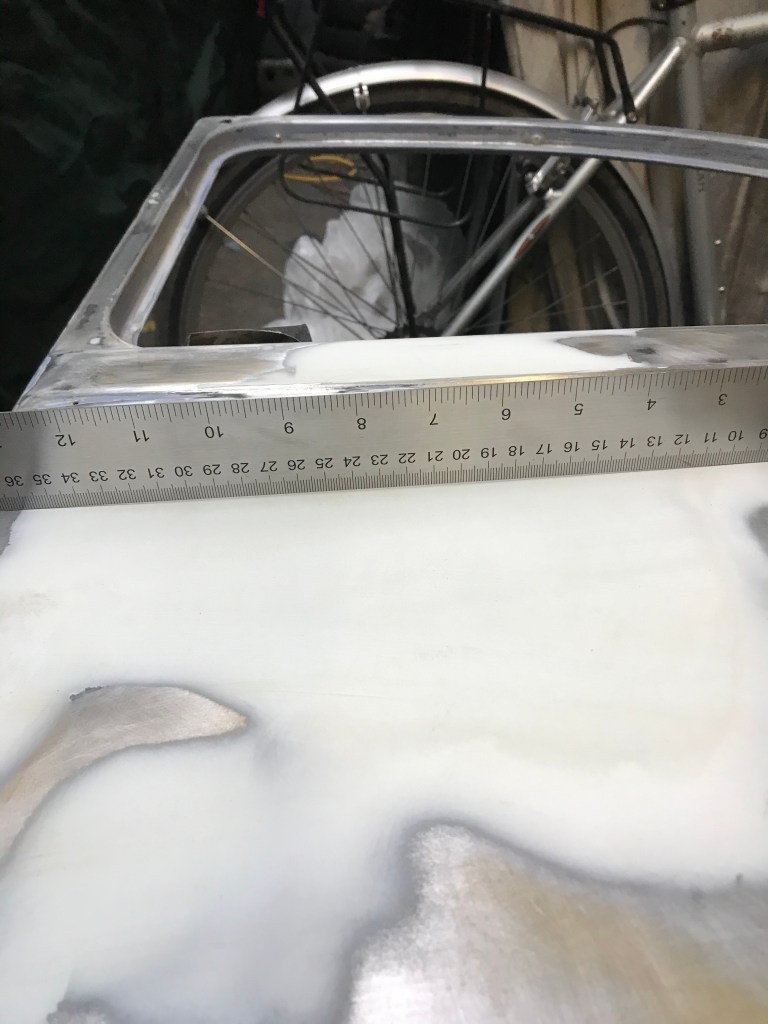
More filler was applied, flattened off and now it looks much better
Don’t expect to get away with just one application of filler – it usually takes 2 or 3 skims, flattening it off in between each coat to get it right. Other issues with using filler are:
The edges must be feathered in so that there’s no discernible ‘edge’ when you run your finger over it. If you can feel something, no matter how smooth it looks to the naked eye, it will look shoddy when it’s painted.
You can’t put filler on top of paint – actually you can but you won’t be able to blend the edge in. This is because paint is softer than filler and will sand down faster, leaving a ragged edge which will really show up when painted.
So – you have to apply filler to bare metal and then spend however long it takes to get it flat, smooth and feathered in at the edges. This is one one reason why it’s not my favoured method of repairing panels – much better to try and planish out dents with a hammer and dolly if you can. Another issue with filler is that it ‘sinks’ as it dries out, which can take a week or two – long after you think you have got it right and have already painted your repair – and it can crack and drop out if the panel gets dented again.
There are a few brands and types of filler available. Isopon P38 is a good all rounder, P40 is usually used to bridge holes (the unscrupulous will use it to fill rust holes) as it has more fibreglass strands in it. I use Evercoat ‘easy sand’ – it’s quite runny and seems to settle quite flat before it dries.
Other news: I did a bit of work on the chassis and engine today. All the tinware has been sanded down and painted and is looking much better. I sanded and then cleaned the chassis with some panel wipe, before painting a coat of red oxide over the bare metal bits – most of the floor as it turned out. It will get a coat of black paint in the next day or two.

I’ll sort out the jelly moulds next, they will be stripped and painted – or I might just lacquer the bare steel. Oh – and see that dented bonnet in the background? It has a very good hinge on it – no rust at all and is free to anyone who’s willing to collect it from Norwich – just send me a PM and we’ll make the necessary arrangements.
I also removed the 2 rear batteurs – they will be cleaned and re-painted – and I’ll do the same with the two on the front wheels. I think the front wheels need to be removed to get them off, so that will be a job for another day. I have 4 shock absorbers which were retro-fitted to the van a few years ago, so I could leave the batteurs off, but I’ll keep them – they must do something – right?

My space in the workshop is starting to look messy, so I’ll have a good tidy up next. It won’t be long before I can put the body back on the chassis which will free up a bit of space but there’s still tons of work to do before that. Will it ever end?

It will never end
LikeLike