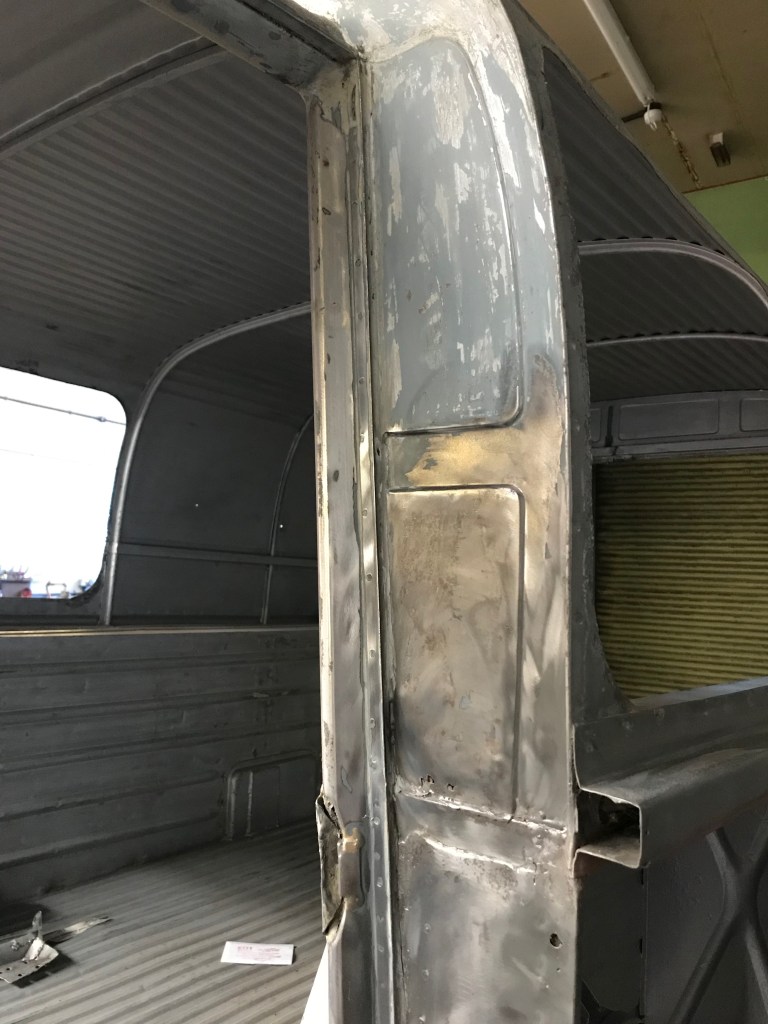
Another weeks worth of hard graft in the workshop, tidying up all the bare metalwork ready for painting. There were so many little bits of the old paint left on the shell, hiding in the dents and rust scabs which took ages to sort out, bits of welding to finish off – things I’d forgotten to do and things I just thought I’d not do on the assumption that nobody would notice or care about – except perhaps me.
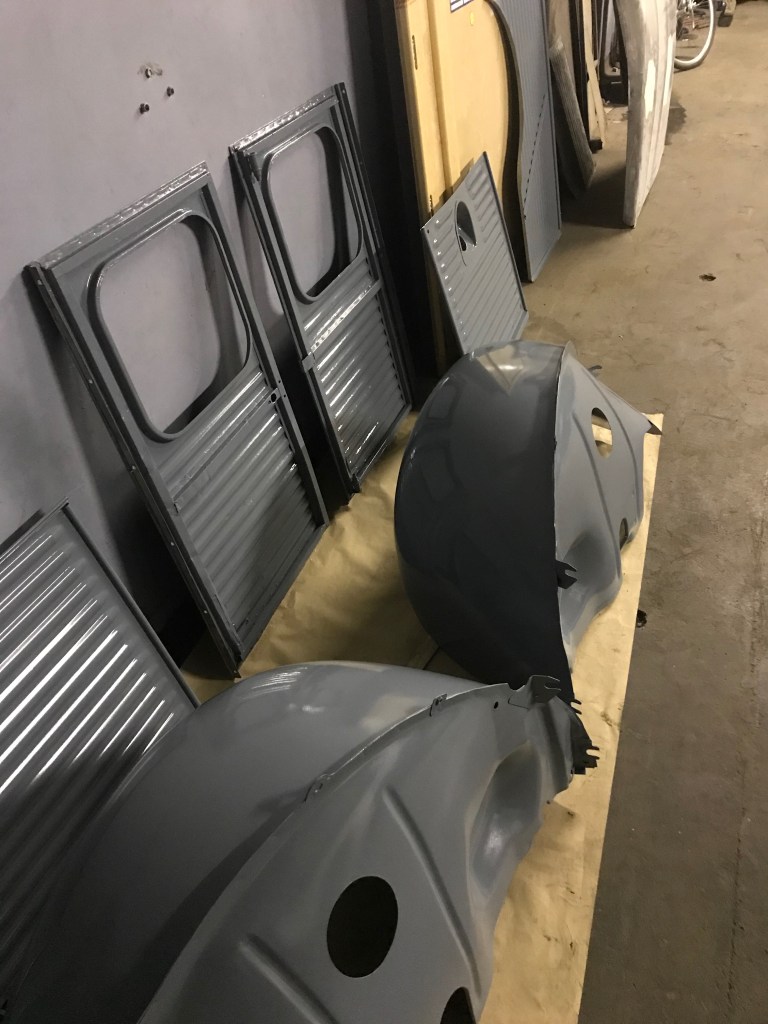
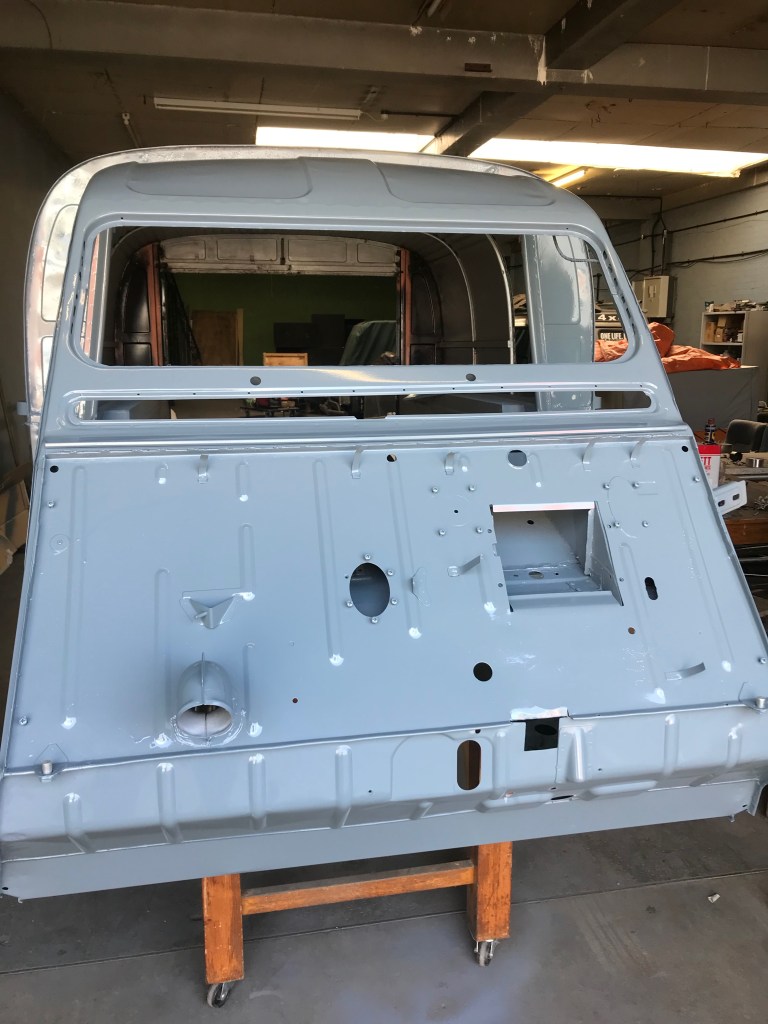
I did manage to get the wings, headlamp pods, petrol tank, spare wheel cover and inside the rear doors painted in top coat, plus the underside of the shell, which despite having made an earlier declaration that I wasn’t going to bother doing it, I did anyway. This all went very well and cheered me up no end.
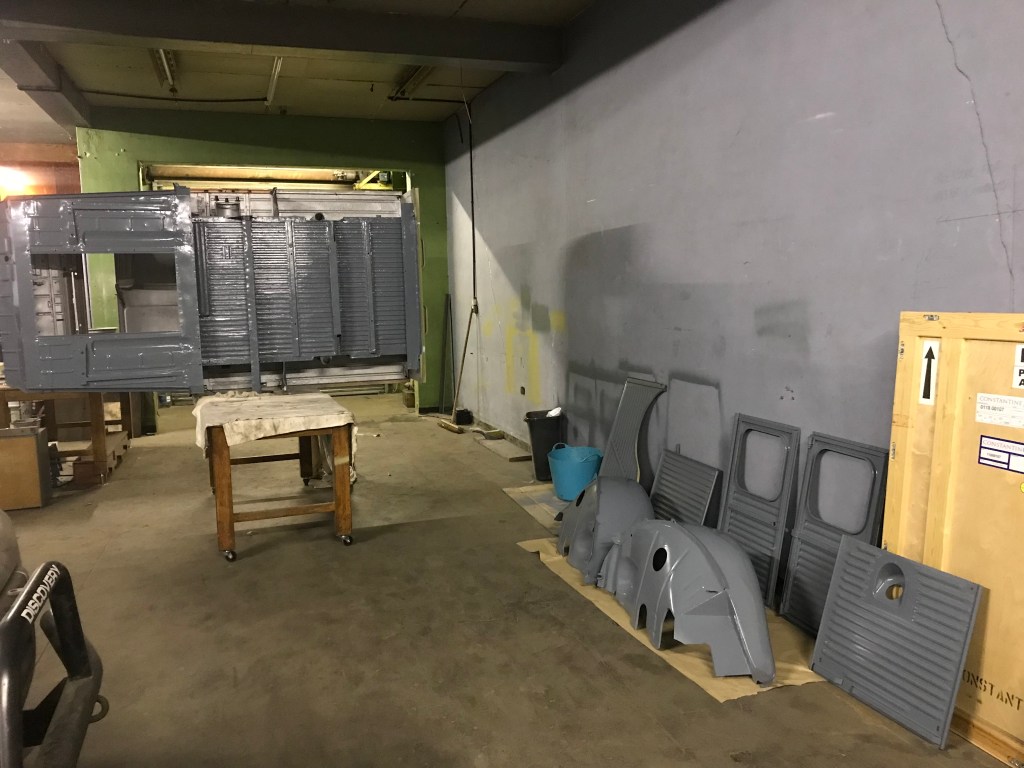
I primed all these panels first and then spent a good couple of hours running some seal sealer around where the inner and outer wings are joined together and any other bits that looked like they might be susceptible to water creeping in between the numerous spot welded panels. Seam sealer is wonderful stuff (I used UPol Tiger Seal) as it’s overpaintable and does exactly what it says on the tube. What it doesn’t say on the tube is that you get one shot at using it because if you don’t do what you need to do in one hit and try and use the tube the next day, it will have set solid overnight and no amount of poking and squeezing will release anything useful thereafter.
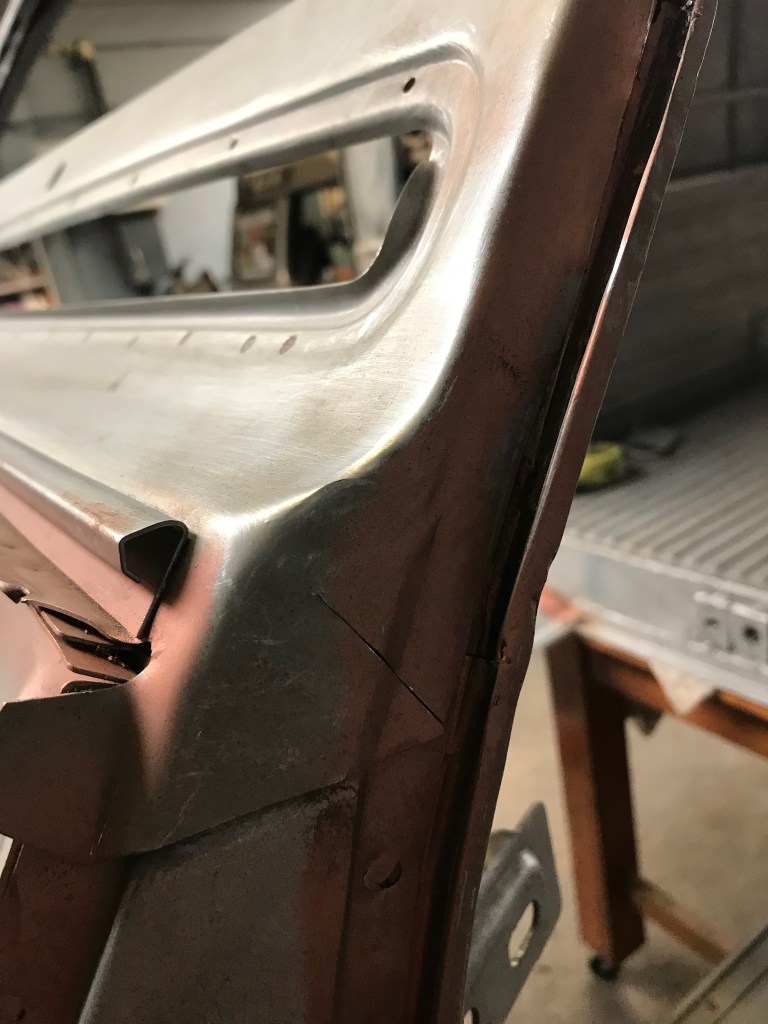
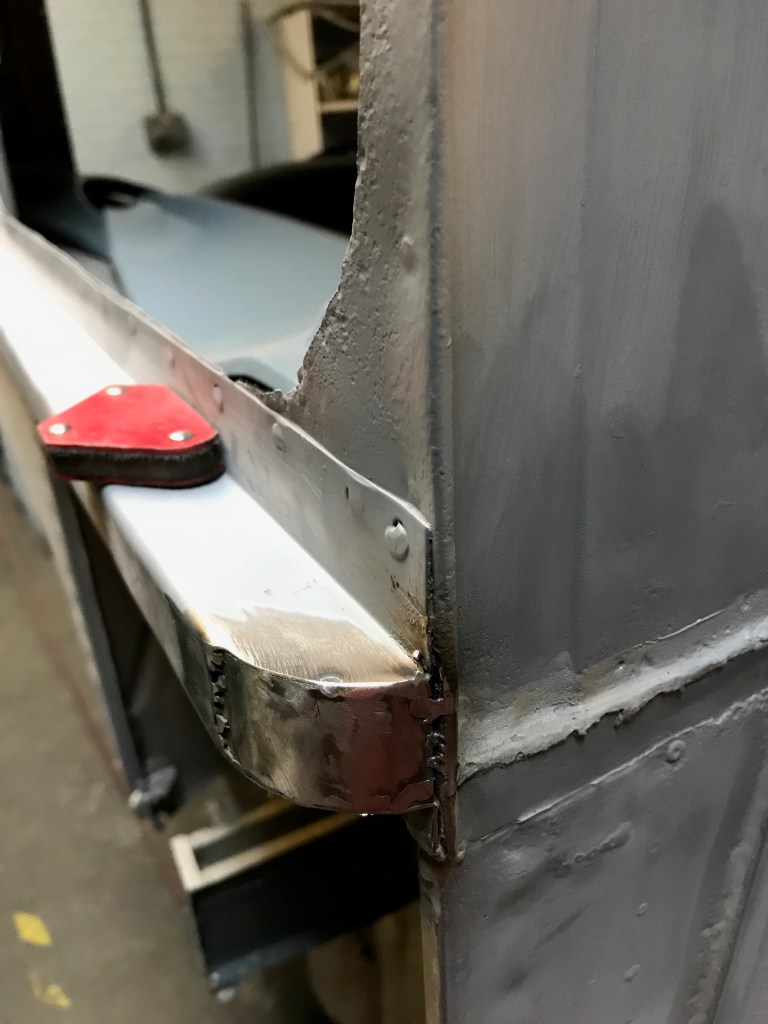
So – back to those little jobs I’d been putting off. Below is the windscreen repair panel with the strange slot cut into it. I’ve no idea why it is like this, perhaps it’s to allow braze to run under where it joins the A panel. I just zipped it up with with a few careful dabs with the mig welder and used a smear of filler to make good the join. And – there’s a little tab which I was going to cut off but decided in the end to fold it over the firewall join.
I noticed a small hole in the gutter than runs down the side of the A post – after a bit of poking about with the wire brush, I ended up with a very large hole…

I fitted both rear wings on using bolts. I know I said I’d weld these on in an earlier post but with them bolted along all 3 edges, if I need to get underneath for maintenance, I can easily take them off. I pretty sure I’ll never need to take them off but perhaps someone will in feel the need to do so in 10 or 15 years time when the van undergoes its third restoration – who knows.
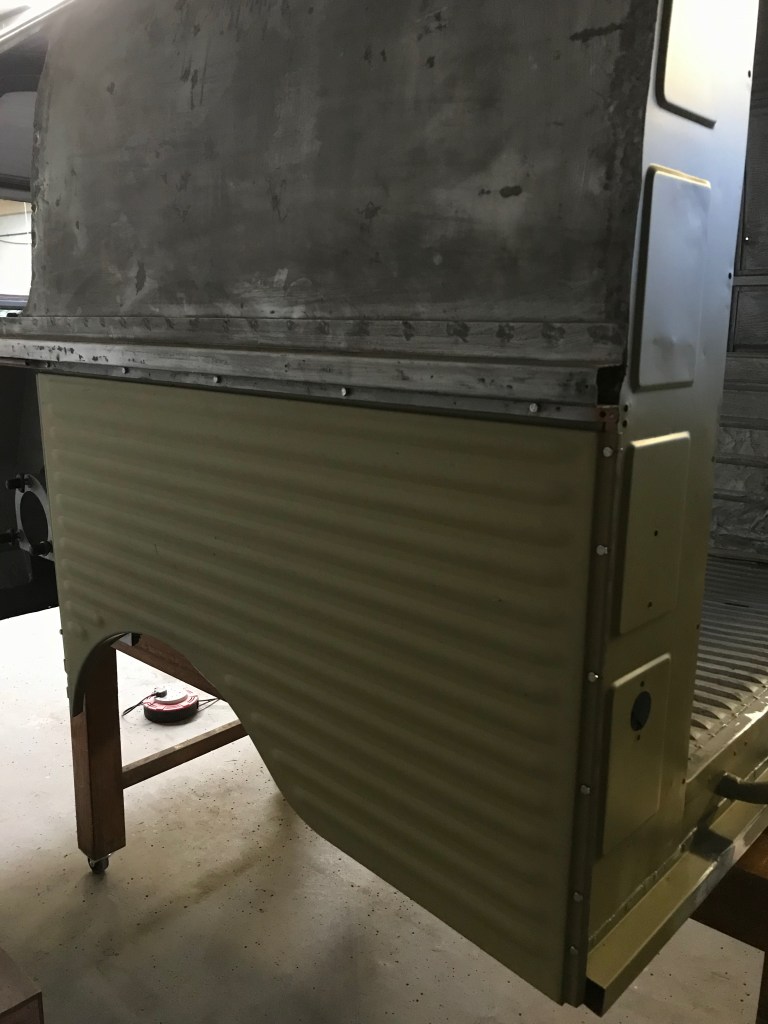
I also realised that I’d need to close off the front end of the ‘top hat’ side rail below, but not until after I’d applied the primer, which was annoying
Looking closely at the van bodywork, none of it is going to win any shows but at least it’s honest, it’s a bit of a cop out really because I could spend another 6 months perfecting every little blemish and fault – and then where would I be? I’d be happy, however polishing this particular turd would never have be the right thing to do. It’s a 53 year old van and it needs a few battle scars. I can’t create patina – the best I can do is what I’ve done and roll in it a bit of glitter.
So – on with the top coat. This didn’t go quite as well as I hoped. My paint gun got gummed up and the spray pattern went haywire, I had water droplets spattering over the roof and the paint came out drier than I wanted. But – it doesn’t look too bad and when it’s fully hardened off in a few weeks time, I will probably flatten it off and shoot another coat on it.
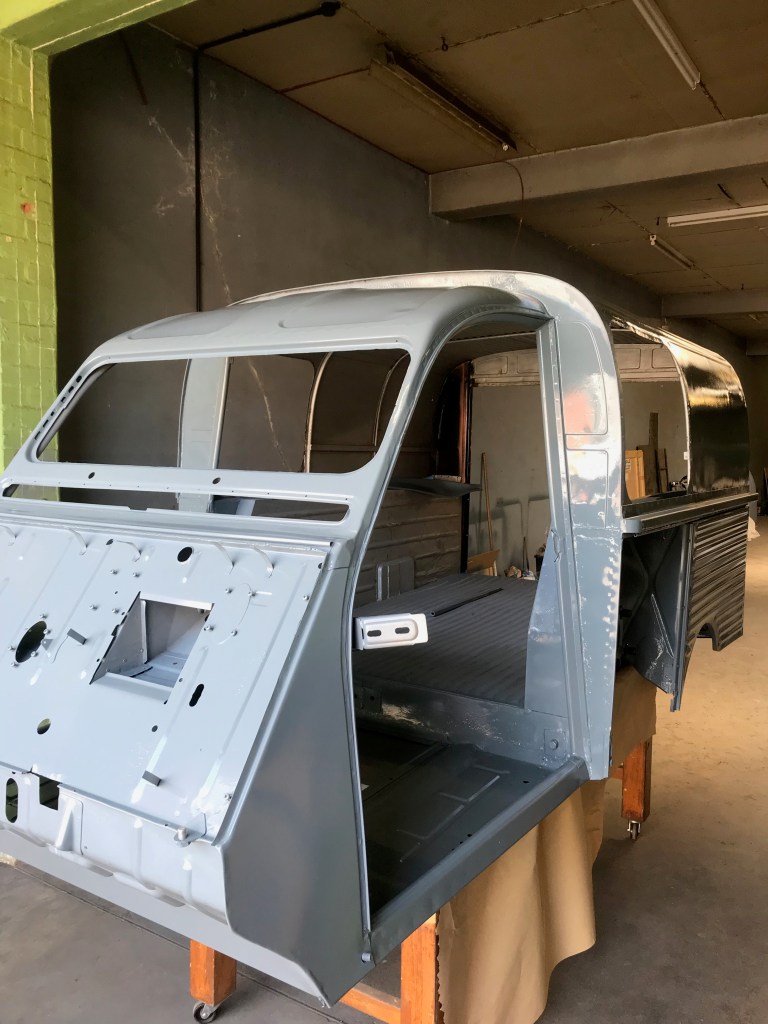
Next steps? I need to paint the bonnet (Inside and outside), paint the inside of the rear of the body, sort out the driver and passenger doors and then paint them (which will be a mission), fit the rear doors, paint the chassis, pop the body back on and start re-assembly. Lots more to do. hmm….

Progress at the very least! Looking good actually and a credit to you
LikeLike