Bleu Neve – French Navy Blue
Keen to find out more about the French and their shades of blue, I pinched this from a decorating website:
‘This is a beautiful smokey, grey blue. It is the colour I associate with the cloth used for the uniforms of French infantrymen in the 19th century. It would have been based on indigo the highly prized organic dye. It has a good tonality – rich and warm – a great foil for lighter colours used with it and a good compliment for stone and marble surfaces.’
Right – so I’ll need to line the inside of my van with marble or stone in order to complete the look. Good job I have that spare engine…
Cheered on by this, I sprayed the undersides of the floors and toe board with the top coat of Bleu Neve (AC-609). It is indeed a lovely grey blue and I’m guessing that the French Navy blue is a take on battleship grey that we Brits use to paint our old tractors, school corridors, prisons and of course our ships.
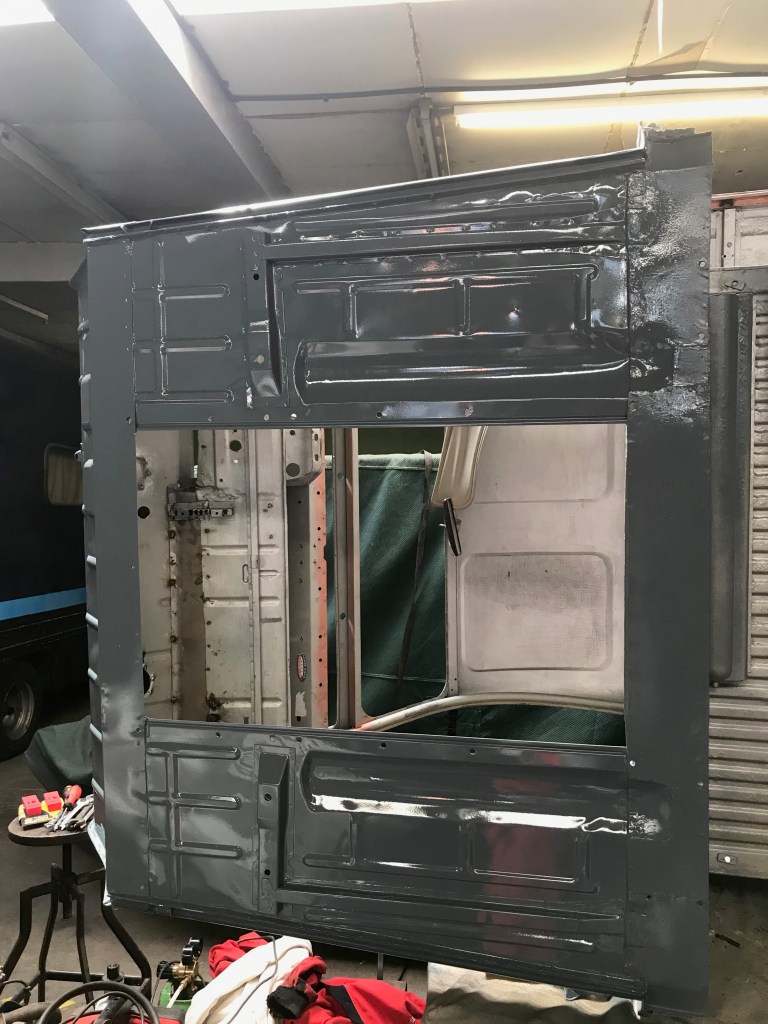
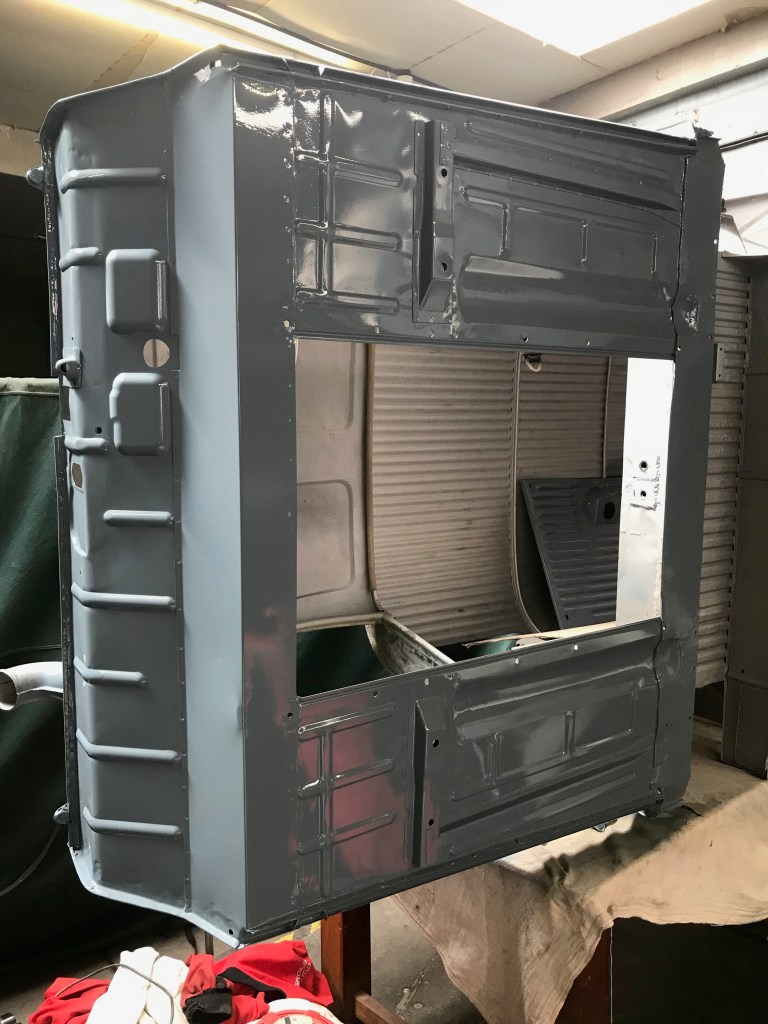
Nonetheless, I am really pleased with the result, especially the semi gloss finish which looks about right for the period look I’m aiming for. By time I’m done the van will look like it was either a rush job at the factory or that it has been repainted by an enthusiastic amateur (which it has) – as opposed to a professional paint job. ‘It’s all in the preparation’ they say, but it’s also very easy to get carried away when laying on the paint – thinking that a bit more of a squirt here will just cover that blemish – or as inevitably happens, it will turn into a run. Spraying the rest of the van (and by this, I mean the bits that will be on show) will test my mettle to the full. I’m sure that this is going to be the hardest bit of the whole restoration and I can understand why resprays are so expensive. It takes forever to get a car ready to paint, no time at all to actually put the paint on and plenty of time to look back and wish you’d spent more time on the preparation.
Weirdness
An odd reaction has taken place where I overpainted the silver Hammerite that I brush painted onto the underside of the body, in that the new paint has fisheyed, just before it flashed off fully – a bit like what happens when you try and paint over silicone polish or sealant. This is probably due to the Hammerite not being fully cured – I seem to remember being caught out by this before when spaying a moped with a new coat of Hammerite over an old coat, which had been left too long to overpaint (ie more than an hour or so) but not long enough for it to have properly dried out (a week or two). It’s not really a problem, but it is something I need to watch out for when I paint the inside of the van, which already has a liberal coat of some sort of silver paint applied to it with a brush. My plan is to flatten this off as best as I can, and try a few test areas with and without primer, so that I can see how it reacts – and then decide how to deal with it.
I think I’ll paint the inside before I do the outside – it might not get much more than a dusting, except for the new metal areas (floors, sills, toeboard, bulkhead and inner screen panels, which I will do properly, but at least this way I won’t be risking getting overspray on the outside. I’ll paint the inside and then mask off the windows and door apertures – and then have a go at the outside. I’ve already primed the inner side of the rear wings, headlight bowls, petrol tank and spare wheel covers. These will also be top coated on the inside and then fitted, ready for the big paintathon.
Here are a few tips for mixing and applying paint:
The data sheet that your friendly paint supplier gave you when you bought the product, will give you the mixing ratio for paint to thinner, the flash off time between coats and some other useful pre-requisites, such as safety precautions, so that you don’t end up poisoning yourself when spraying the stuff about. The good news is that the paint I have is not horribly toxic (no isocyanates), I have a good quality mask and as I don’t spray paint for a living, the risks to health are minimal and therefore I have deemed it acceptable. Also, with the body shell on its new mobile table, I can place as good as outside the workshop by the roller shutter, so I won’t be filling up the whole workshop with paint mist.
Also, by using a High Volume, Low Pressure (HVLP) spay gun and a weedy little compressor, I won’t be atomising the stuff too much. This type of spay gun is gravity fed as opposed to the old school type which sucks the paint up from the pot. You need less pressure with a HVLP gun but you do need a reasonable volume of air from your compressor to create the correct spray pattern fan out of the gun. Too much air and the paint will dry before it settles, too little air and it will spatter out in blobs and drips.
It’s important to keep a wet edge (not a euphemism) when spraying – this is to allow the paint in pass you are making to blend it seamlessly with the stuff that has already been laid down before it dries or starts to flash off. This is all very well, except that there’s a huge expanse of roof to cover and I’ll have to get around both sides of the van, whilst maintaining the wet edge. There’s only one of me, so this will be a challenge.
Anyway – back to the data sheets. On the primer and top coat datasheet the ratios for mixing are 10-15% thinner by volume or weight to paint. This all sounds a bit vague to me. Paint has solids in it and therefore weighs more than the thinner, so the volume method would be out by some margin. I decided to go with the weight ratio and chose a number in between – 12% by weight of thinner to paint. This is easily achieved by using a set of cheap electronic scales and some plastic 3/4 litre cups. Place your cup on the scale, zero the weight, add 500 grams of paint and 60 grams of thinner, mix, pour into the paint gun and apply..
Even when thinned, the paint is still quite viscous, much more so than the 50:50 mix I’ve used in the past when spraying cellulose or the etch primer that I’ll use first over the bare metal. Having said all of that, I don’t think it matters that much – as long as there is enough thinner in the paint to make it flash off and dry in a reasonable timeframe then all should be well.
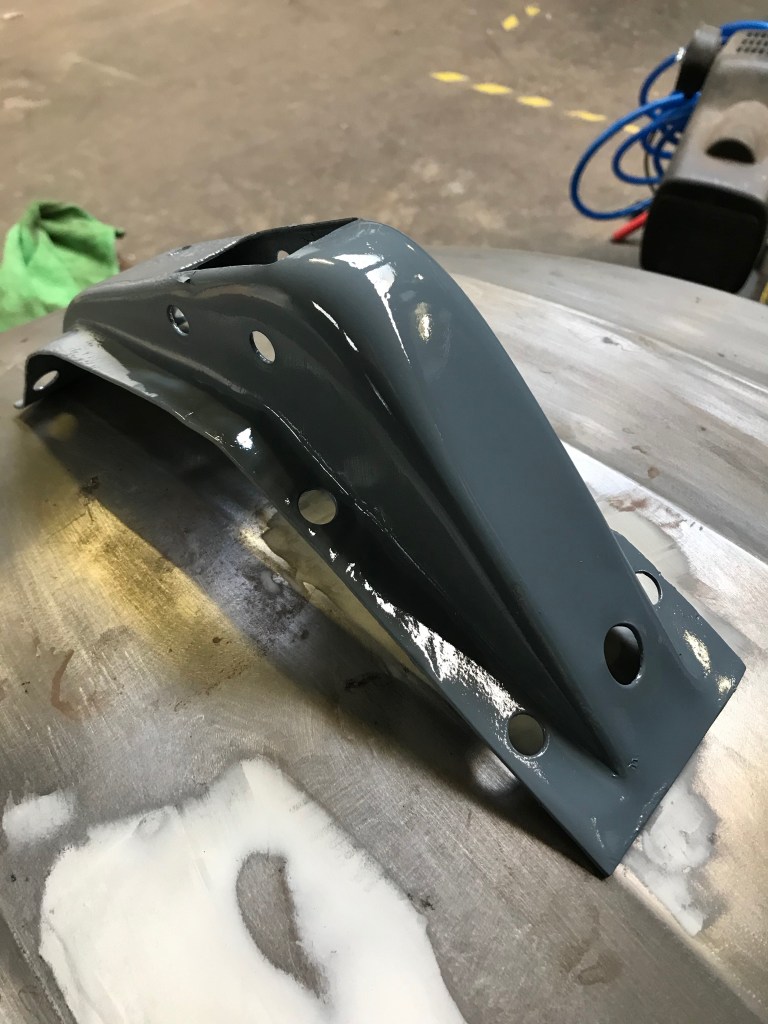
This is the bit that holds the pedal hanger box in place, where the master brake cylinder passes through. It was painted a few days ago and still smells of wet paint and is still soft enough to mark with a fingernail. I guess the paint will take a few weeks to harden off fully and in the meantime I will need to be careful moving stuff around so that I don’t damage it. I’m pretty sure I will make many marks and scratches when I put the jigsaw back together, so expect a ‘paint repair’ feature sometime in the near future.
I’ll close with a quick update from the Thursday pub night – aka The Old Man’s Memory club.
Our local has been upgraded in that it now has a band playing in the spot where we usually sit. This is inconvenient as (a) we’re much older than both the band and their audience – we are the same age as their grandparents, so they will tolerate and pity us and (b) We can’t hear ourselves think. We moved to another pub which was a relief but it didn’t sell old man’s ale so we had to drink craft lager instead.
To cap it all, we were only three and therefore not quorate. Pete F is on holiday in Greece, having first spent a few days soaking up some culture in Venice. We took advantage of his absence by pondering how long it will be before he starts on his project car – a Gilbern Invader. Bets have not been placed as it we all know it would be rude to do so. Also it will be so far into the future that none of us will be around to collect, so we just agreed that it would be later…sometime..
Pete R (Fishy) has now lost 2 stone in weight. A milestone for him and
we congratulated him on his achievement.
Lastly, Steve had an update from Chris. ‘He’s not coming out tonight but says hello’.
