There are plenty more puns waiting to be aired so you’ll just have to put up with them. On Sunday, I spent a whole day in the workshop and got stuck into welding up the front of the van – The firewall is in and attached to the toe board at the bottom and the lower of the inner windscreen reinforcing panels – (the one that the wiper motor is bolted onto) is fixed to the A posts. It’s taken a lot of fiddling around with the outer screen repair panel to get the reinforcing parts in the right place. My biggest concern is that the windscreen aperture won’t be the right size for the glass so I measured it more times than I care to remember – each time I got a slightly different result, so until the rest of the panels under it are fixed, it will have to do..
Starting with the firewall – the picture below is looking up to where the toe board joins onto the firewall. This is the join you can see which is under the battery box and runs in between the bolts that hold the wings in place. I punched a series of holes in the toe board flange and plug welded them from underneath
Below – looking down at the join between the firewall and the toe board – the plug welds are on the underside of the lip, but you can see the hot spots where the plug welds have penetrated the steel, which means they a good welds.
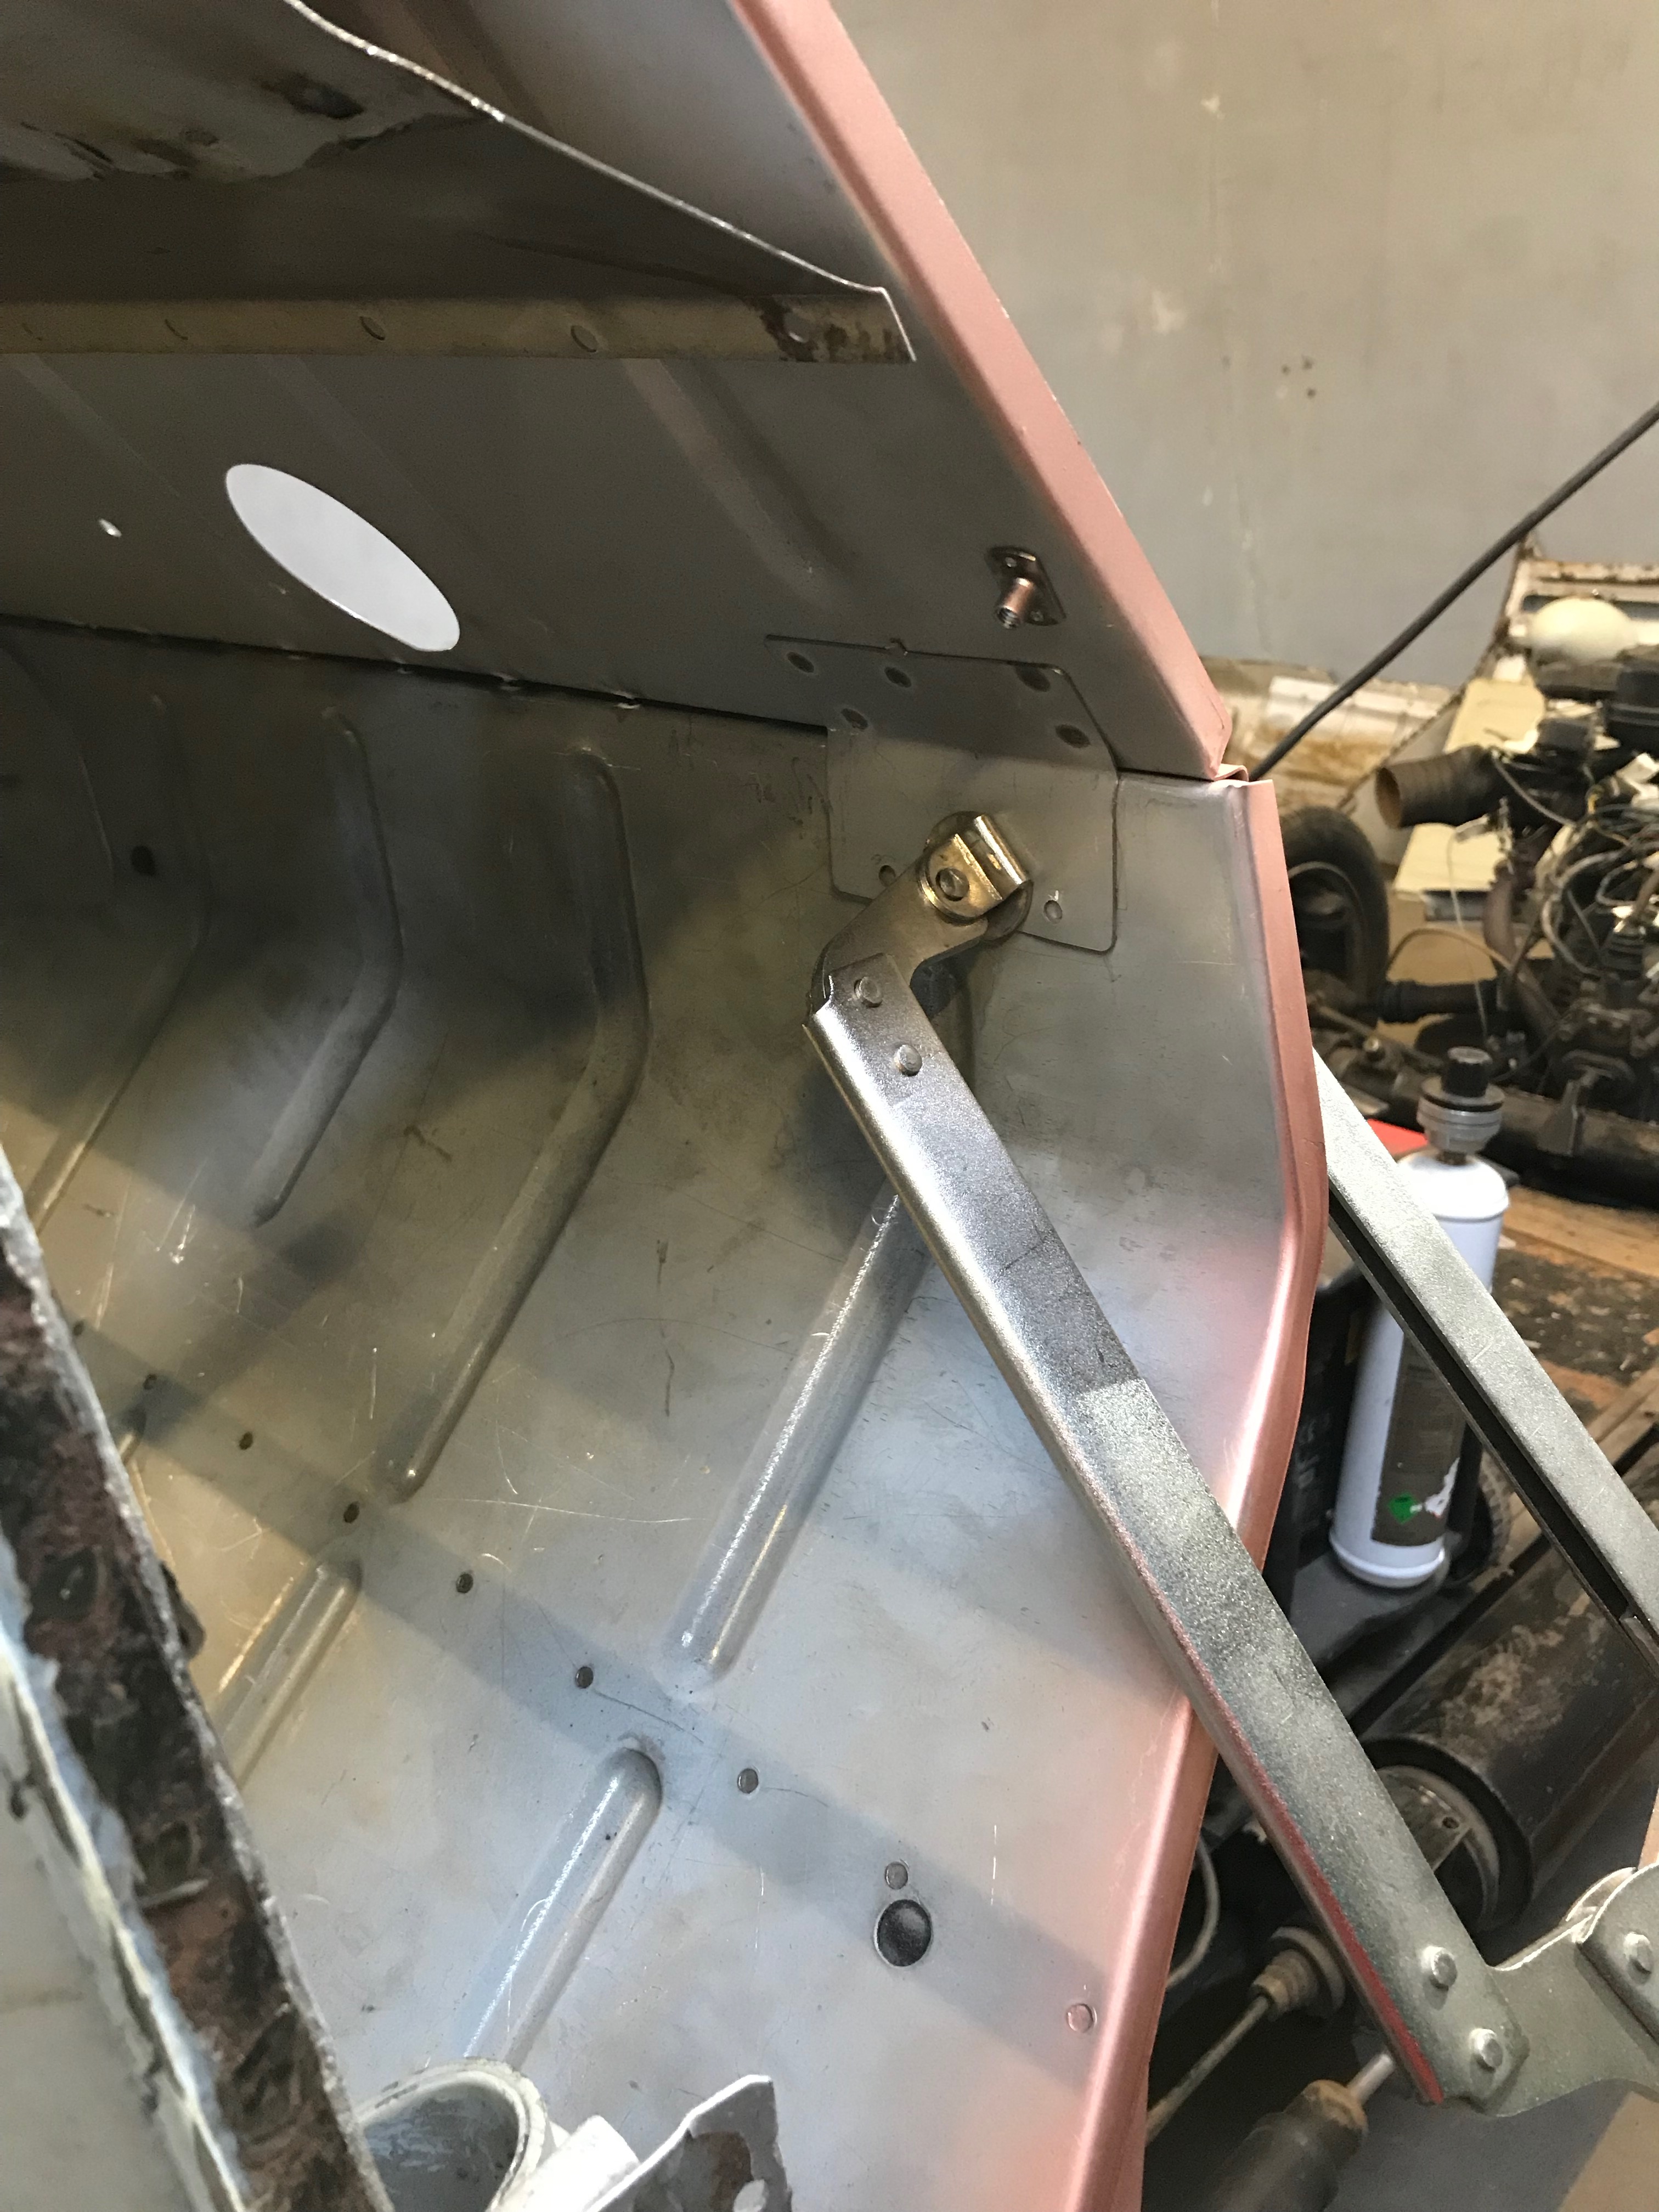
The next task was to fit the windscreen cross member. This runs in between the A posts and is hidden by the outer windscreen repair panel. The old one was brazed at the join here, but I have plug welded it in place on both sides as I don’t have any brazing skills yet. I’ve tidied up the welds since this picture was taken

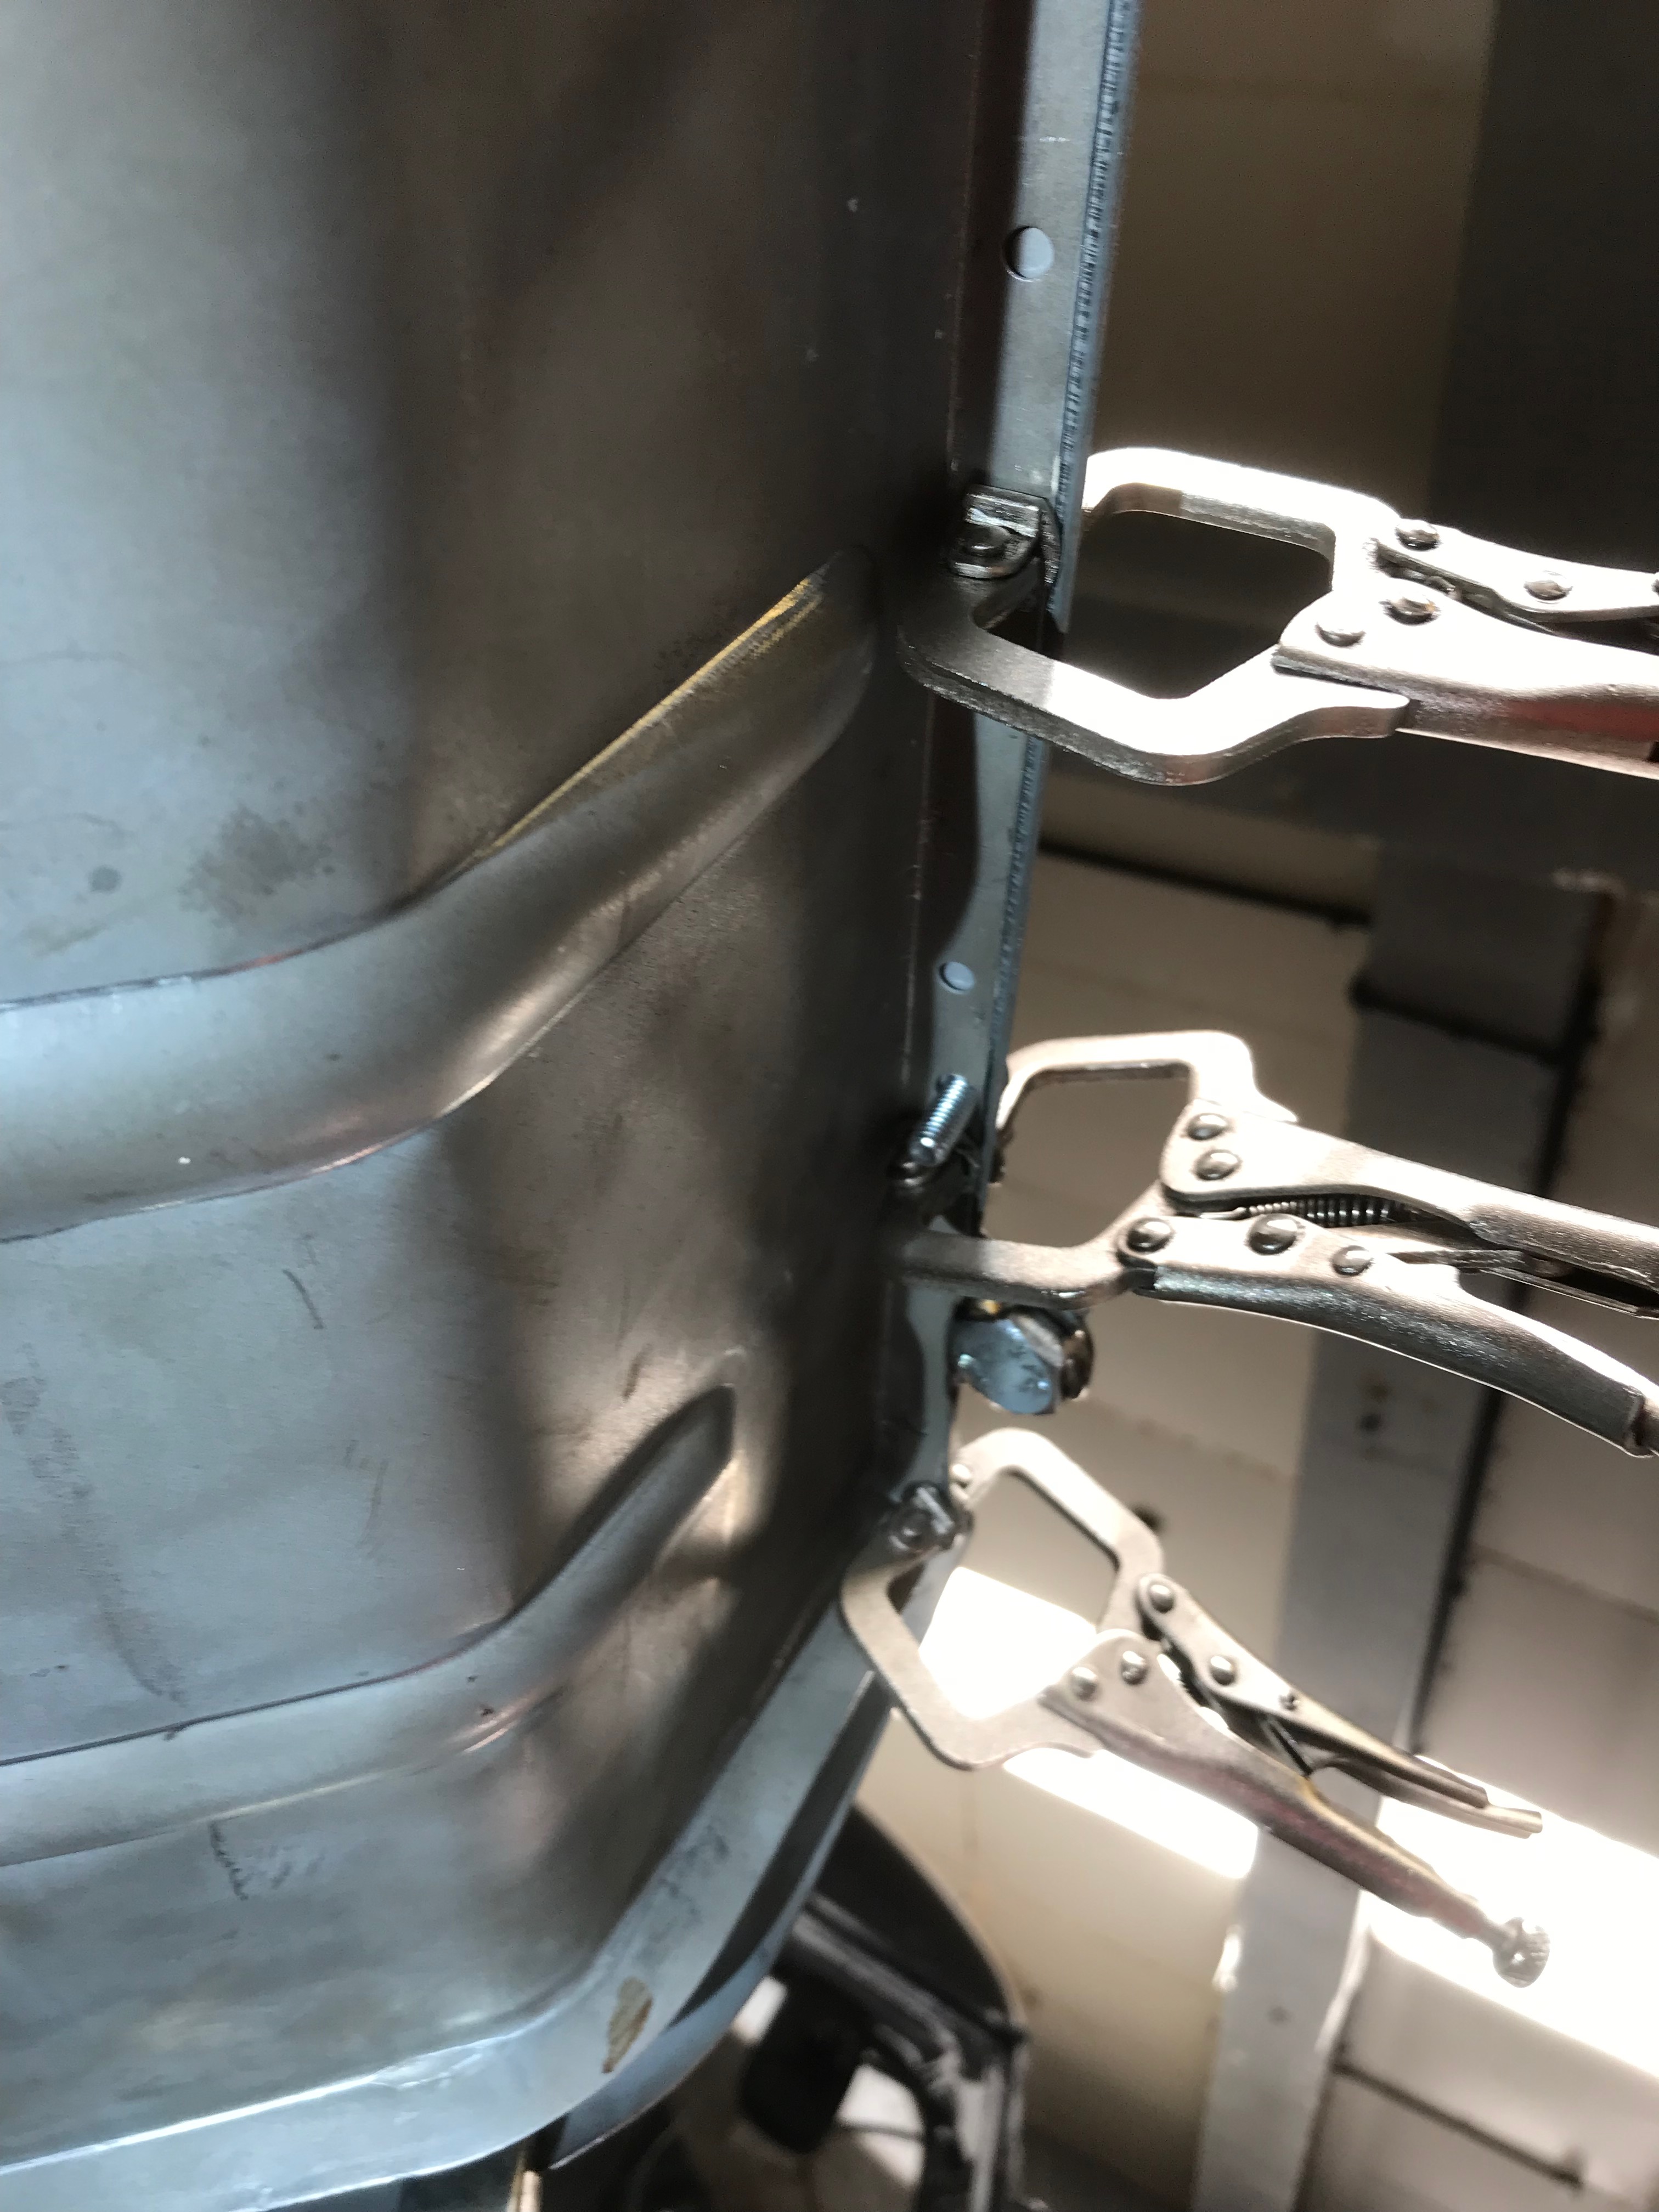
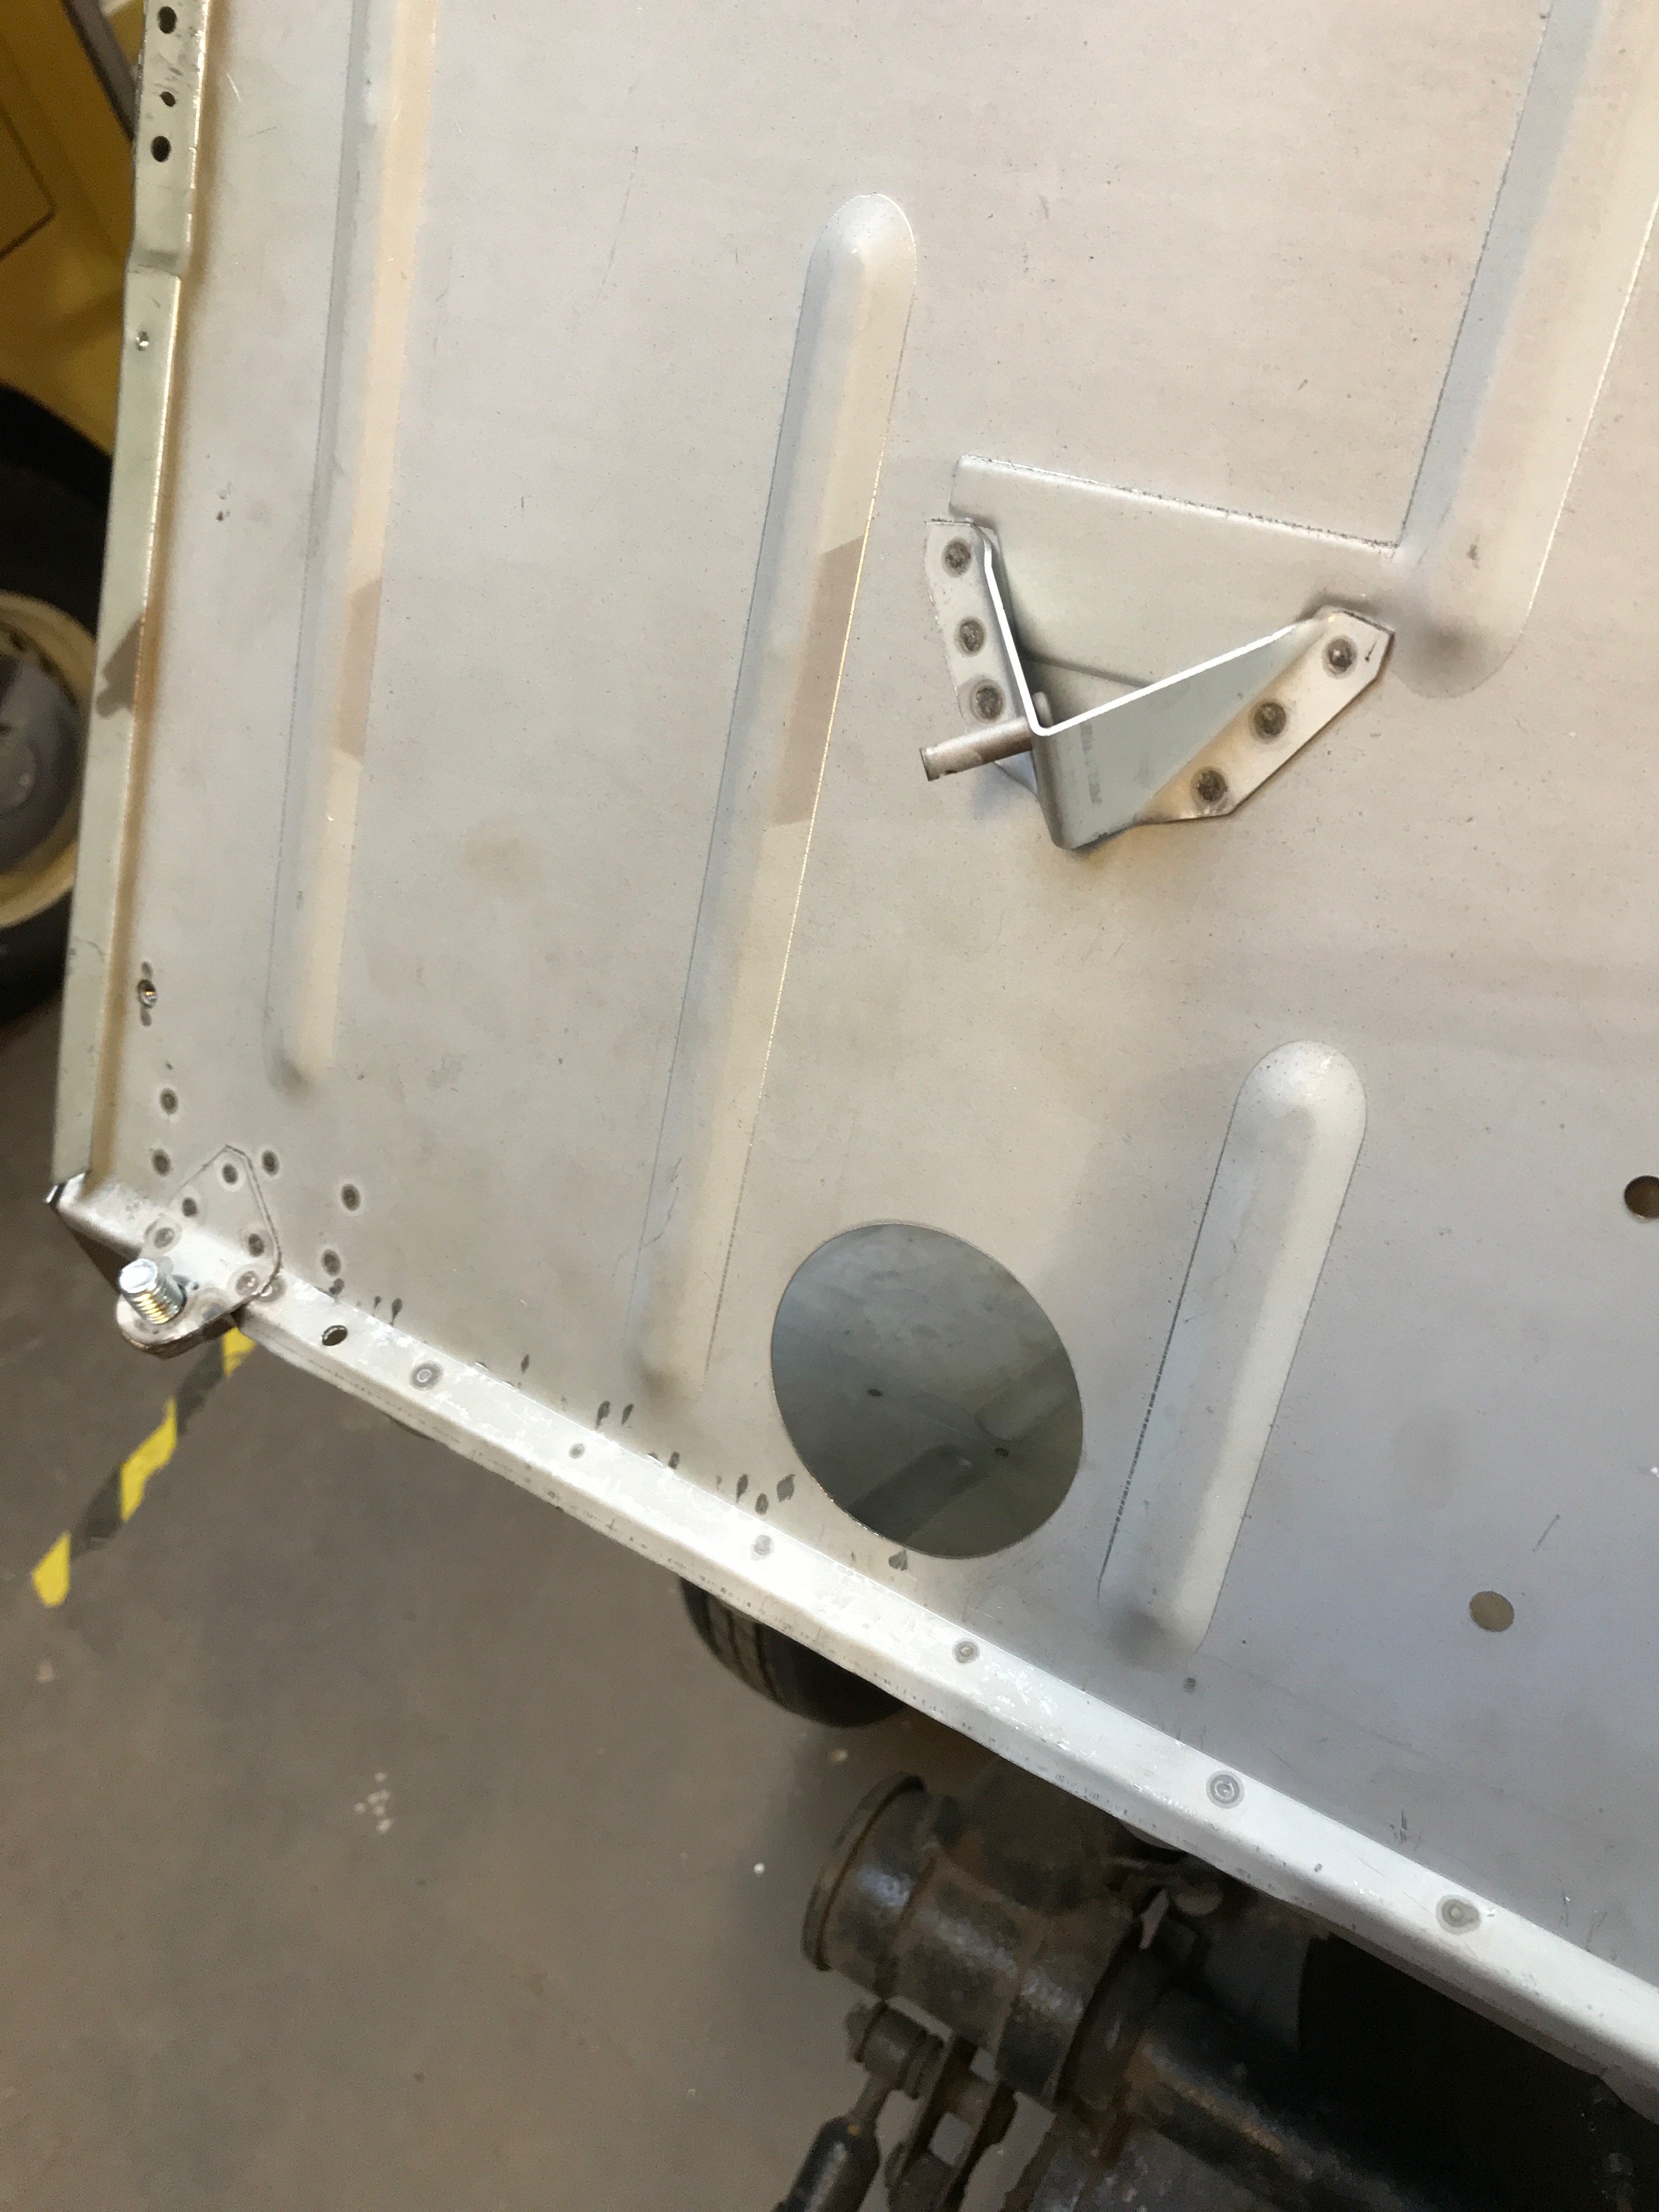
To finish off the firewall welding, I joined the top hinge mounts to the inner edge of the firewall with 3 plug welds and ground them down flat. The A panel will fully encapsulate the mounts, when they are fitted later and here’s a picture of one of the tabs which re-inforce the joint between the upper toe board edge to the lower firewall edge. I had to break out the long grips so that I could clamp the tab to the toe board ready for welding
I think I’ll leave the outer windscreen panel until last. There are some awkward bits to sort out, not least the 2 parts where I’ll need to join the repair panel to the existing shell. Before I can do this, I’ll need to cut and bend the gutter repair strip, which also needs to be put in place before the windscreen outer but after the A panels are in place. The A panels can’t be fitted until I’ve fixed the grotty mess of rust at the bottom of the A posts and welded in the new bottom hinge supports, so I guess this is the next job – oh, hang on, I need to fix the sills where they slot into the toe board first . This is a brazing job which will be the first bit of brazing I’ve done since being at school.
As for brazing, it’s just one of the methods for joining mild steel. The MOT testers won’t pass a car that has been brazed together as opposed to welding, but a combination of the 2 methods is acceptable – especially when the braze is used to seal the joins between welded panels. There are a number of methods for brazing, all need a source of heat to melt the brazing rod and at the same time, get the metal hot enough to allow the brass to melt and flow into the joint. You also need flux, which allows the molten brass rod to flow evenly by capillary action in between the two bits of steel which are the object of the task. Some rods come ready coated with flux, however my understanding is that flux also needs to be applied between the 2 sheets of steel… Pete and I had a play around using the ‘arc’ method, where a tool is used to bring 2 electrodes together until an arc is created between the electodes and backing them off slightly to maintain a crackling blue orb of intense heat around the ends of the electrodes. One has to then move this plasma like ball of energy close enough to the steel to heat it up and introduce the brazing rod, spreading the braze around the joint in the hope that it will flow into the gaps. Our experiments were spectacular in that a great deal of concentrated energy was produced, the rod melted and so did the steel that we were trying to braze. ‘I haven’t done this for a while’ declared Pete. I stood back in awe as the crackles and sparks ensued. ‘The rods are a bit old, I think they are coated in flux, but I reckon we need some flux on the steel as well’ shouted Pete as the test piece he was working on glowed cherry red with bubbles of molten goldenness rollong around the surface of it. Despite this, there were indications that this method could be made to work.
The alternative is to use a flame to generate the required heat (ie blowtorch) – or lastly we could use the TIG welder with some brazing rods. More on this later – or I might break out a tube of seam sealer and make do with that.
In other news, I’ve discovered that I’ve been using 0.8ml MIG wire instead of 0.6ml wire. 0.6ml would be much more forgiving than 0.8ml on such thin metal used on the 2CV so I’ve either been very lucky to get away with using the thicker wire (which produces more current and greater risk of burning through the metal), or my MIG welder is capable of compensating between the parameters of the two voltage settings, wire speed and diameter in its stride OR my welding skills have improved so much that I am able to do it by instinct alone. I think I’ll assume the welder has become self aware and it is making up for my errors and mistakes.
