Actually committing to start welding is quite hard for me. I’m always worried that I’ll do something wrong and make an irrevocable mistake which I won’t discover until it’s too late to do anything about it. Also working on one’s own can be a barrier to actually doing anything at all. My pal Pete has been good at egging me on, so thanks to him, I have made good progress this weekend. I’ll repay the favour at Thursday nights ‘old mans memory club’ with a few beers. Pete also brought along a spot welder to the workshop. It’s a bit crude but it is effective. Basically, It’s a carbon rod on a spring loaded handle that you use to strike an arc and then release a few millimetres to keep the arc going for a few seconds. During these few seconds the metal beneath melts and fuses together – or melts and makes a nice red hot hole if you are not careful. It has 2 settings, so with a bit of practice, I’m sure I’ll find the optimum combination of amperage, timing and arc length. More on this in later posts.
I’ve fitted the sill and floor to the nearside and plug welded it to the lip at the rear of the floor and at the front where it sits on the toe board. Everything is lined up nicely, so the next job is to repeat the process on the offside.
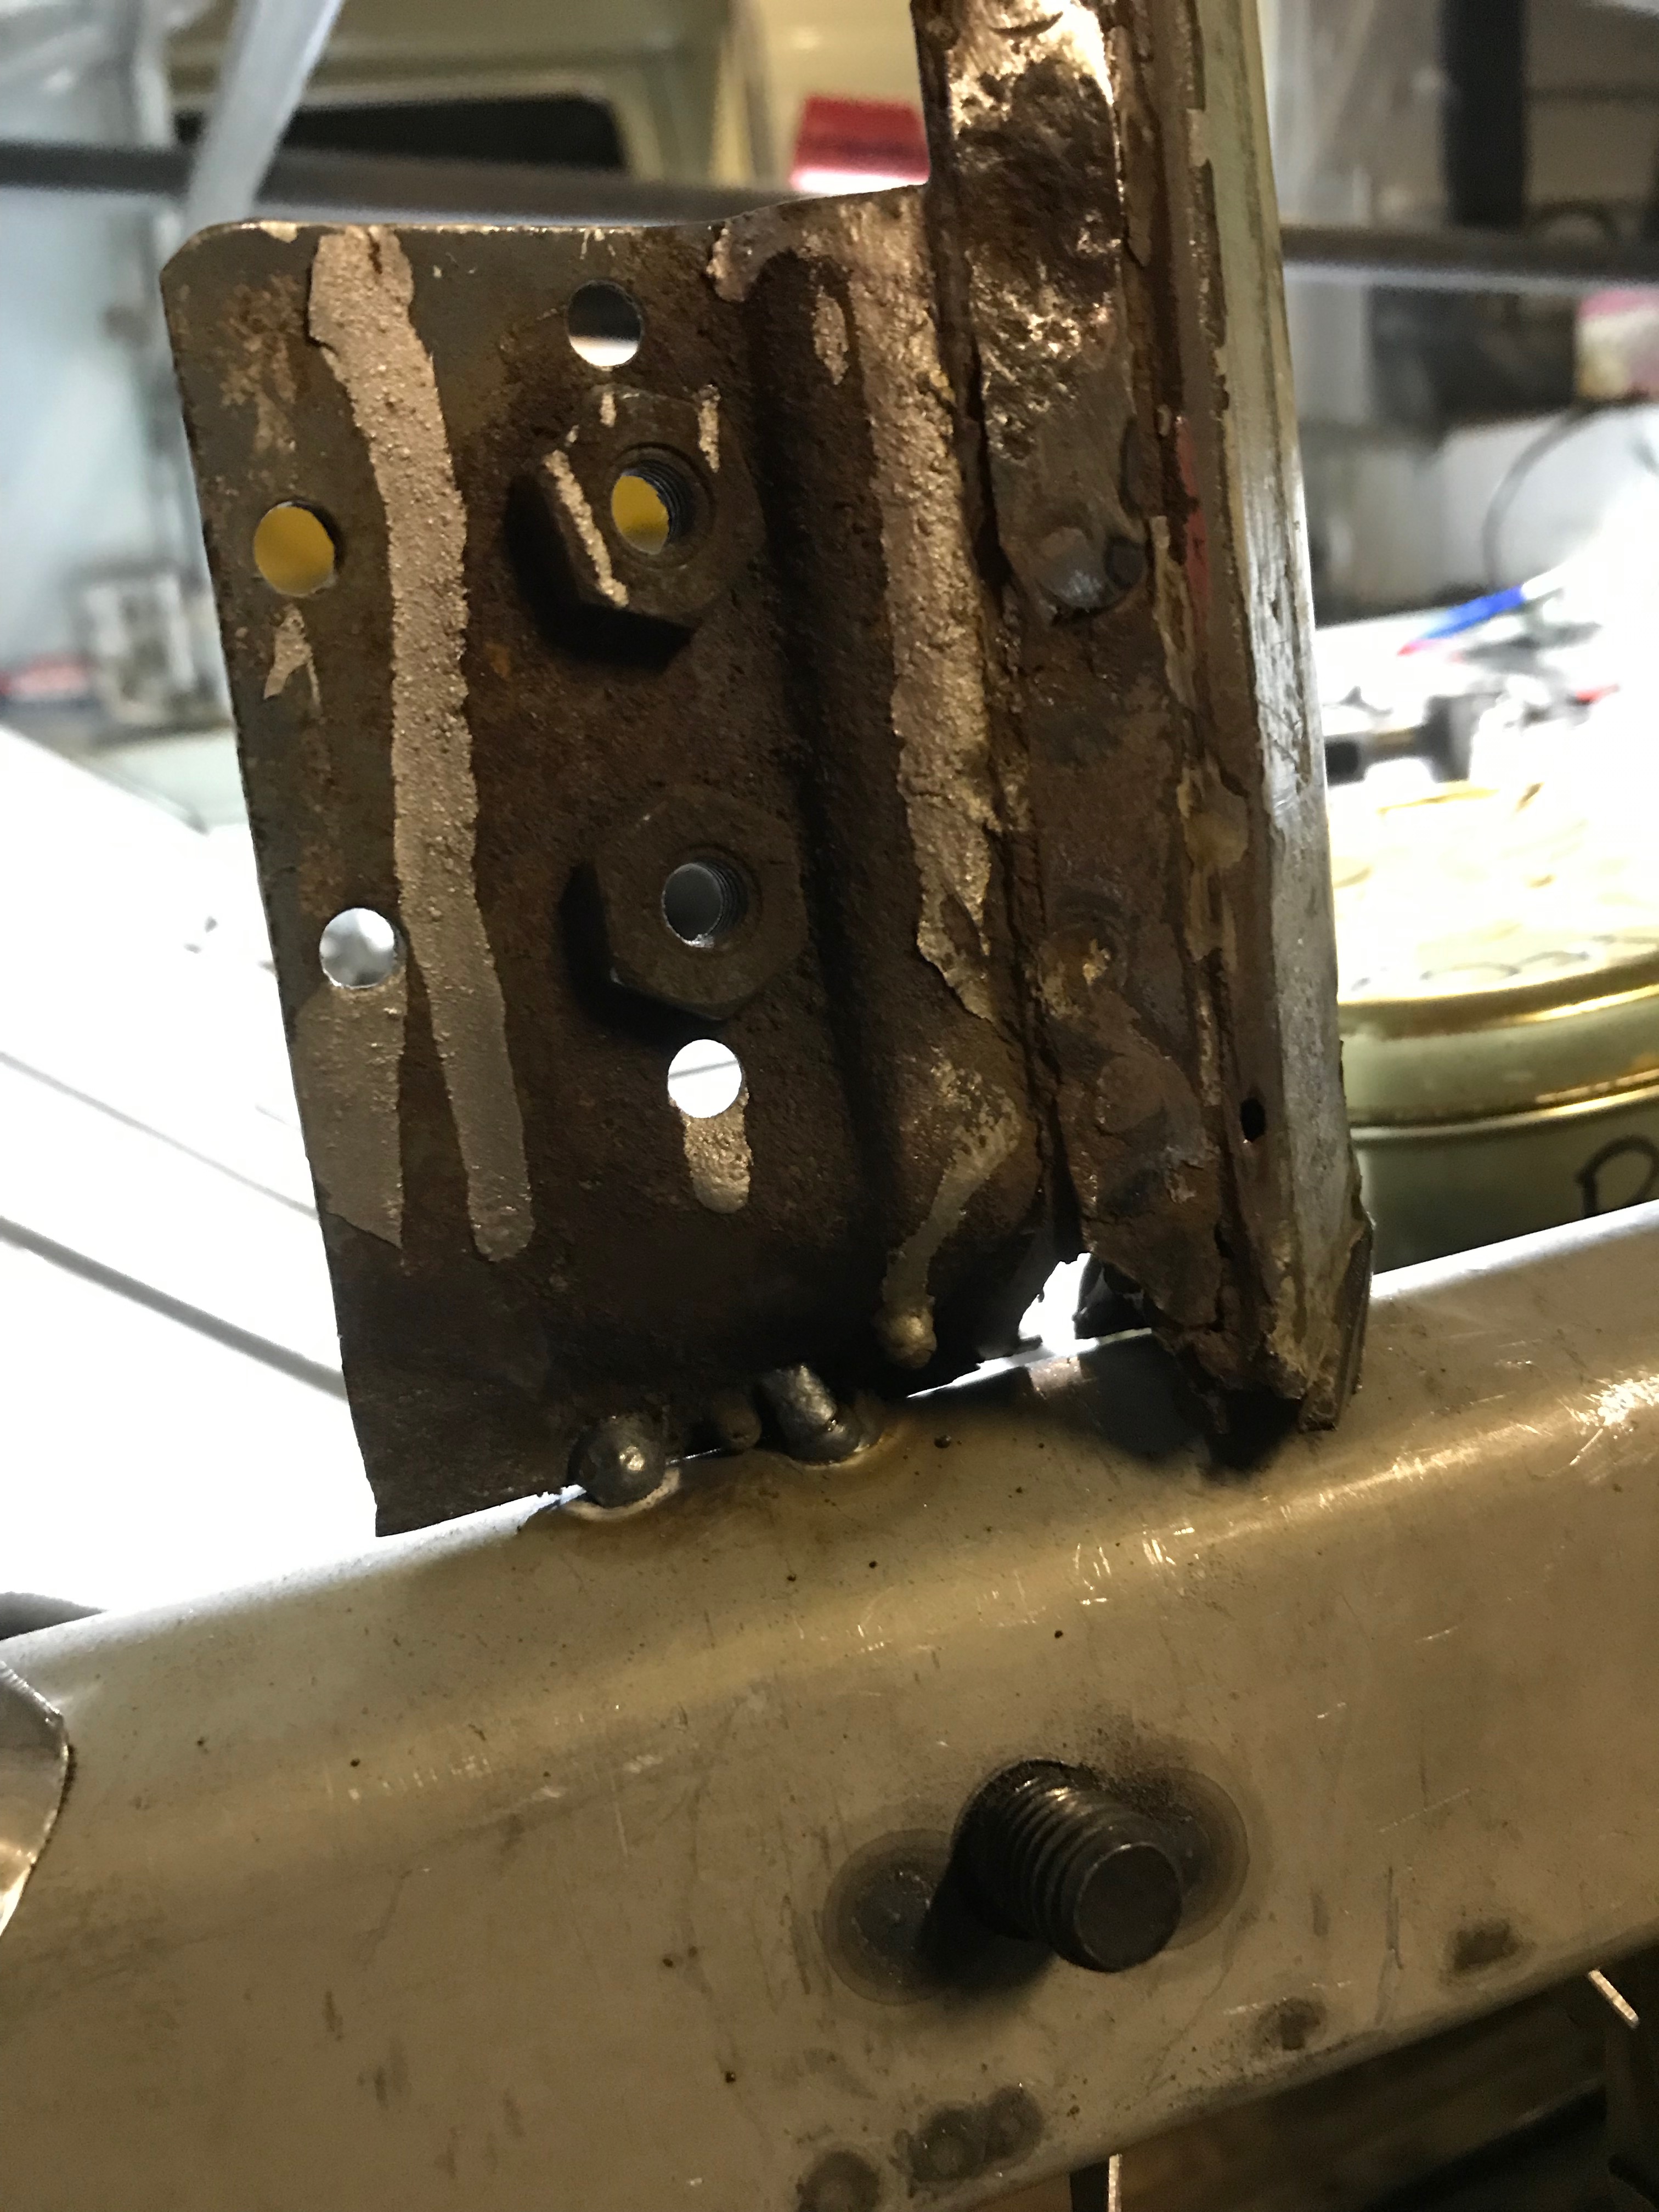
I chopped the old sill out and unpicked the welds where the B Post saddle fits onto the sill. I will be replacing the bottom of the A Post and the hinge plate, so I just sliced through this bit at the front of the van with the angle grinder and 1mm disc.

Before I welded the floor and sill, I punched a set of holes in the front, rear and side of the floor (where it butts up to the sill). A couple of holes in the B post saddle will enable me to plug weld the sill to it.
Here’s the front and rear of the floor bolted to the chassis jig, with its set of punched holes, ready to be plug welded

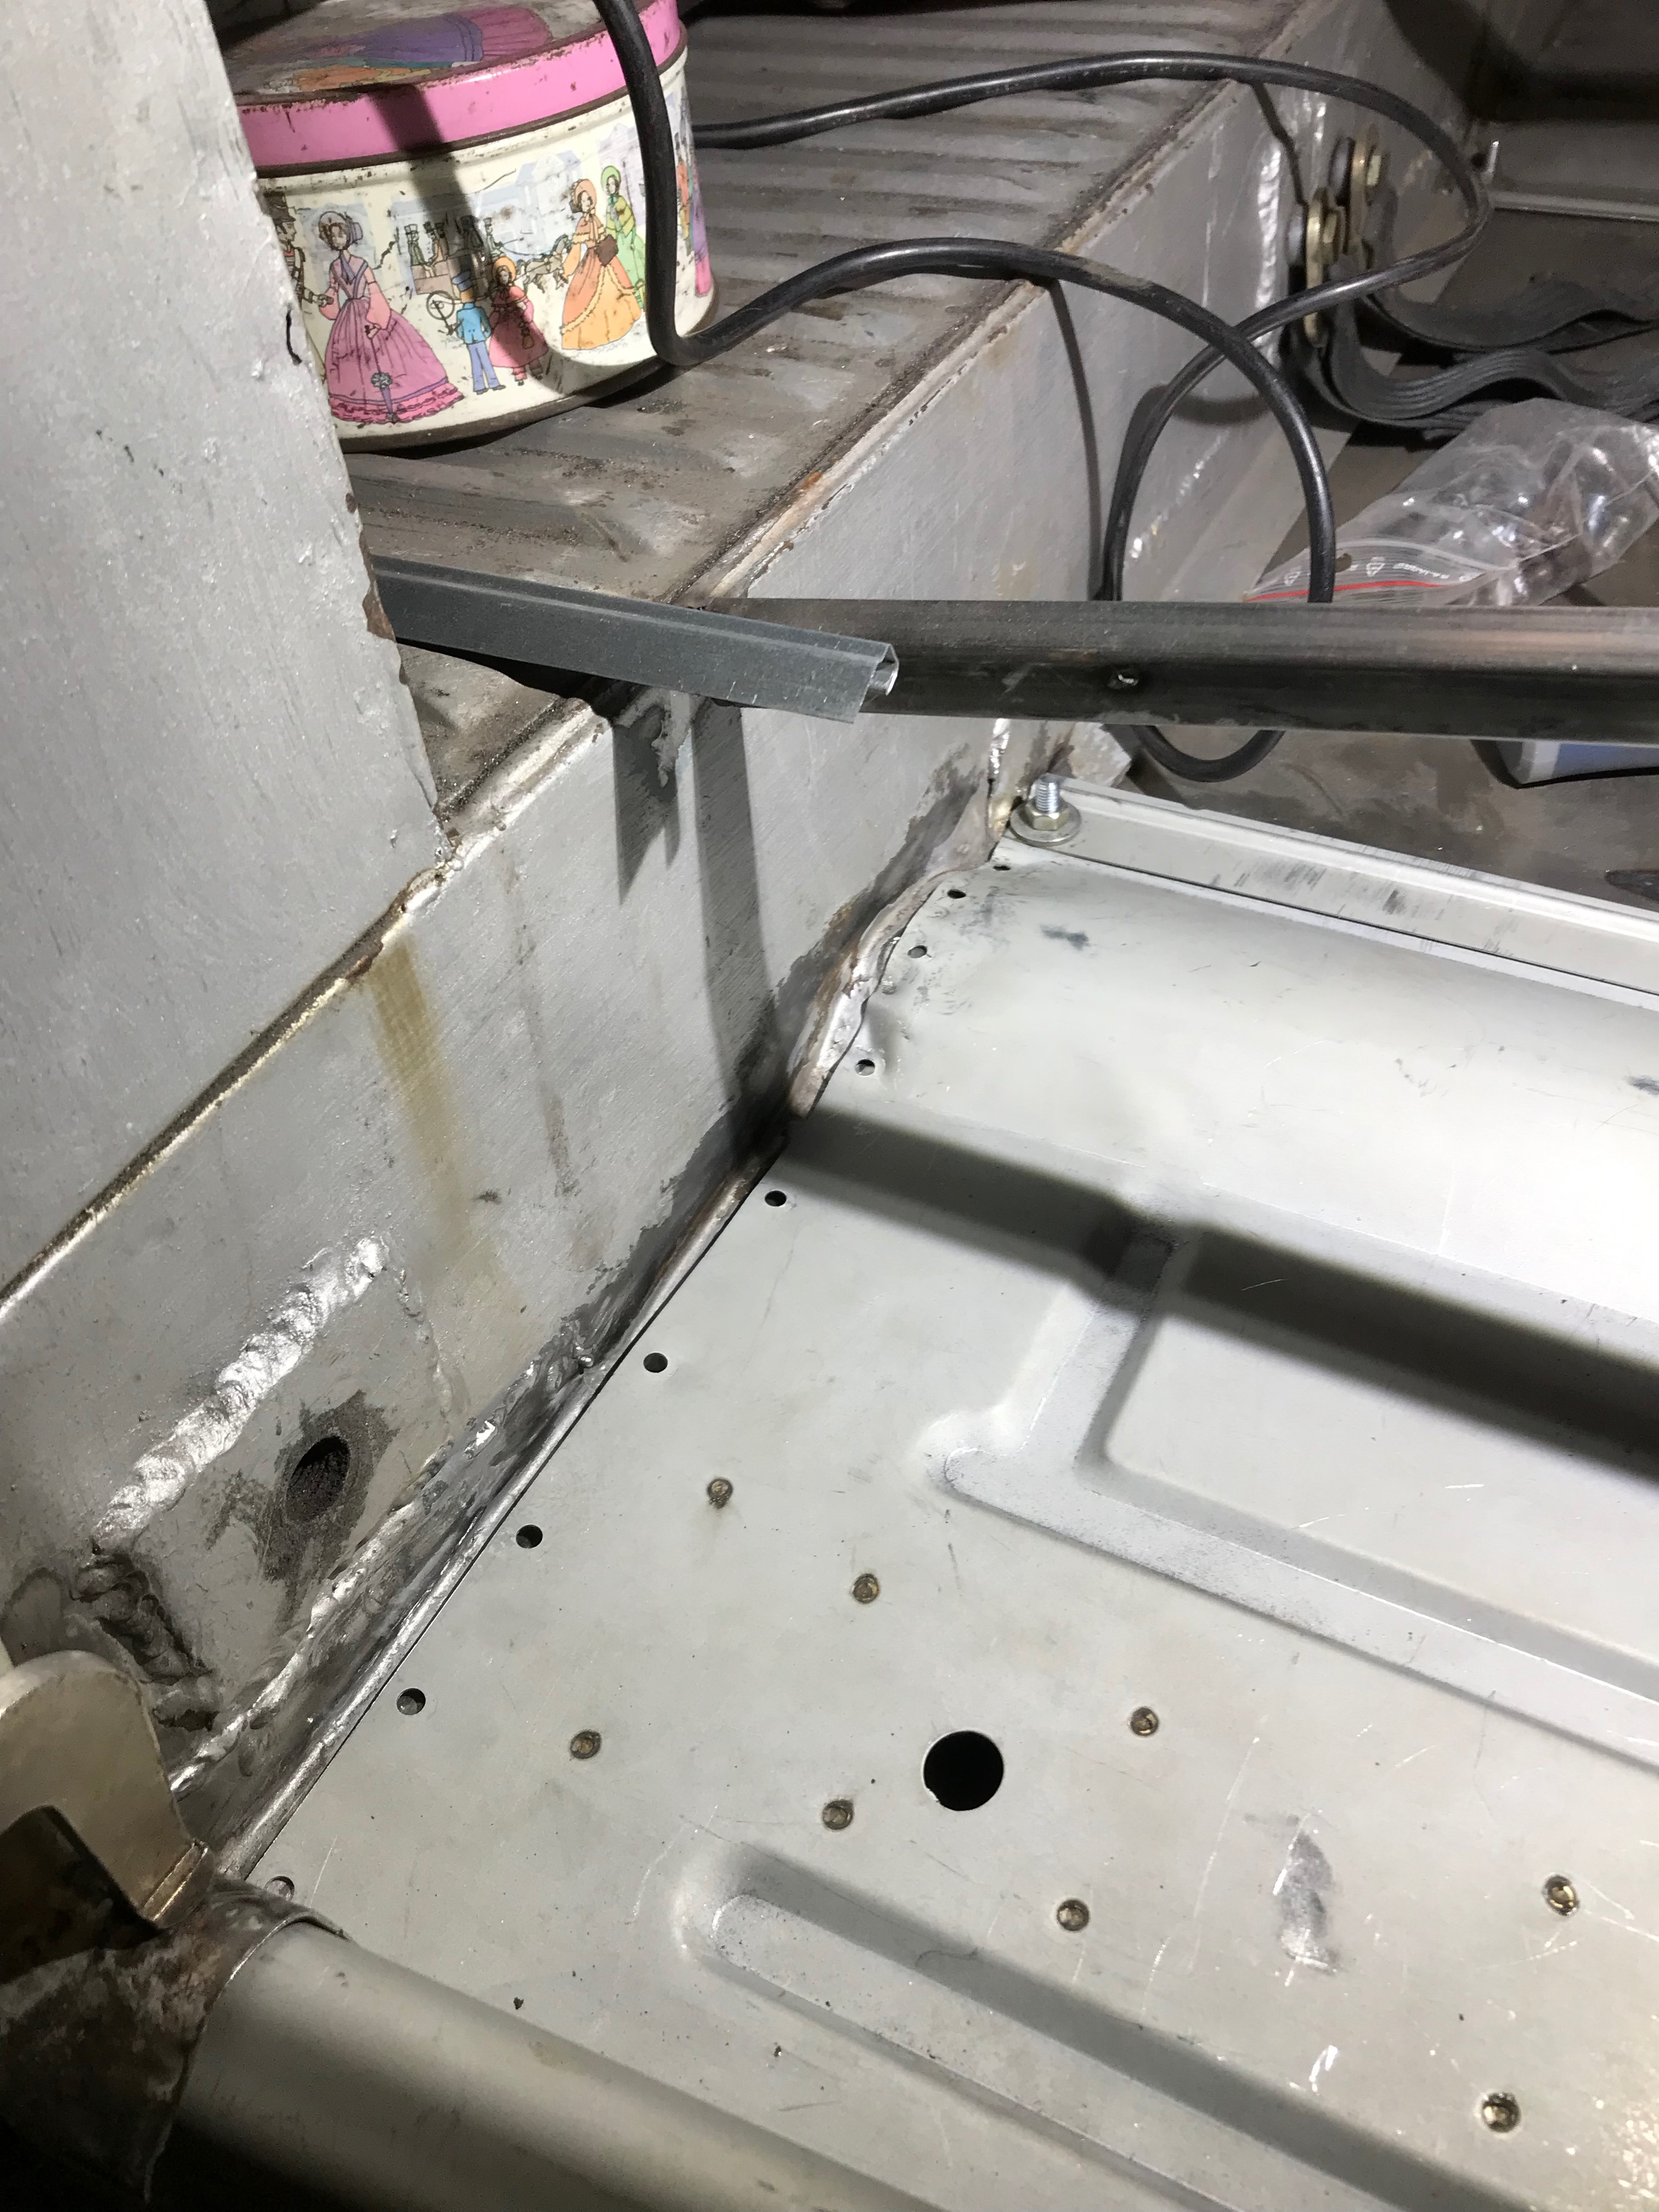
Here you can see how the sills slot into the toe board. I’ll clamp the small flange to the side of the sill and use Pete’s spot welder to make the join good. I reckon this will make a neater fix than trying to grind down a seam or plug weld in such a confined space . After that I’ll replace the bottom hinge plate. Note the inside of the A panel with the sticker on it. This will be folded over the toe board to close the gap. I’ll spot weld it first.
If you are reading this and have a 2CV, keep a close eye on these inside corners at the front of the car. The ribbed rubber mat normally sits over these joins and you won’t spot the rust taking hold until it’s well established. If you are looking to buy a 2CV, have a good poke about in this area with a sharp pointy tool (screwdriver) if you can. If the owner is looking over your shoulder, then press hard with your fingers and listen for any crunching noises and watch for any ‘give’ in the panels. The 2CV is made out of very thin panels but it all makes for a very strong structure when it’s all nice and new and properly zipped up.
