Time to take stock again and look at what order I should complete the tasks on the cab. I think this is what to do next
Peen (what a lovely word…) over the front edge of the firewall where it joins the toe board
Fix the front of the sills to the toe board slots
Weld the inner screen cross-members to the outer screen panel
Replace the bottom of both A posts
Fix the new bottom hinge plates to the A posts
Weld on the A panels
Peen the front edge of the A panels over the sides of the toe board. mmm…peen..
Shape (cut, bend and weld) and then fit the gutter repair section to both sides of the van
Weld in the outer screen panel
That’s a fair bit of work, so I’ll tackle each job at a time, so the next few blogs will document how it all goes
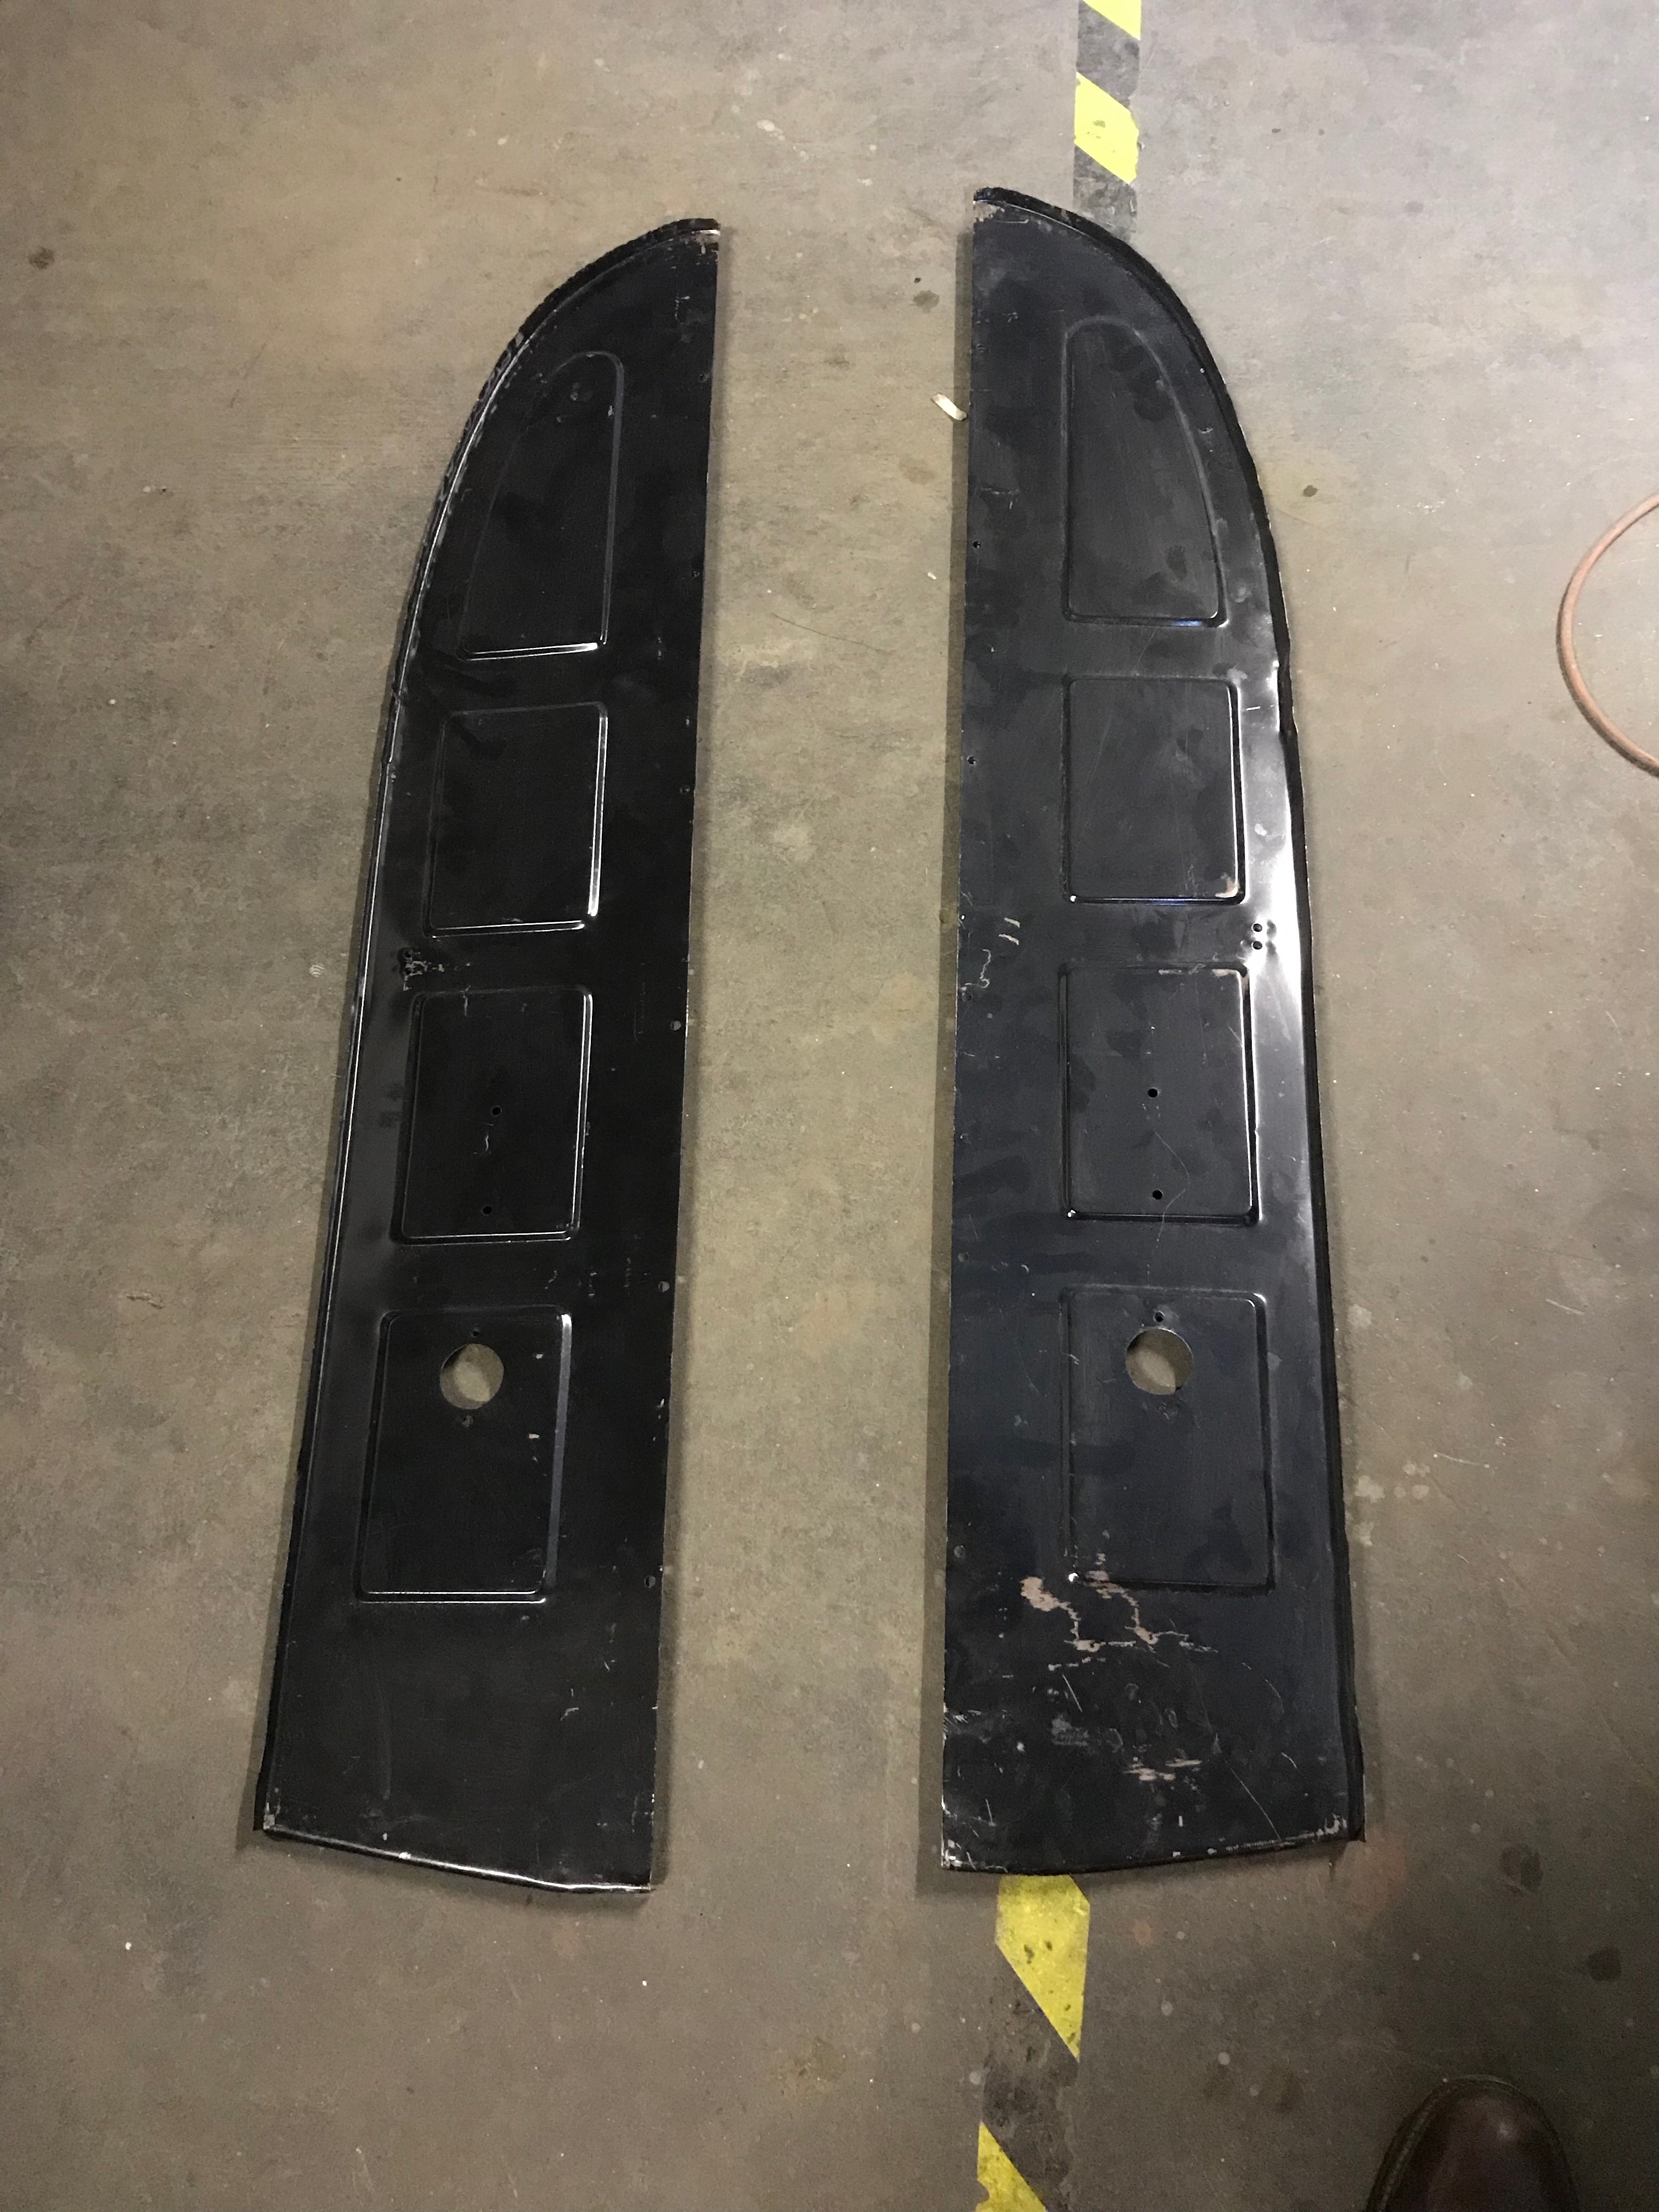
The body work at the cab end of the van will then be finished – except for a bit of tidying up on some of the welds and zipping up the floors to the sills, which will be easier when I turn the body onto its side (or roof). I need to clean and repaint the inner rear wings before the outer panels can go back on, but prior to that I’ve decided to have another look at the ‘new’ rear door pillar panels I bought a while ago – to see how much effort it would be to fit them. Here’s a picture of them
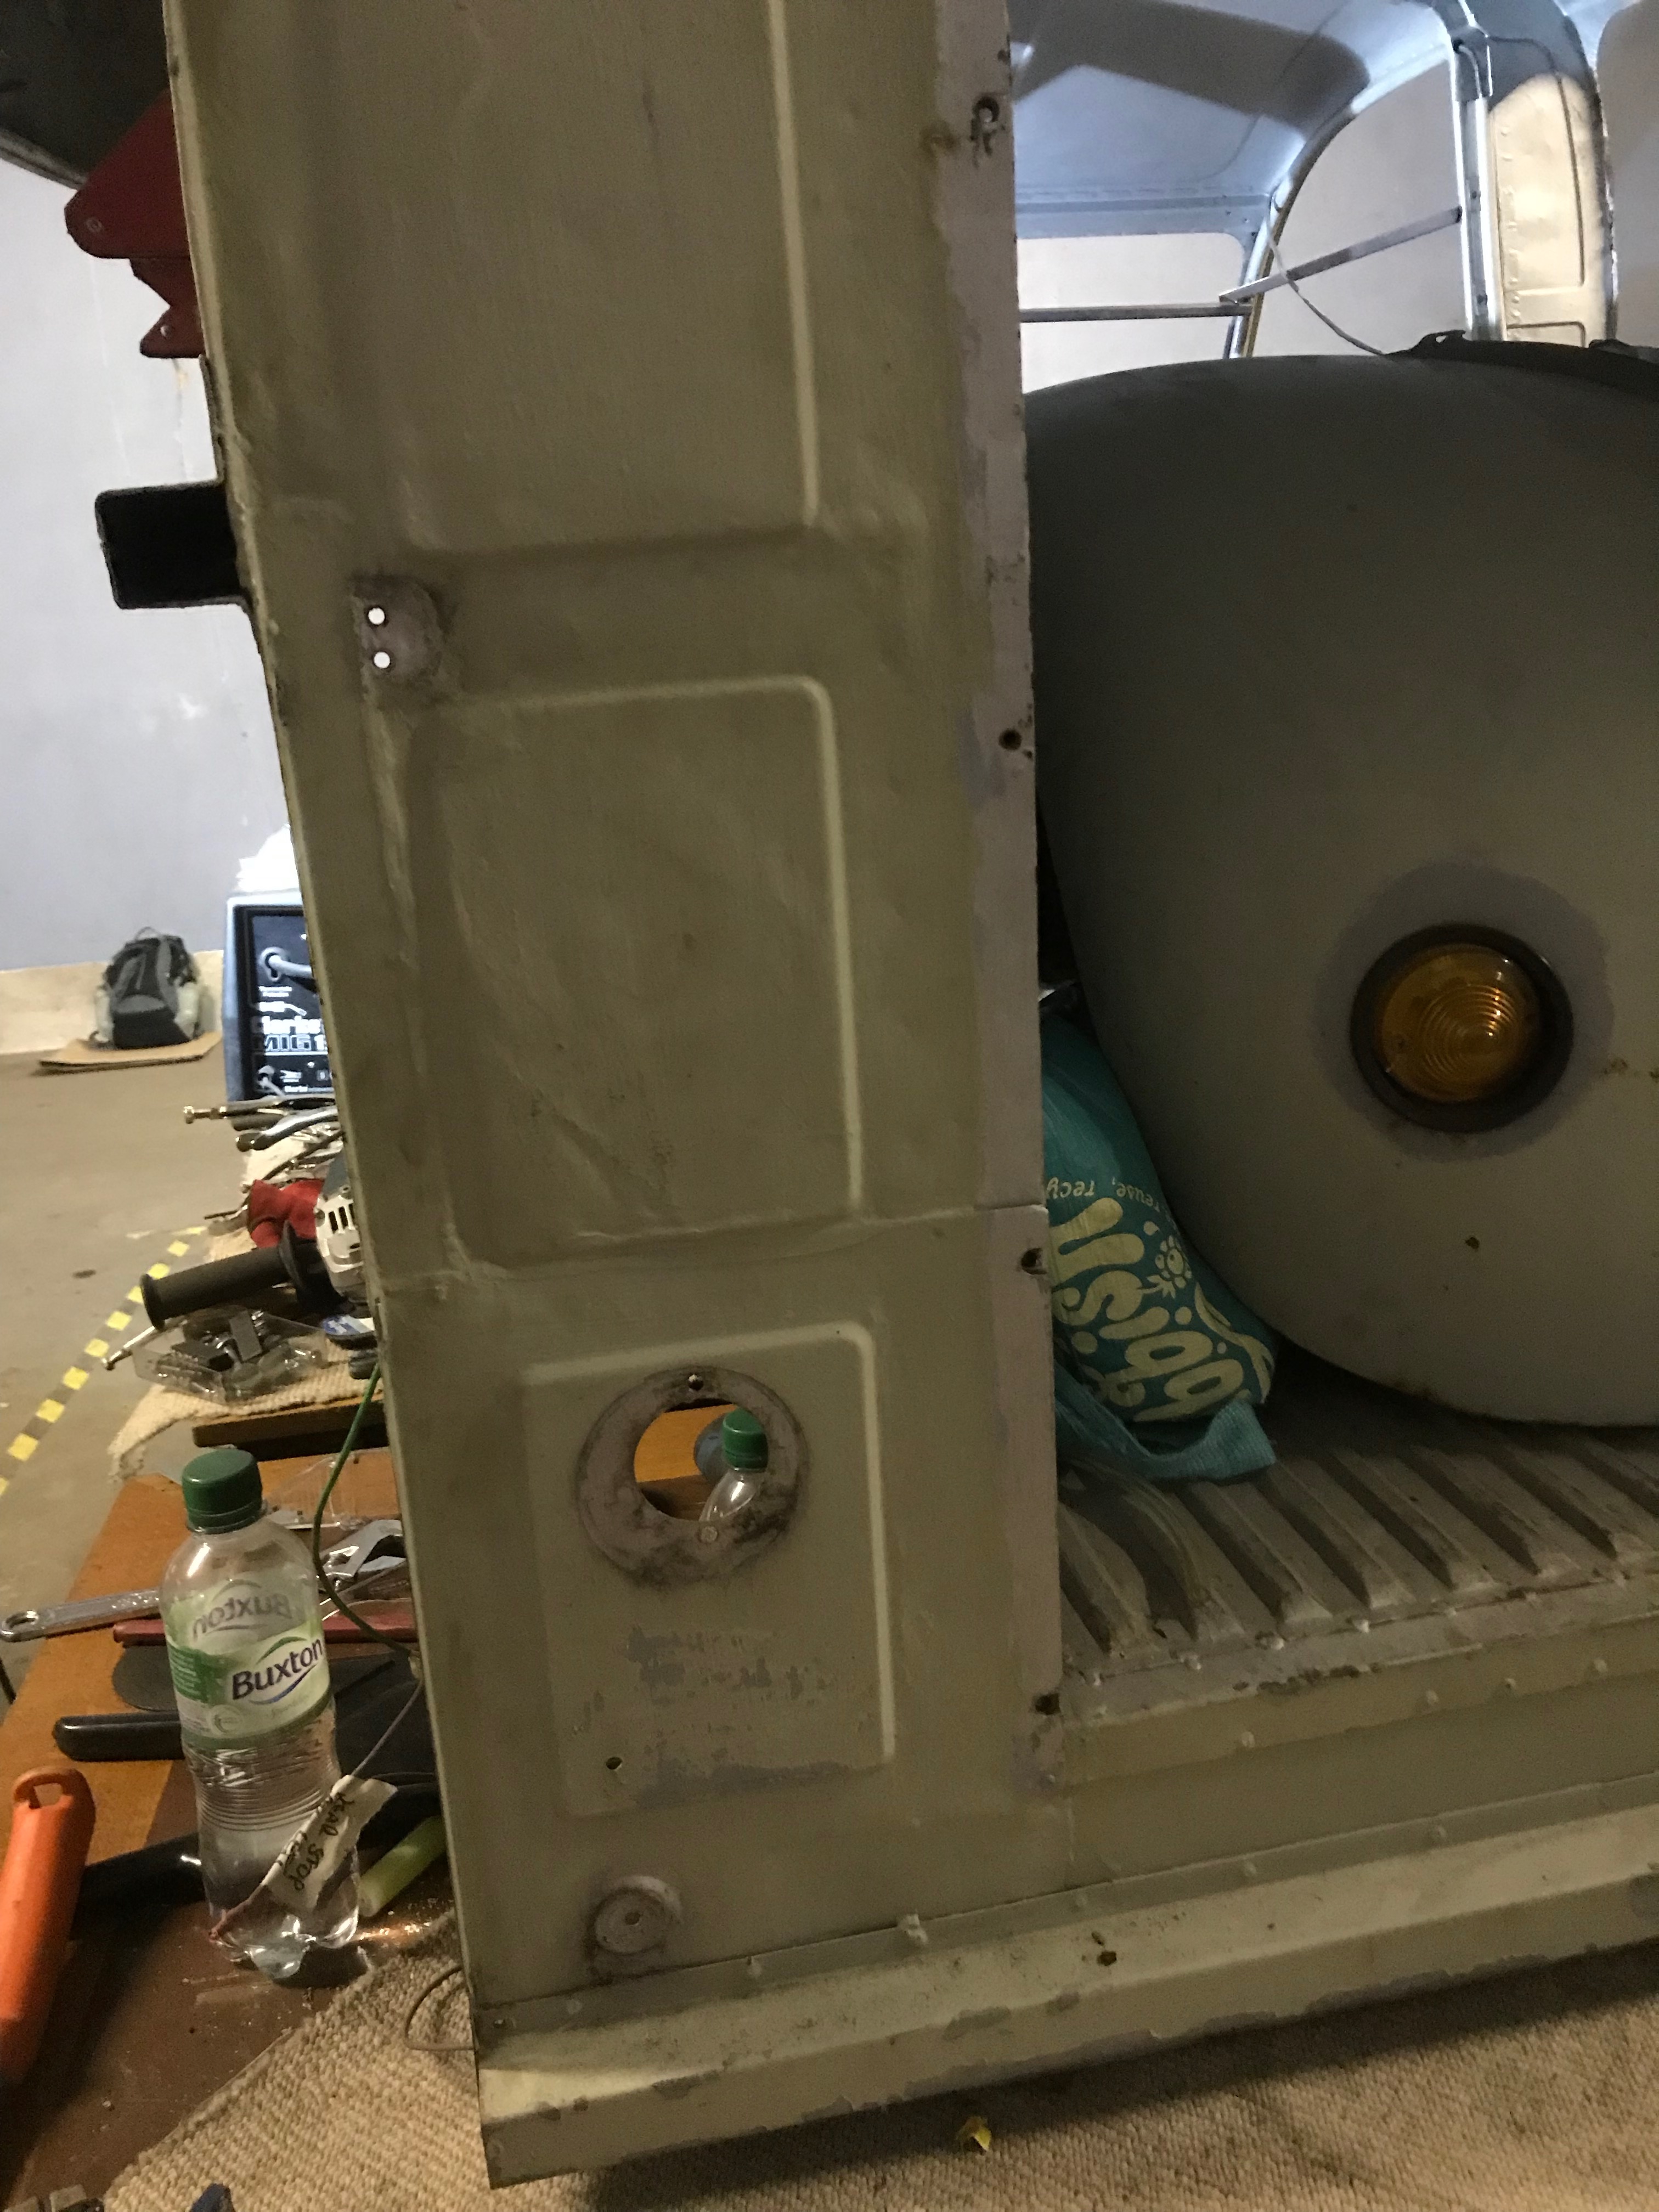
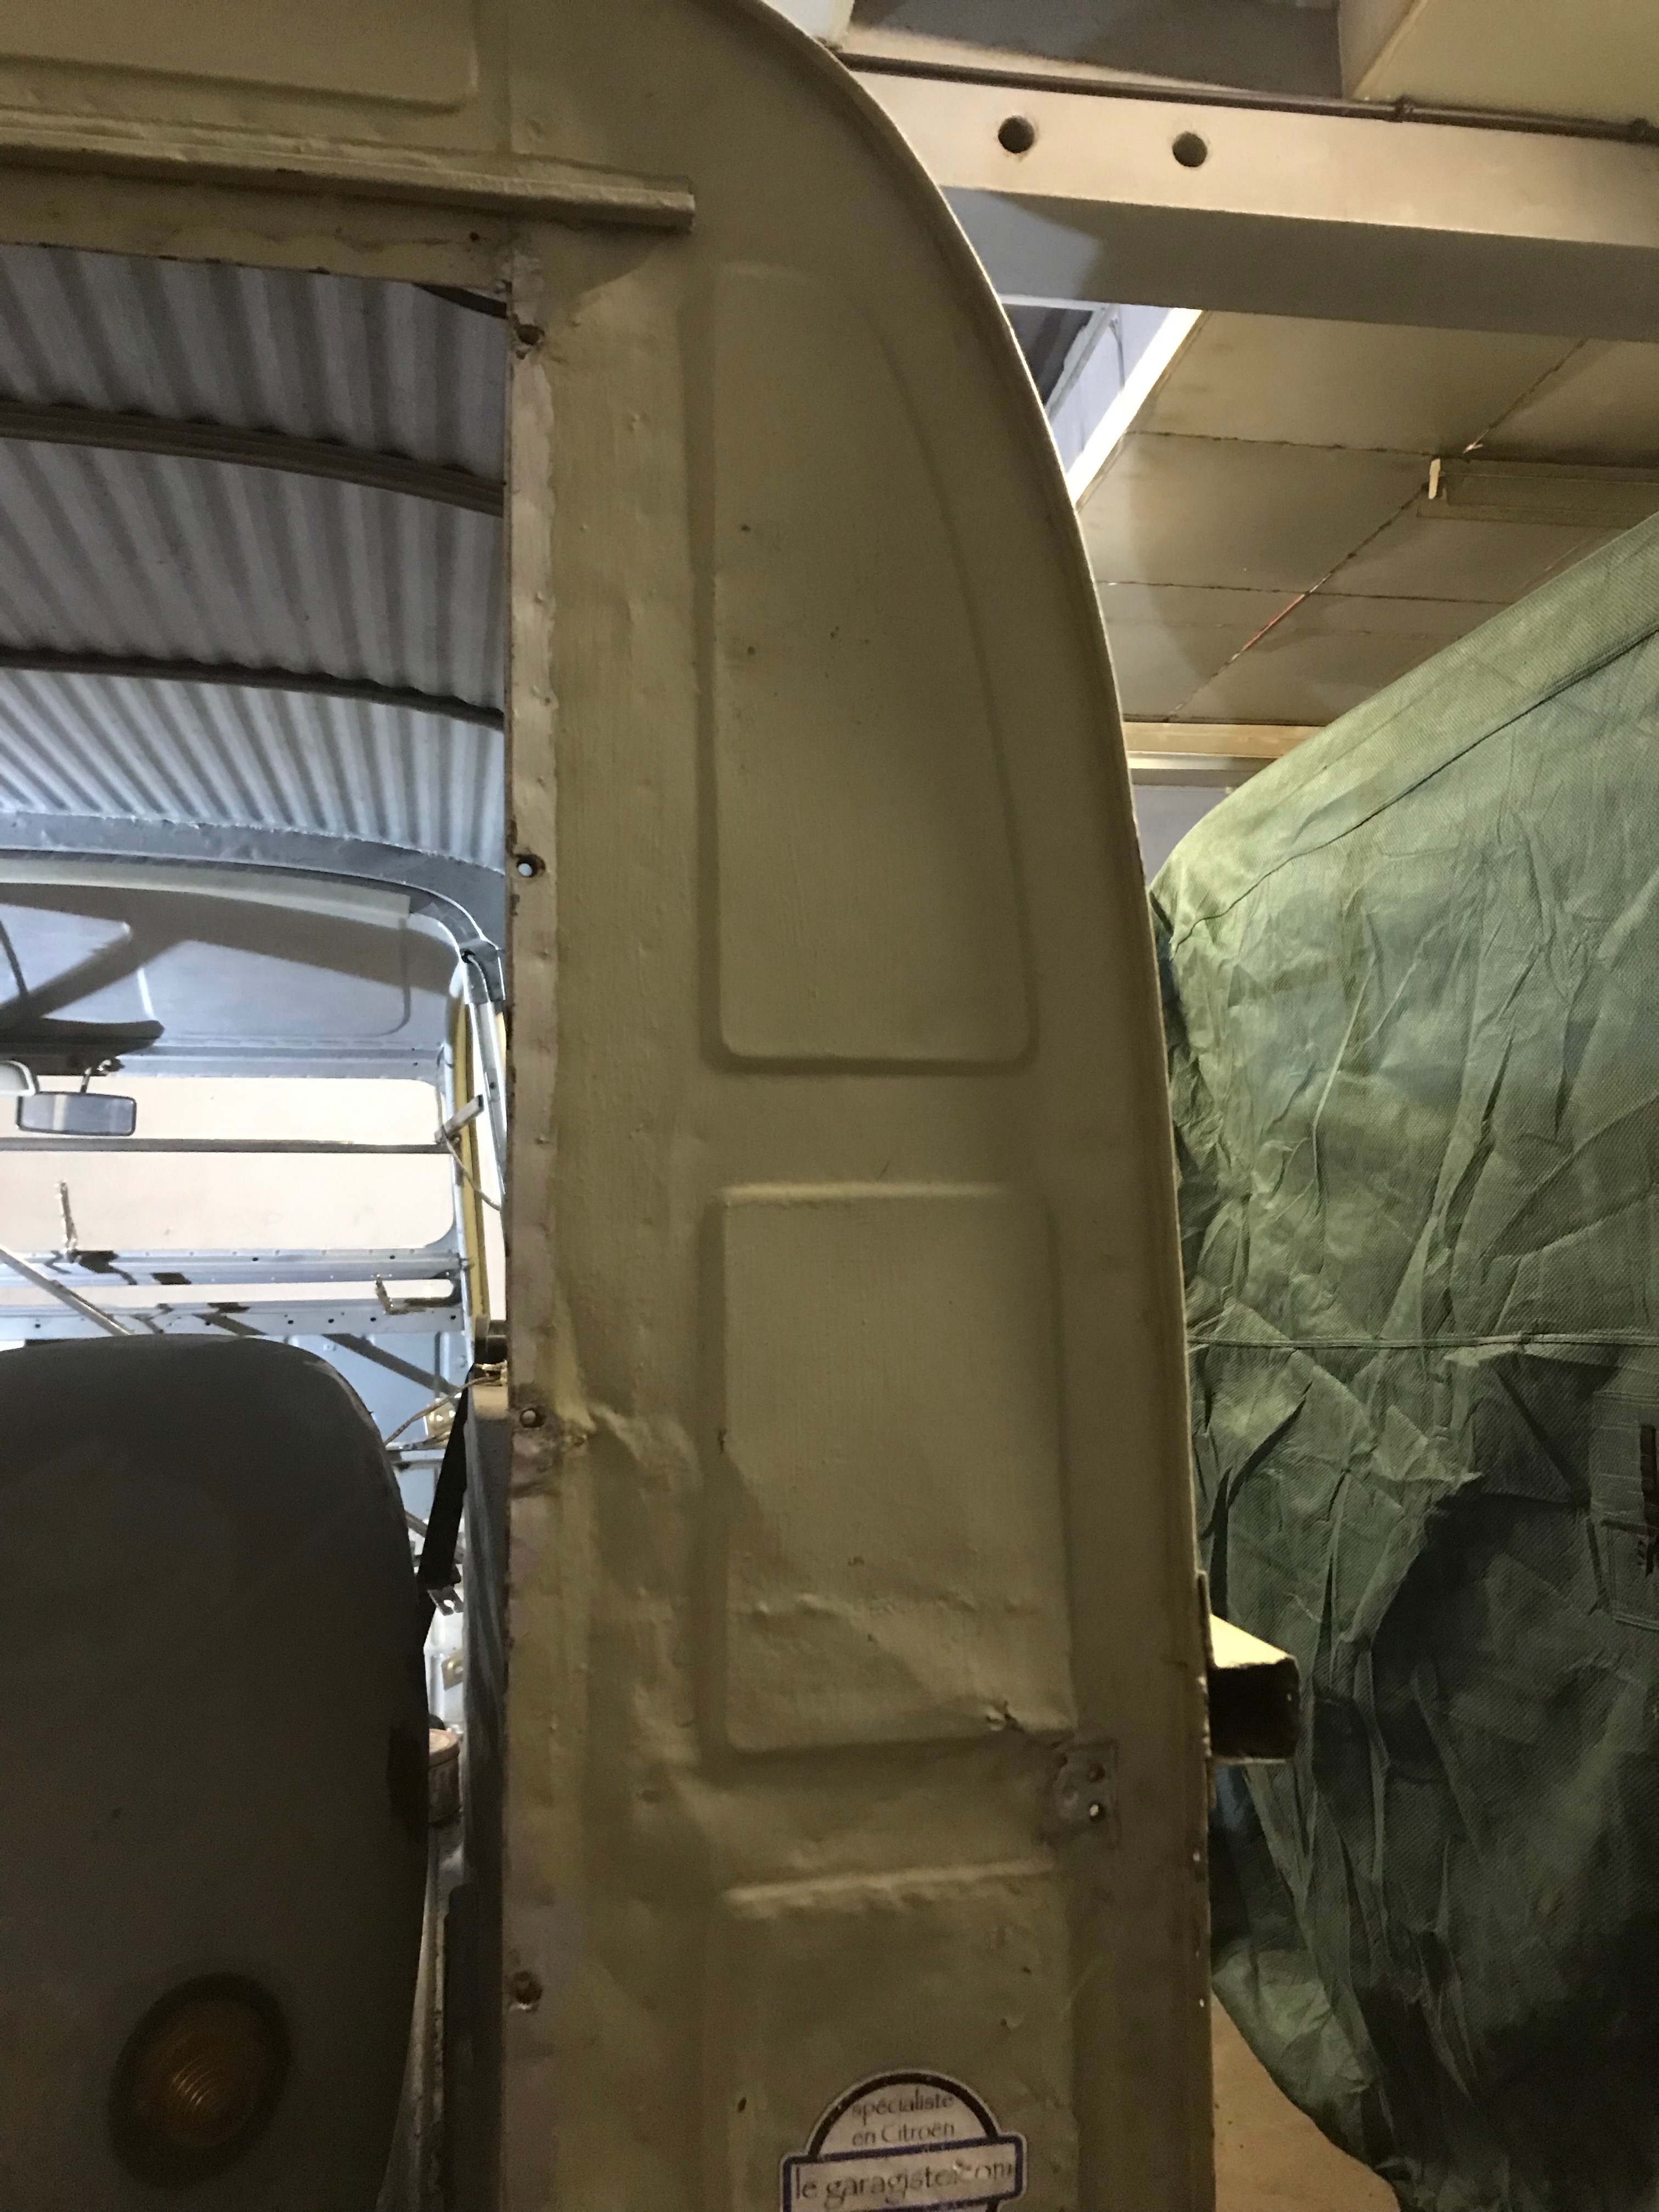
and here’s what they will replace if I choose to accept the ‘mission’ of chopping out the old and welding in the new. The old panels have had a bit of bashing in the past – I can get behind them with a dolly, but it’s difficult to re-shape such thin metal when it’s been stretched – it just wants to ‘pop’ back to its damaged state. I think this is known as the ‘oil can’ effect.
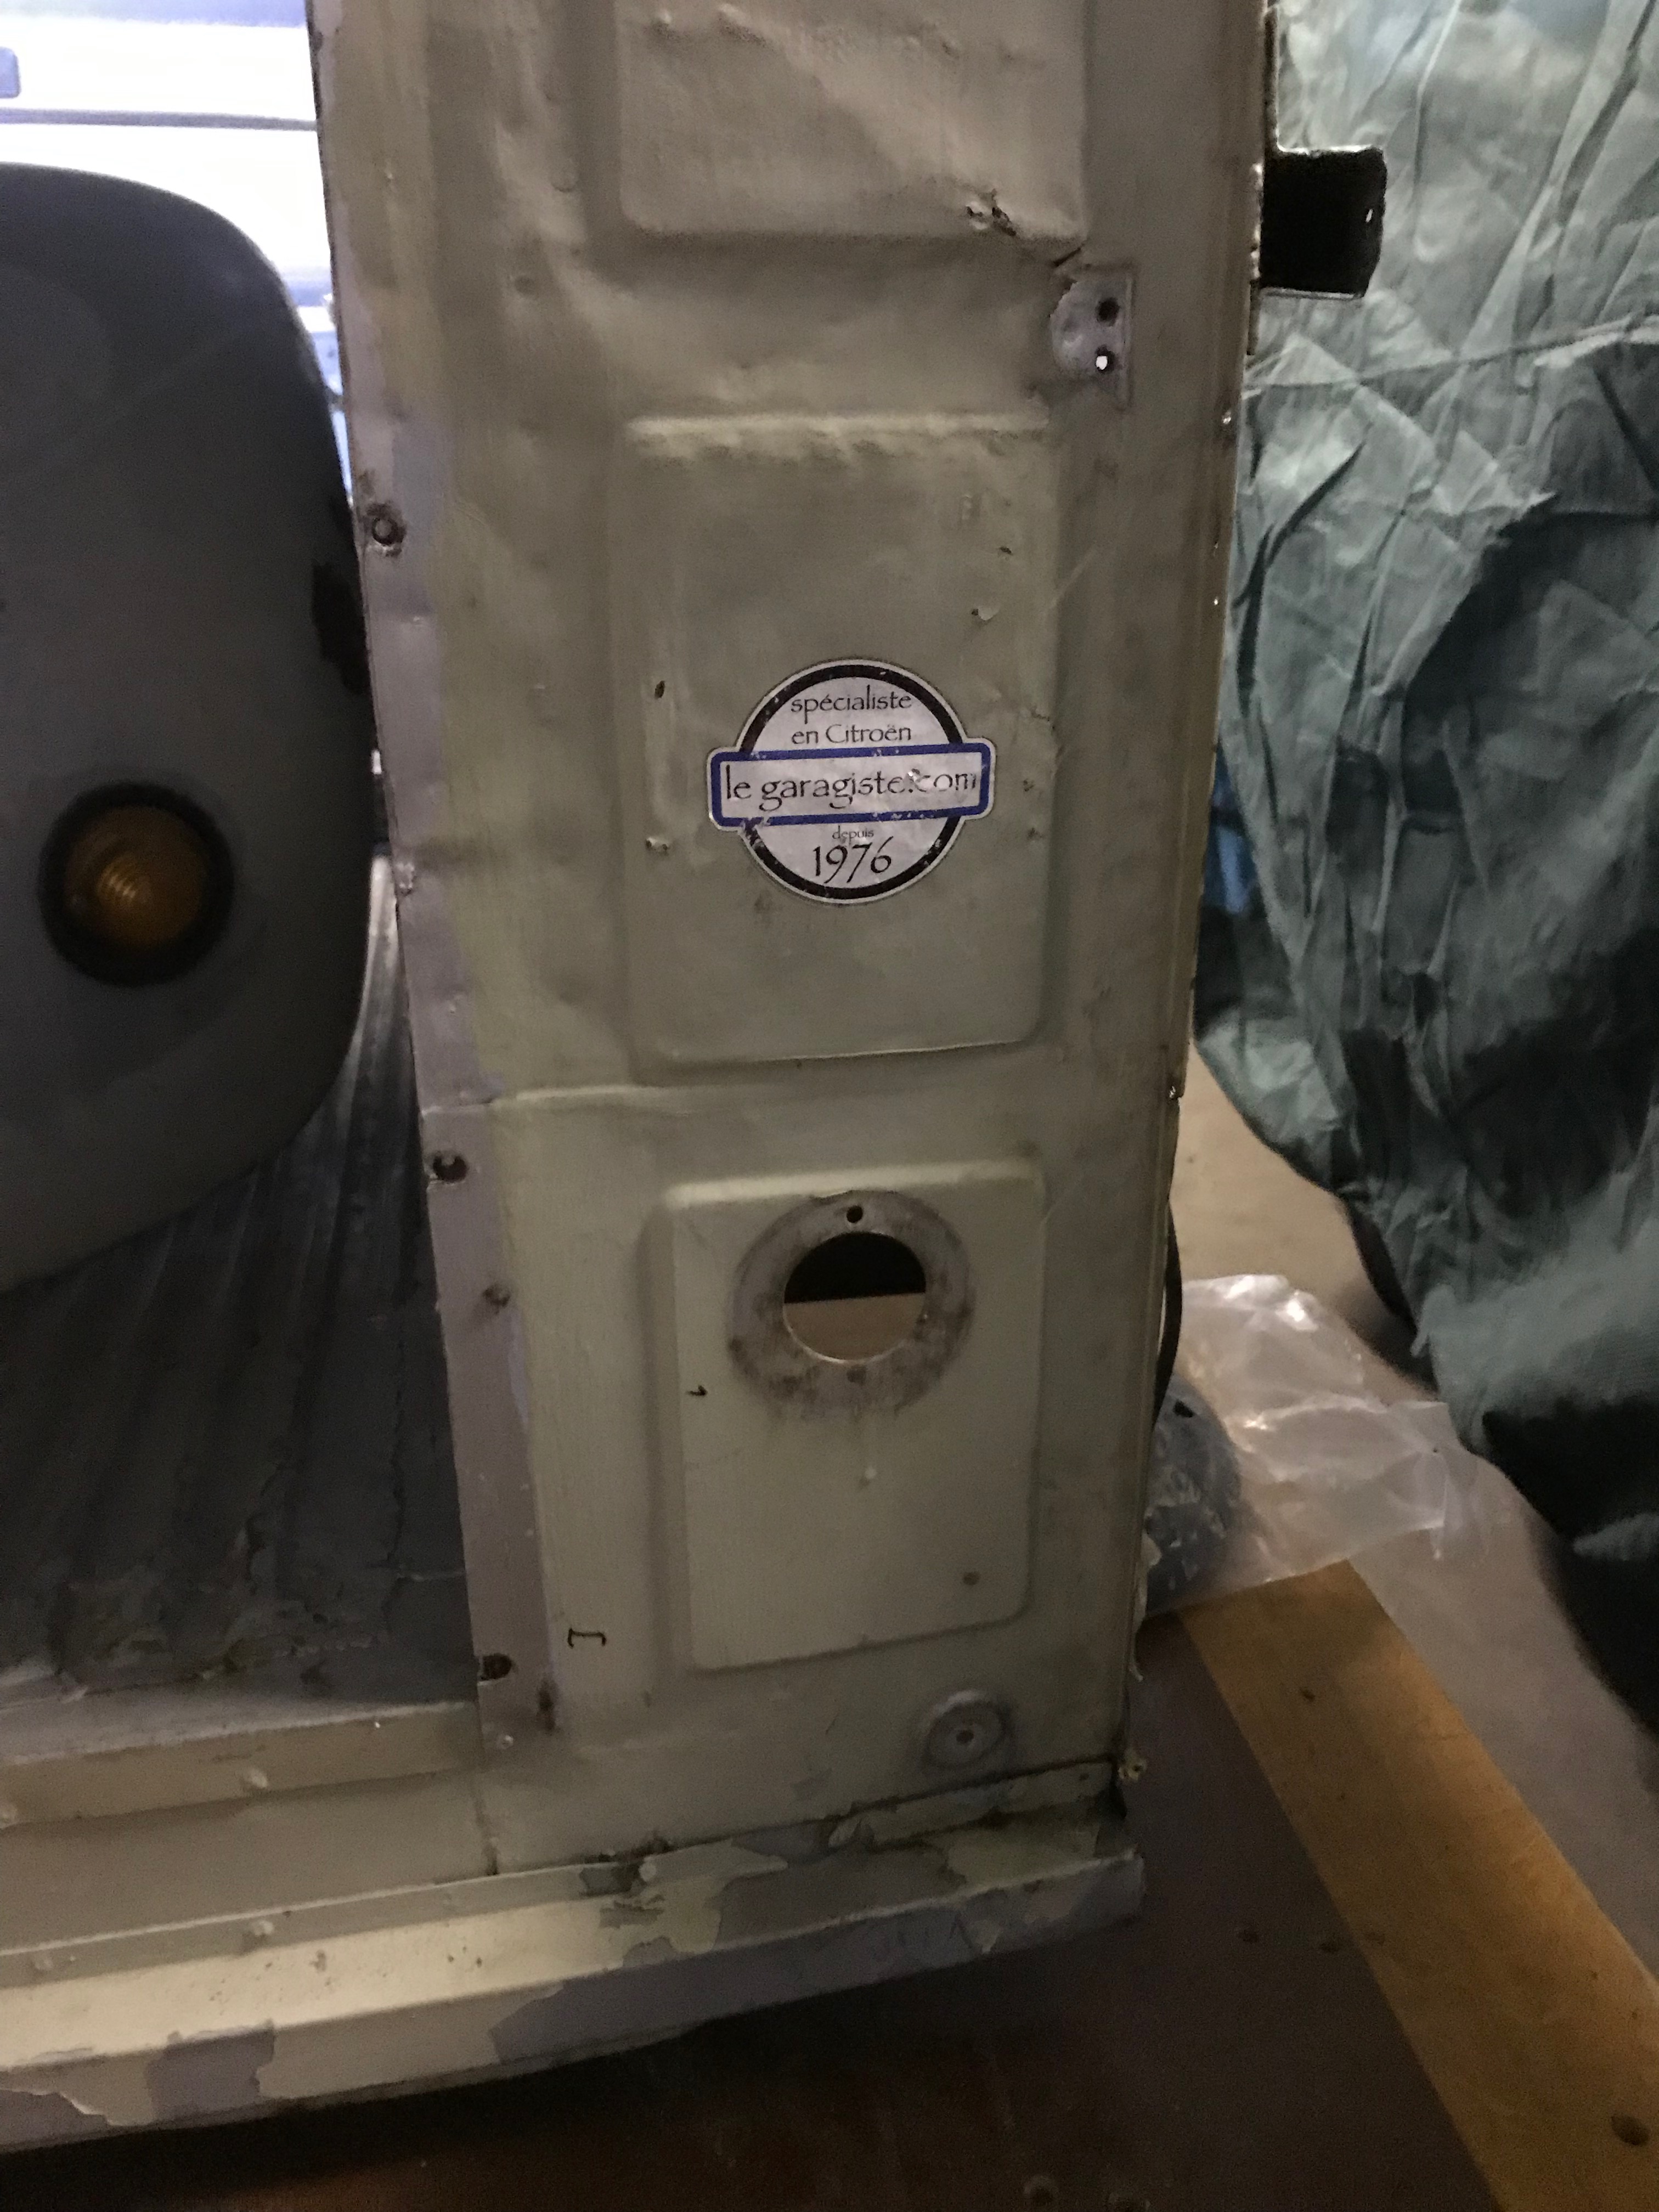
On the face of it, replacing the panels is a reasonably straightforward job. There are a load of spot welds to be unpicked and I’ll have to carefully separate the top and bottom panels on each side. I now know enough to realise that the top gutter part will fall apart when I try and remove it, so I’ll need to buy a replacement for this. What worries me a bit is what sort of edge will be left when I detach them
Where the bottom valence has been replaced in the past, the lower box section will have to be separated. The lower section of both back panels have also been replaced in the past, but the rear bumper is long gone. The rear valence should have 4? holes in it to accept the tubular bumper, which I guess is welded to the inner part of the box section. I’ve spent ages trying to get a replacement bumper, but they are not being manufactured any more and second hand ones are like hens teeth. However, I have managed to track down a pair of AK250 bumpers – in France (thanks to Mark Griffin for sorting this out) and since I have no pre-made holes to work around the fact that they are two as opposed to one bumper is neither here or there
They will need a bit of cleaning and I’ll have to devise a method of fixing them to the rear valence as the replacement panel or repair which was fitted during the last restoration did not have any holes in it.
I’ve also cut out a small section of the firewall so that the brake master cylinder mount can be bolted flush to the bodywork. I had to use the old chopped out bulkhead for reference which has been dragged about and handled many times. I’ve grown quite fond of it and might turn it into a piece of wall art when I’m finished, perhaps the Tate Modern will want it installed in the Turbine Hall. I also noticed that I have a hole missing in the new bulkhead and a spare ‘oval’ hole in the wrong place. I can make a nice plate to go over the spare hole and I’ll have to cut out the new hole with a hole saw. I know I have a set of hole saws somewhere, if only I knew where they were….
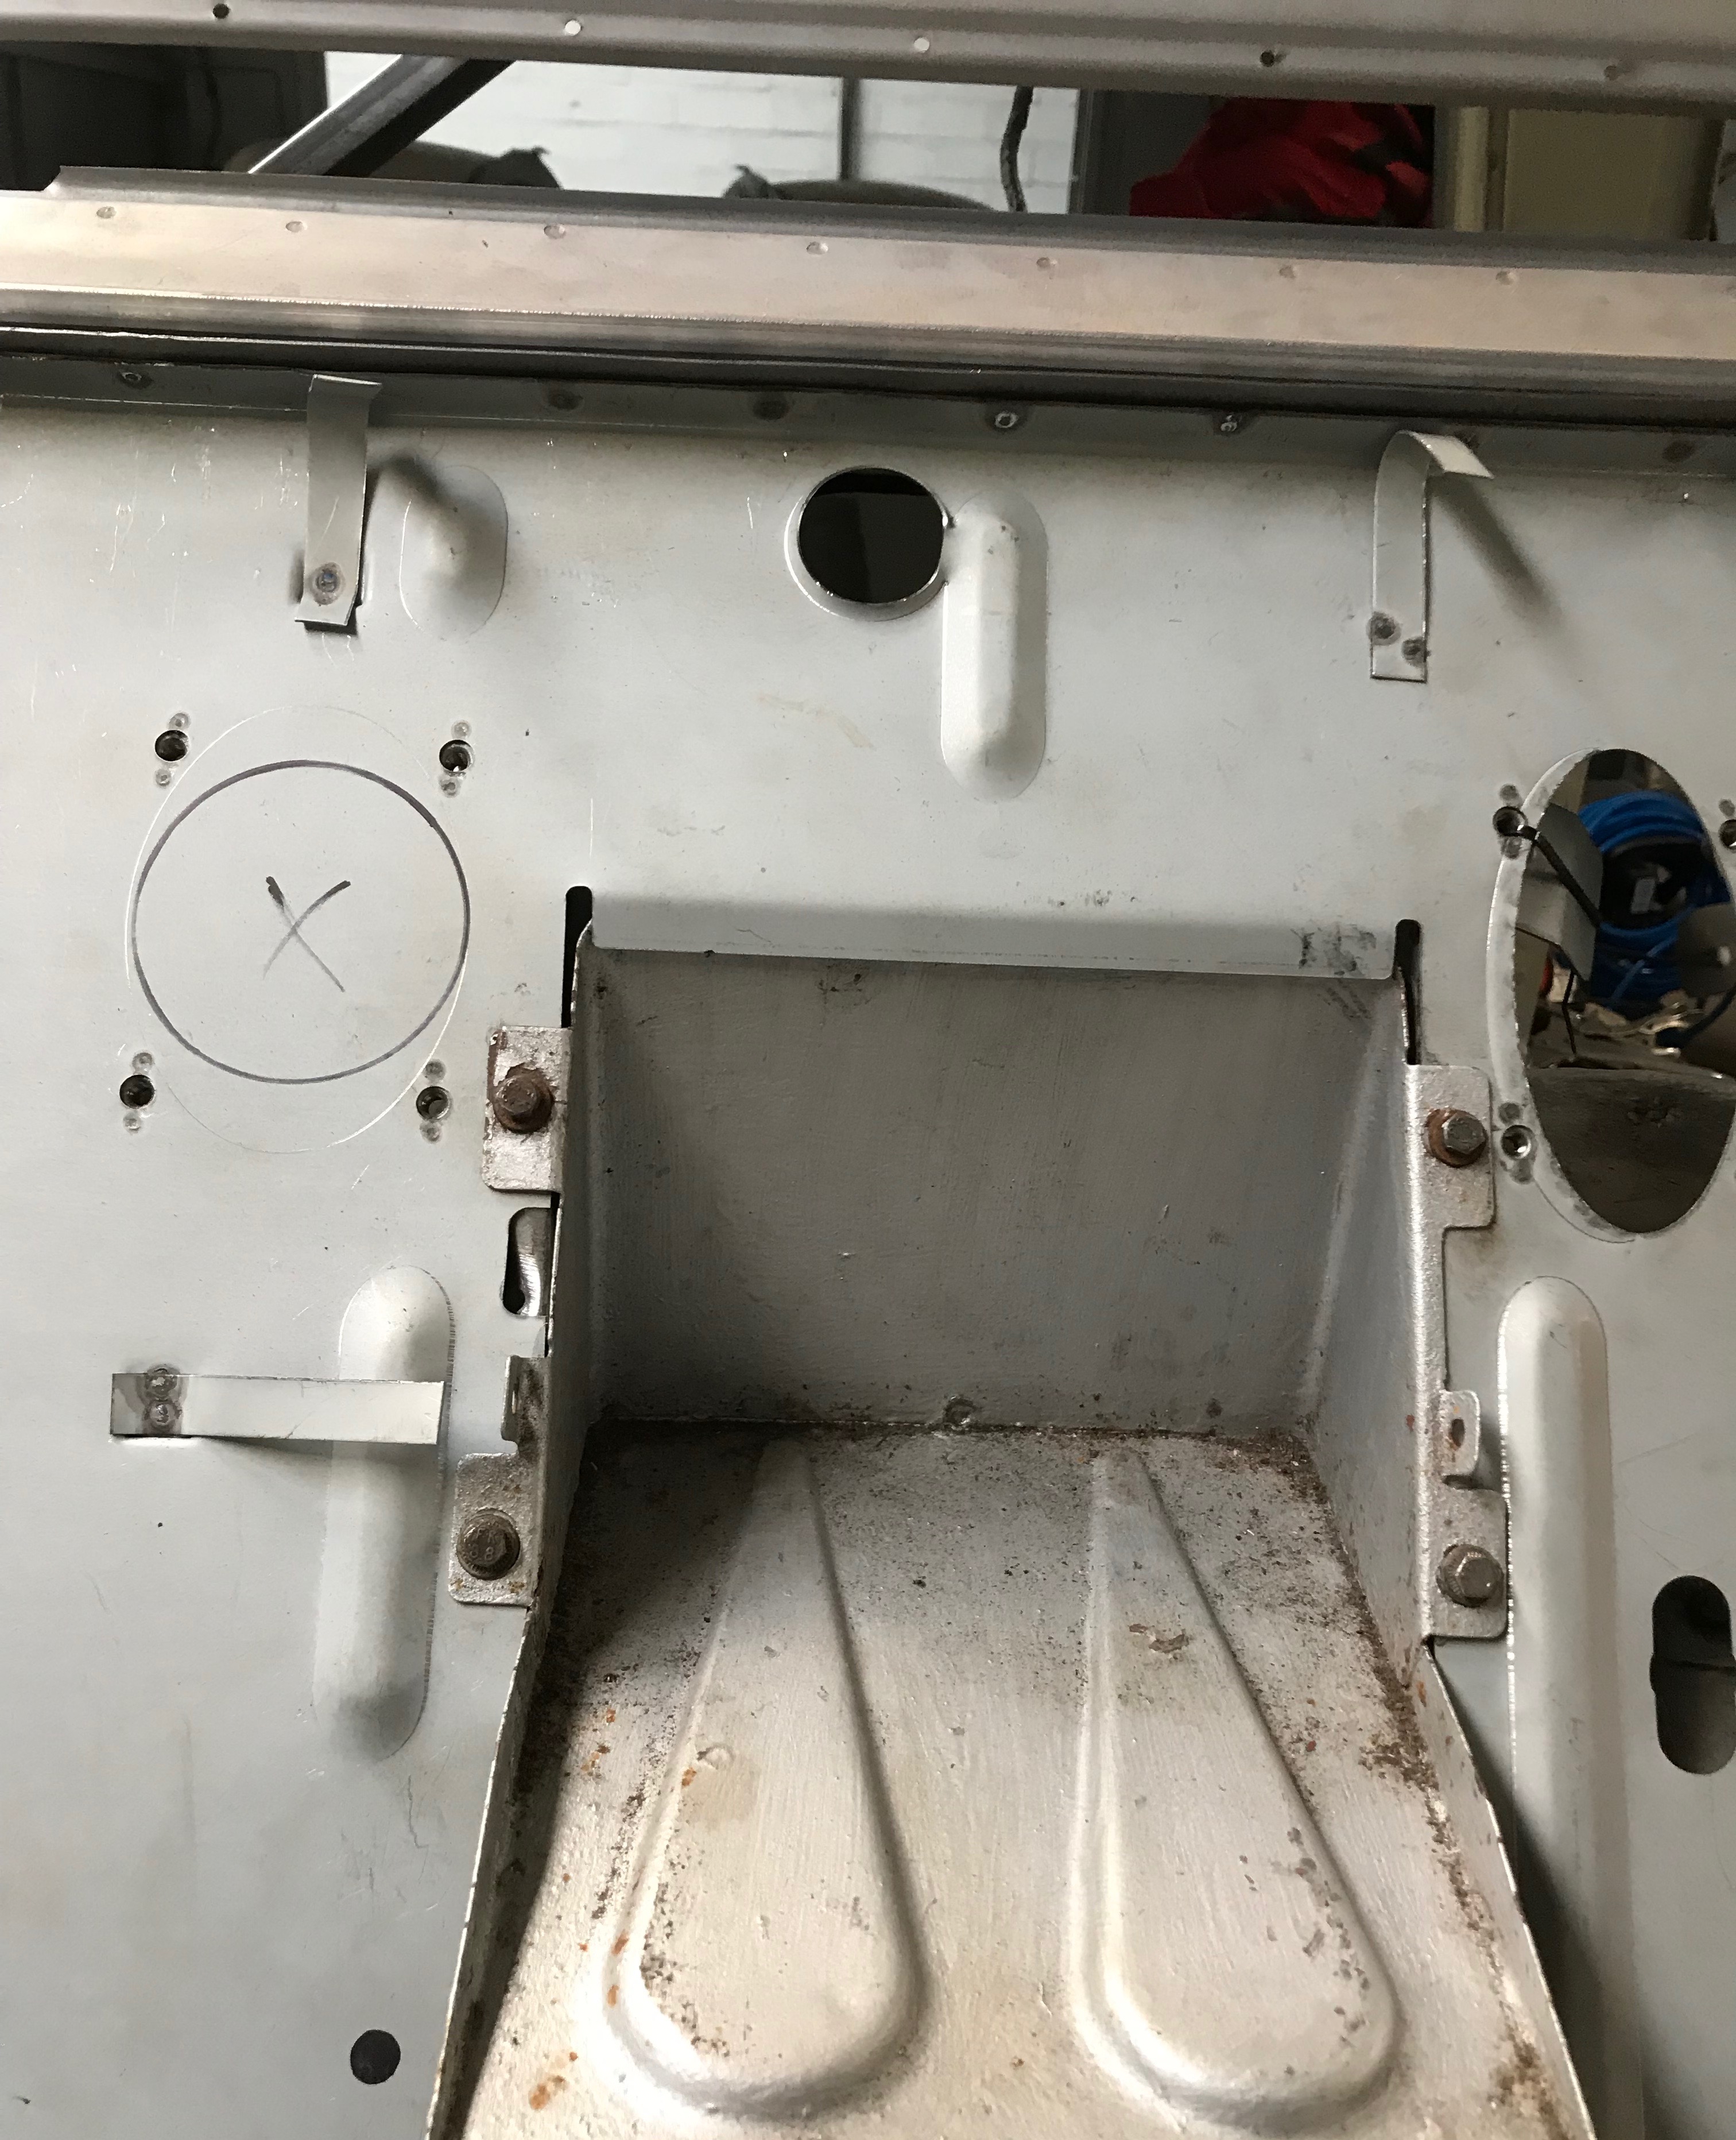
When I find the hole saw set (or buy another) I really could do with cutting another hole in the bulkhead and installing a heater tube on the drivers side footwell to keep my toes warm in the winter, so I suppose now is the time to make this modification. All this hole cutting will leave me with 2 spare discs of steel, which I might be able to use to fill in the indicator holes in the front wings – more on this later.
