The front parcel shelf has been bothering me for a while, not least because its so rusty but that it hardly functions as a parcel shelf at all. It’s not level for a start and its cheese shaped, so anything that looks like it should fit into it, doesn’t – unless it is a piece of cheese and has been put in place thin end first. I like cheese as much as the next person, but as I have a van, I don’t need to store cheese on my parcel shelf – I can just throw it in the back.
Parcel shelves are a black hole for small things. Any loose change disappears when put on it as the coins slide towards the front and become wedged in the join between it and the firewall. Pens roll to the back and there’s no way that they can be got at using just fingers. Among the list of things I removed from the parcel shelf before I started the project are:
Some boiled sweets which had bonded themselves to the innermost edge at the front and had to be chipped out with a screwdriver
A selection of nuts, bolts and washers that had become detached from the van at some point but had no obvious home or source and no discernible detrimental effect on the looks or performance of the van. However, like the loose, used fuses one keeps in the kitchen drawer (some of which have blown) and perished elastic bands that might come in handy one day, can never be thrown out and are destined to accumulate
A McDonalds Hash Brown – AKA a ‘greasy slice’. These do not decompose and some 5 year old sachets of ketchup with a use by date that’s long expired but nonetheless will taste the same as the day it was made
A fuel loyalty card. Which will never accumulate enough points on it to buy anything because a 2cv uses so little petrol
Its just like the back of a sofa but with less gritty bits – what are those gritty bits and where do they come from? Another one of life’s less interesting mysteries that doesn’t warrant delving into.
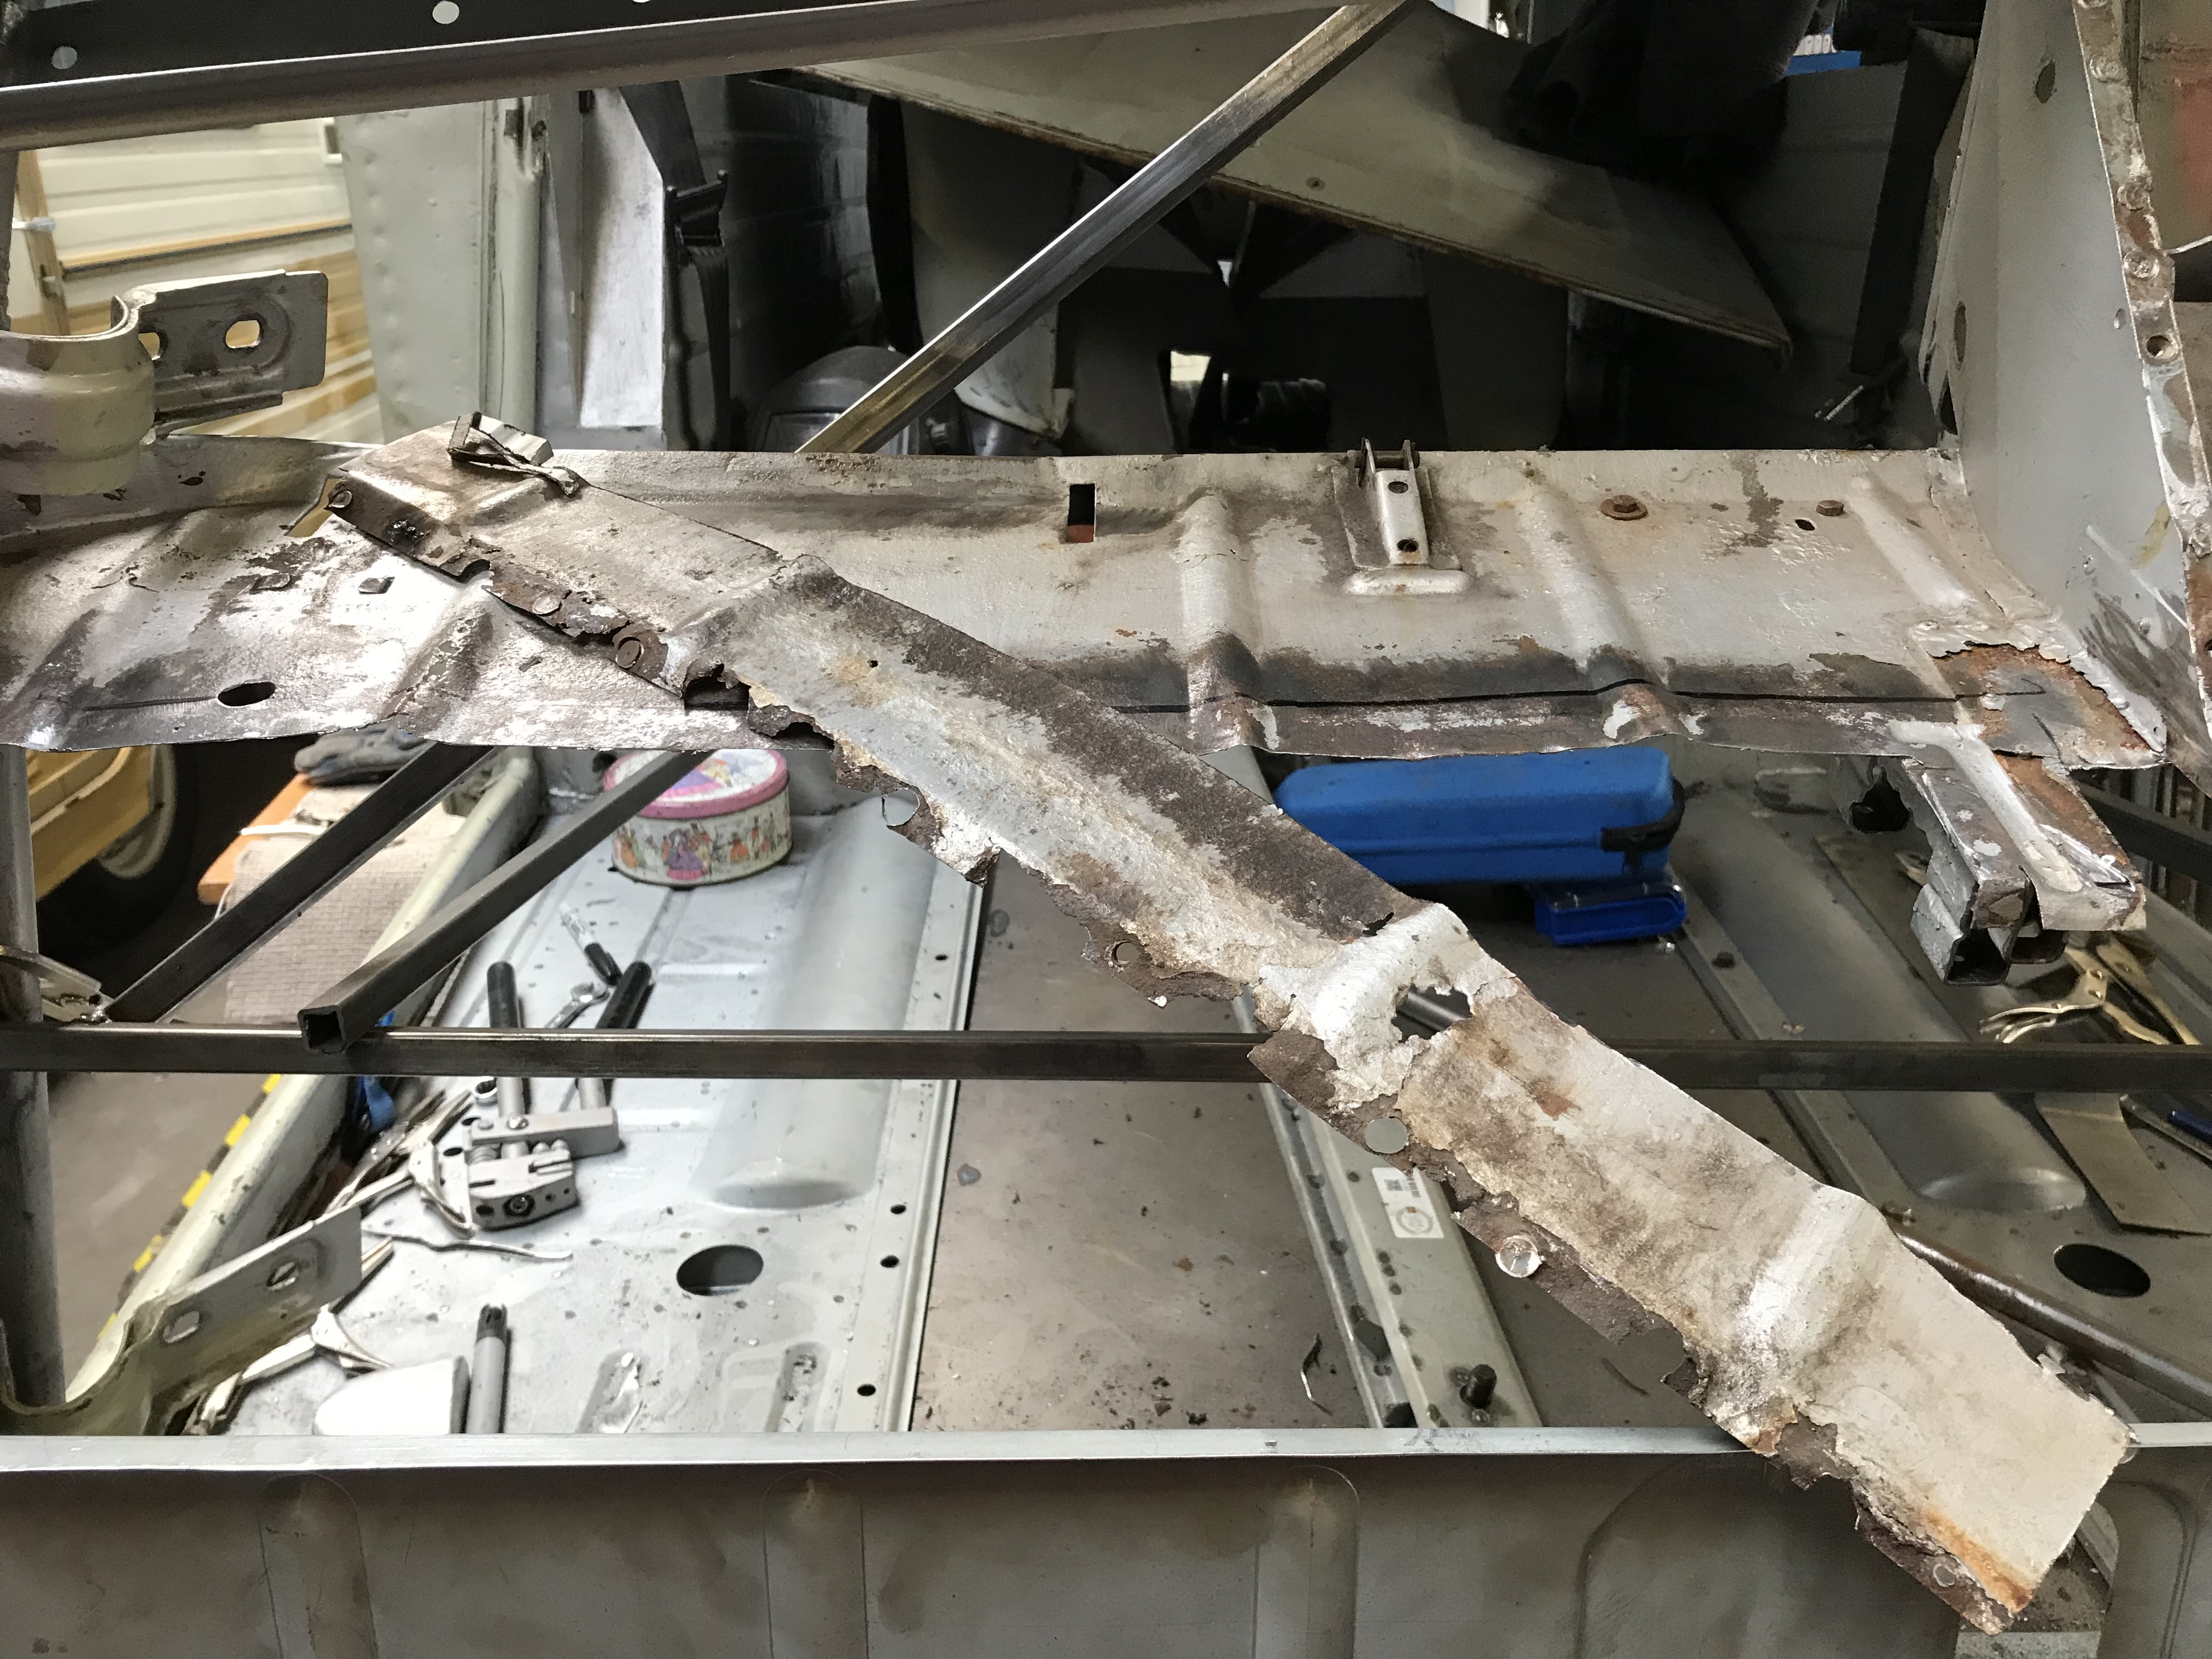
Anyway, back to the parcel shelf – it does add some structural integrity to the front of the 2CV and therefore must be sound. Mine isn’t. Removing the firewall has pretty much destroyed the front edge and what’s left is too rusty and thin to be able to weld back on to the firewall. I could buy a new parcel shelf but that would involve removing the instrument binnacle, which would leave that equally compromised.. and it’s another £80, which I’d rather spend on beer.
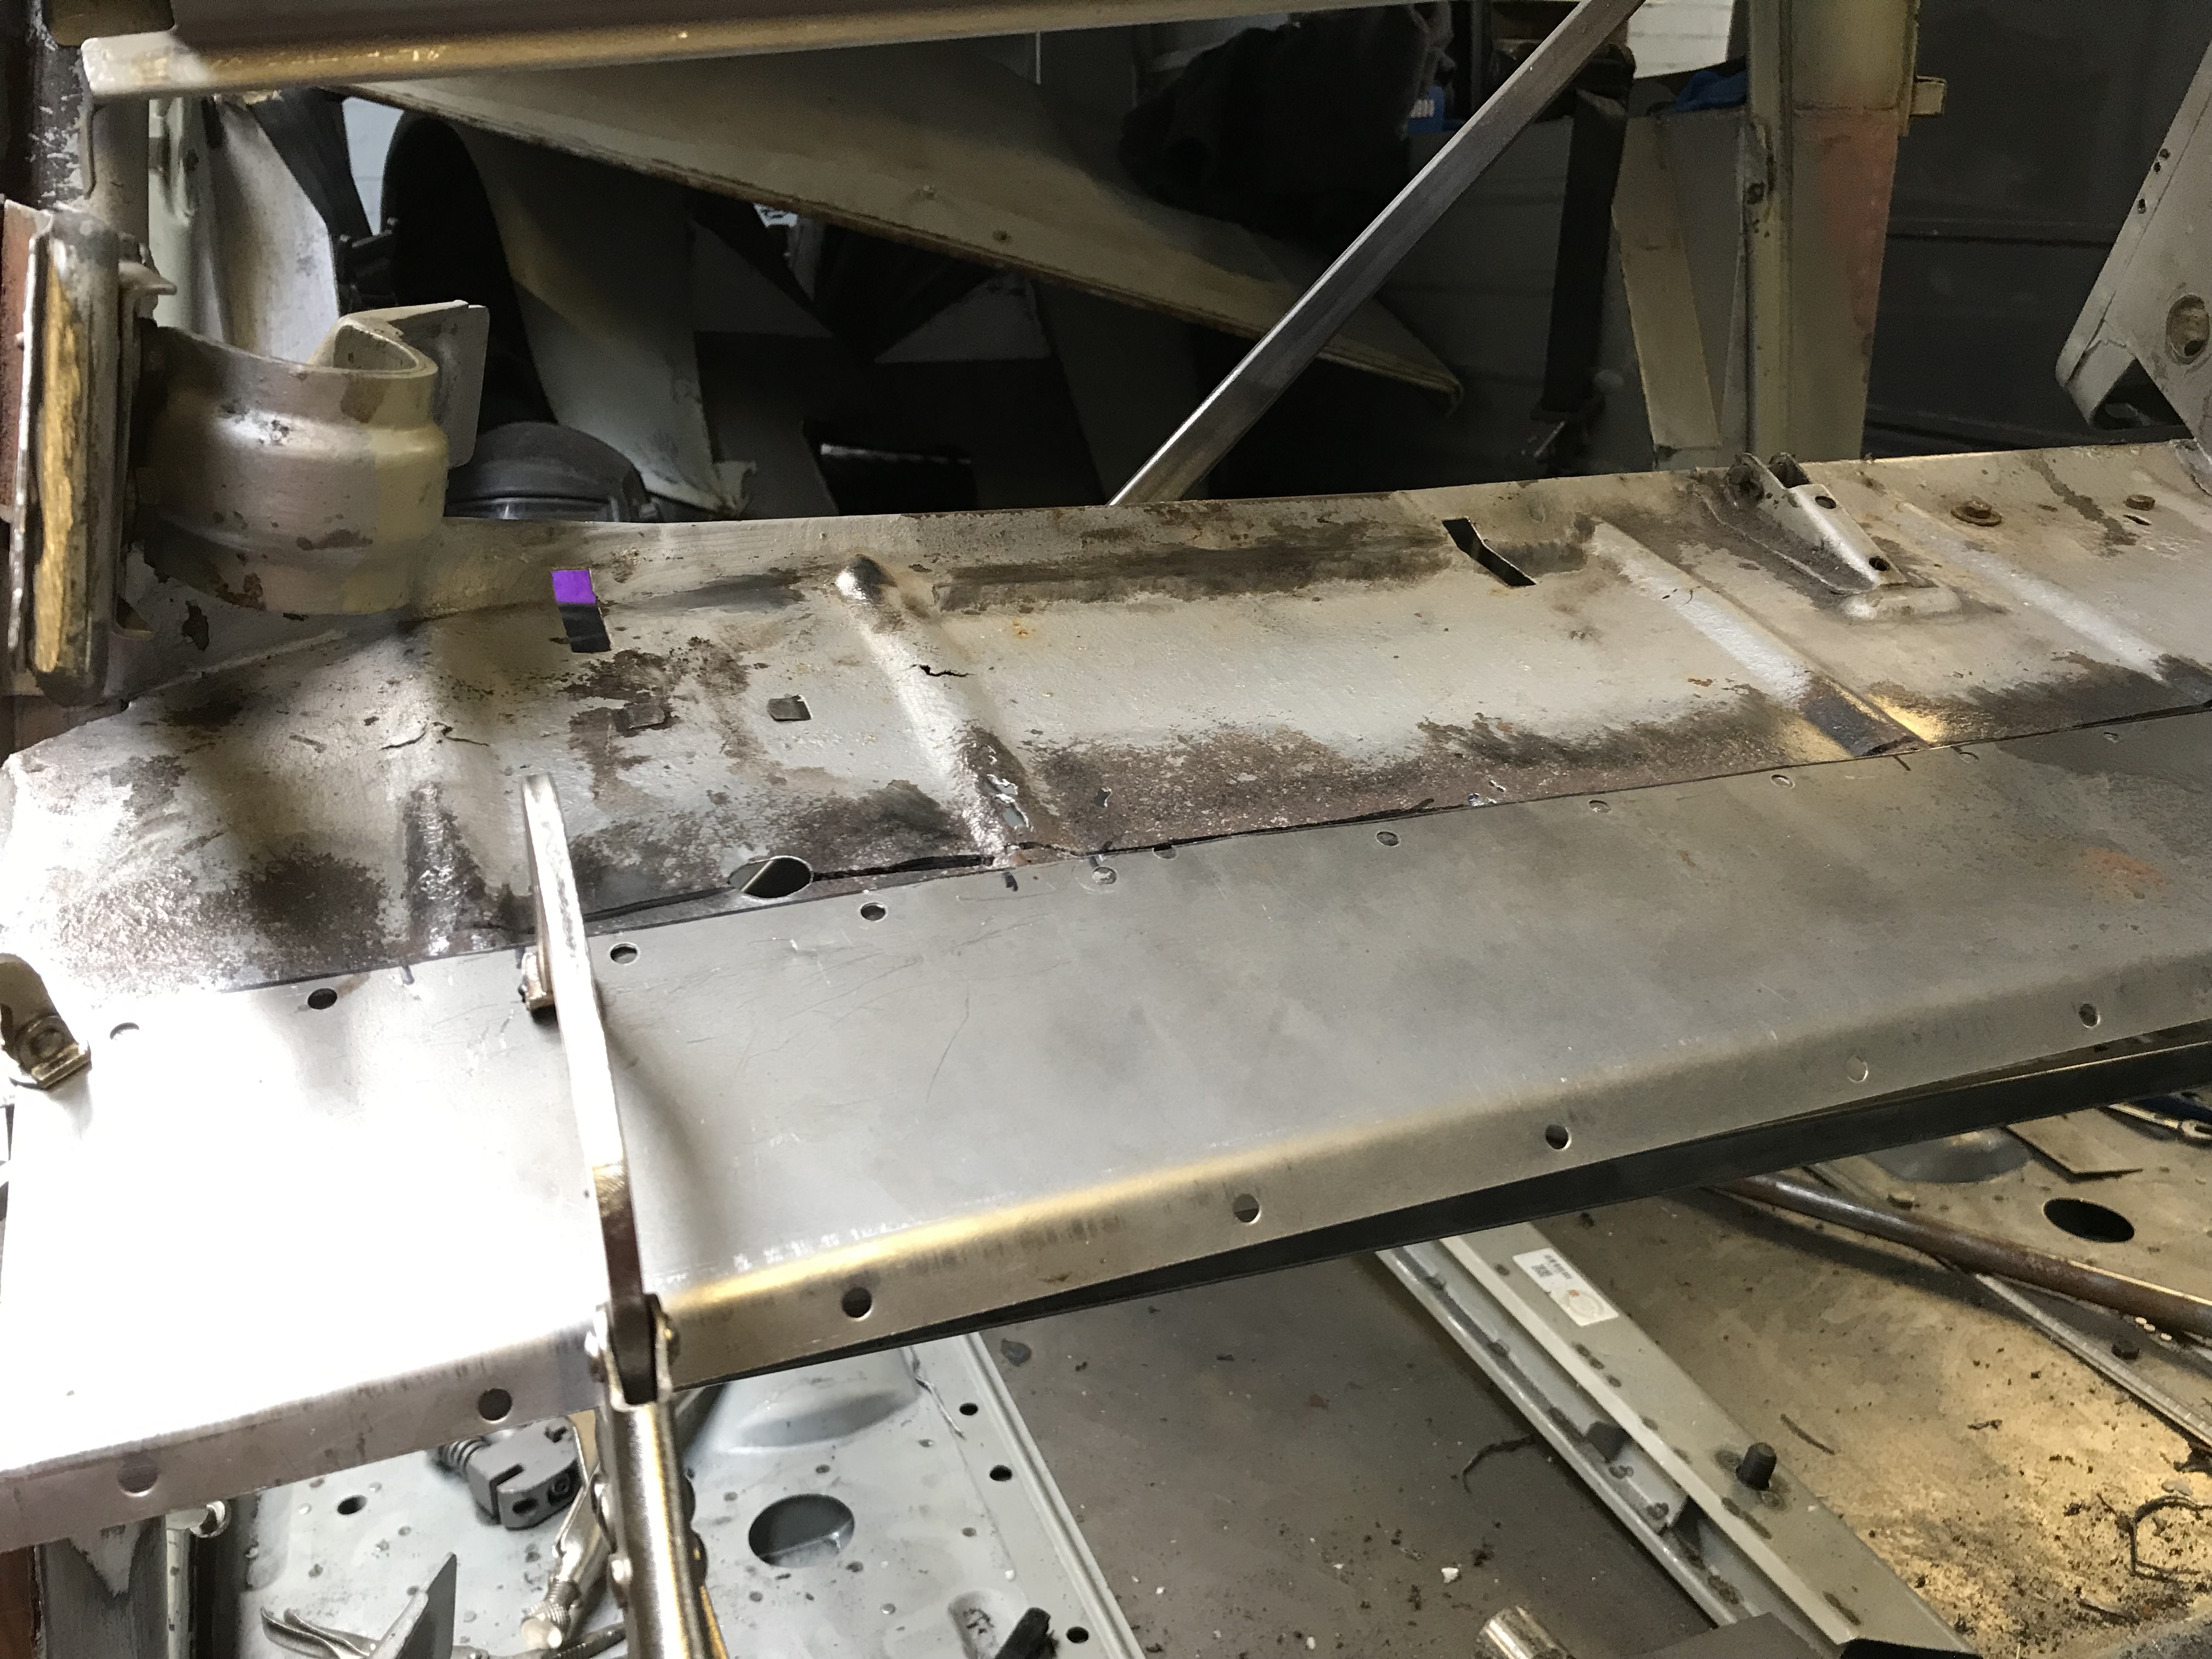
Here you can see where I have cut the front two inches off.
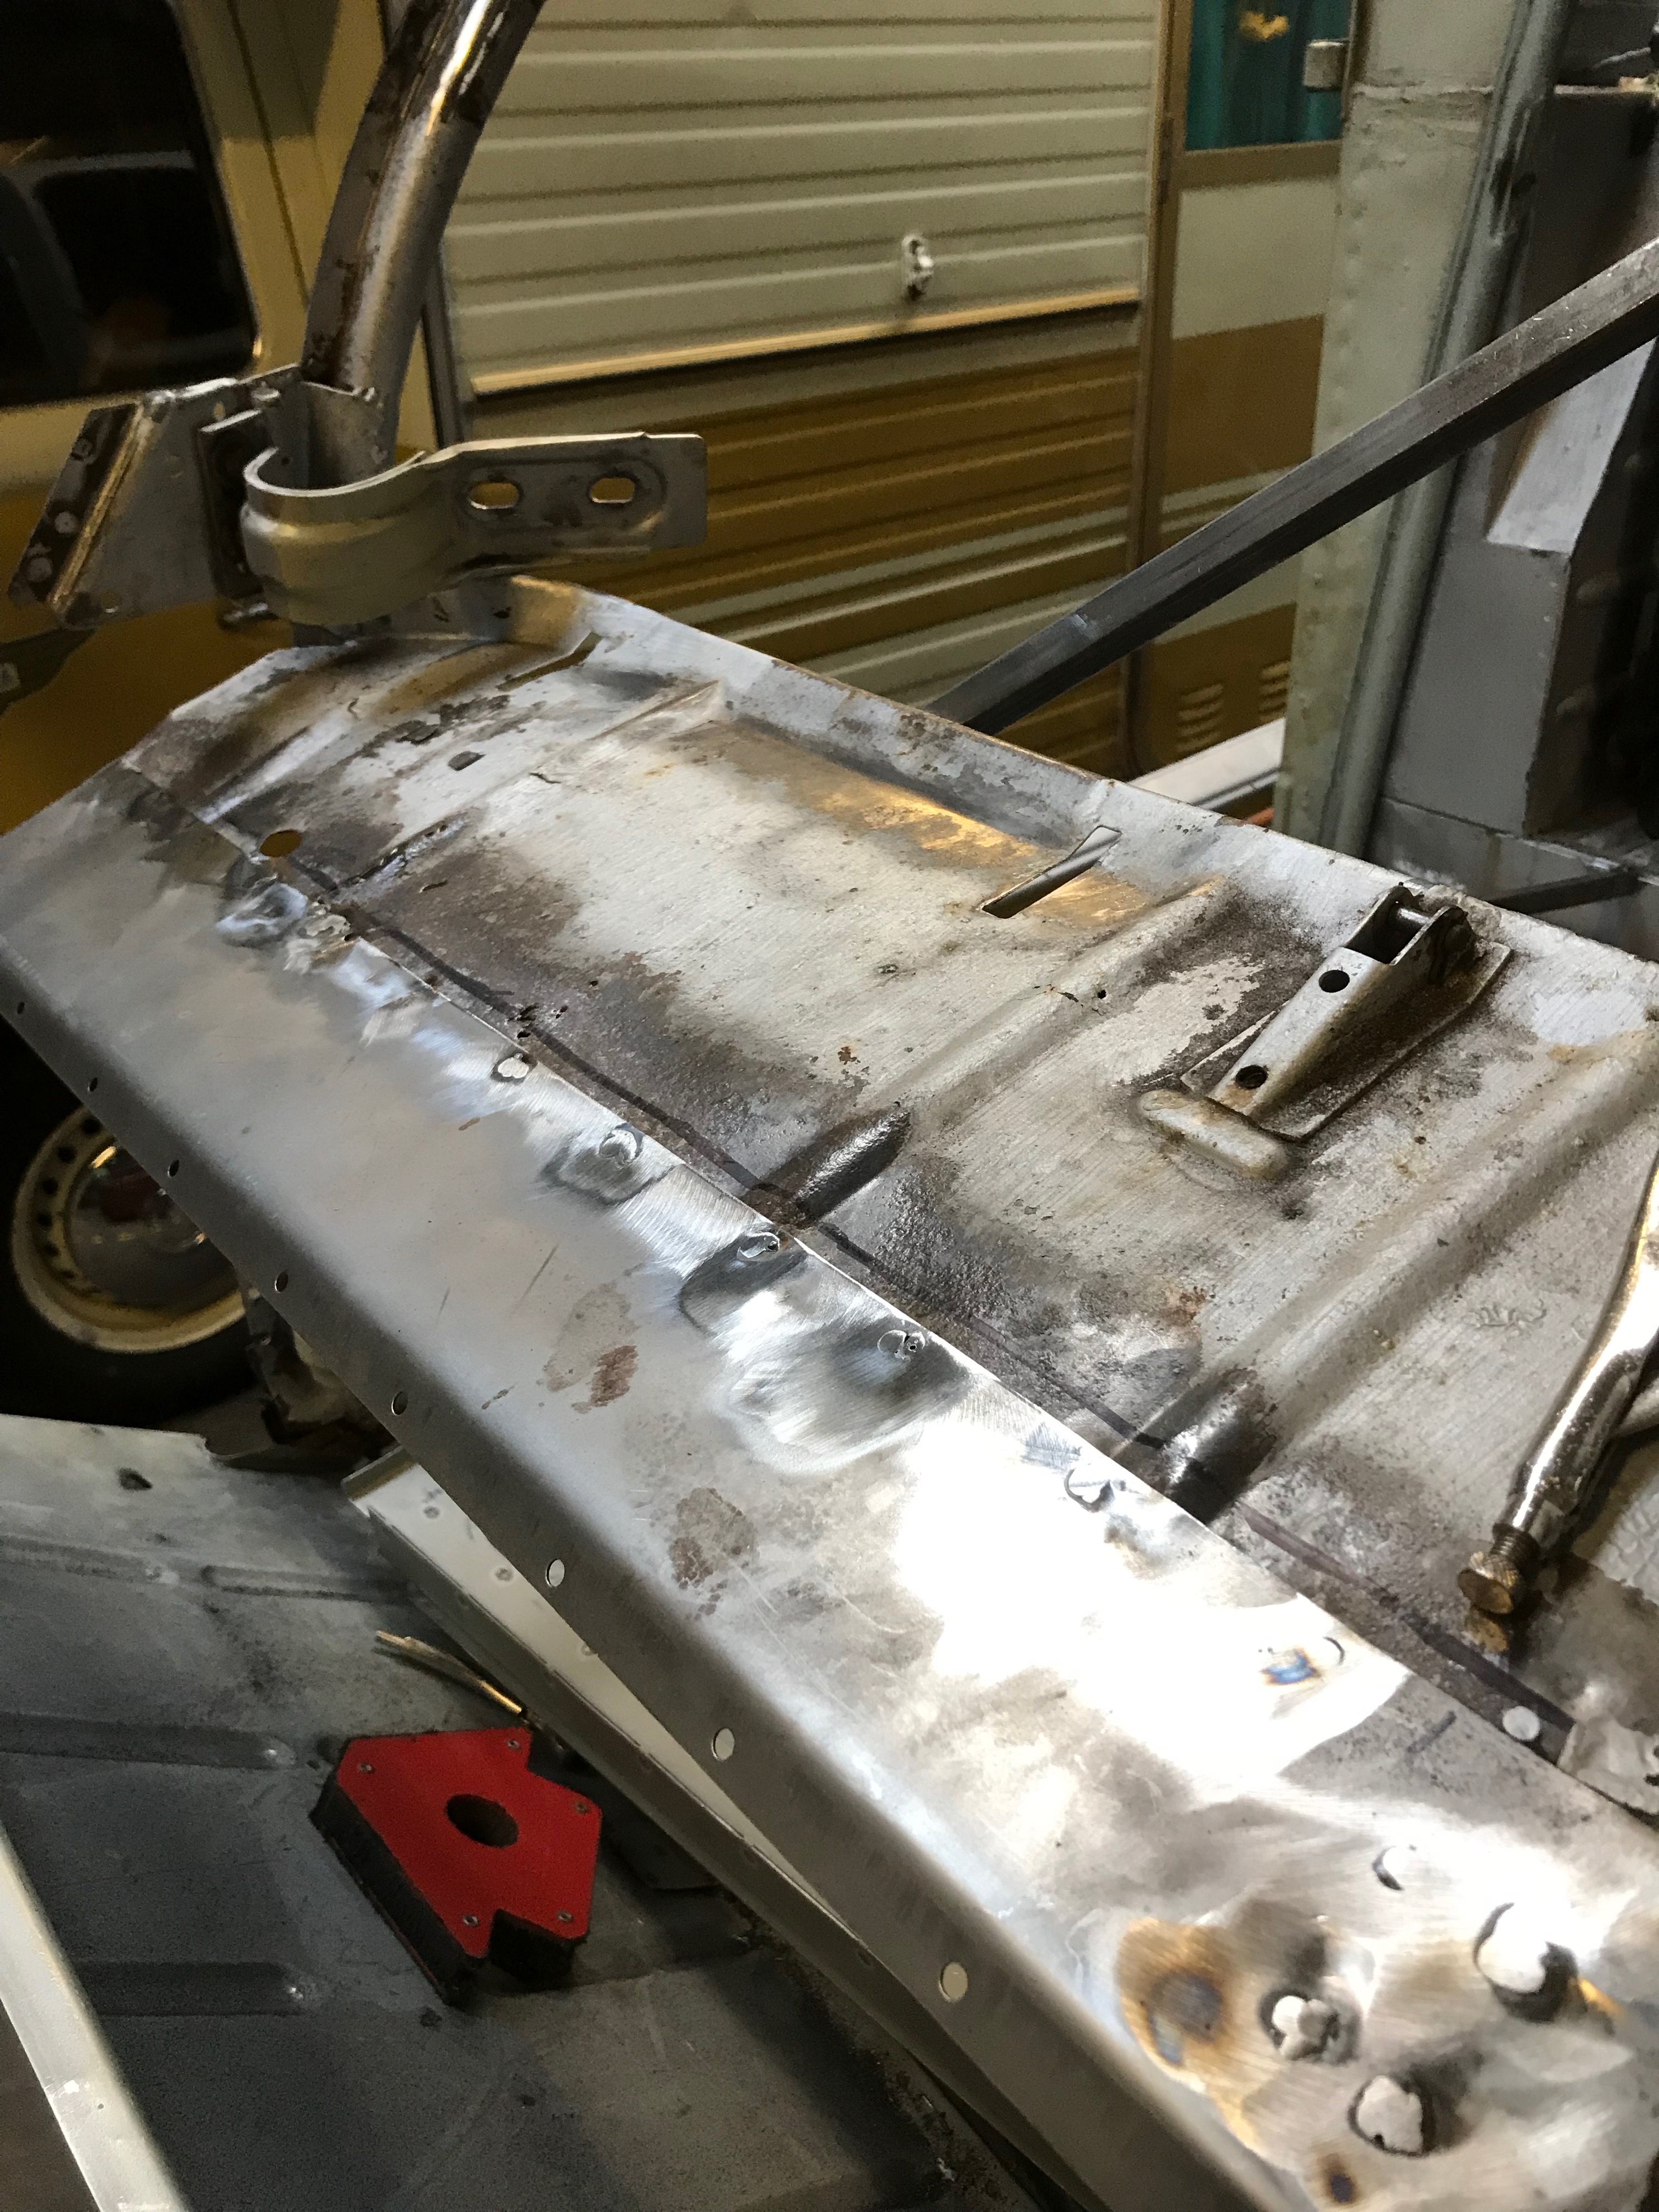
I made a repair section out of 1mm steel, put a fold into the front edge of about 120 degrees and used my joddler tool to punch a set of holes along the front edge (for welding to the firewall later) and a set of holes so that I can plug weld it to the parcel shelf
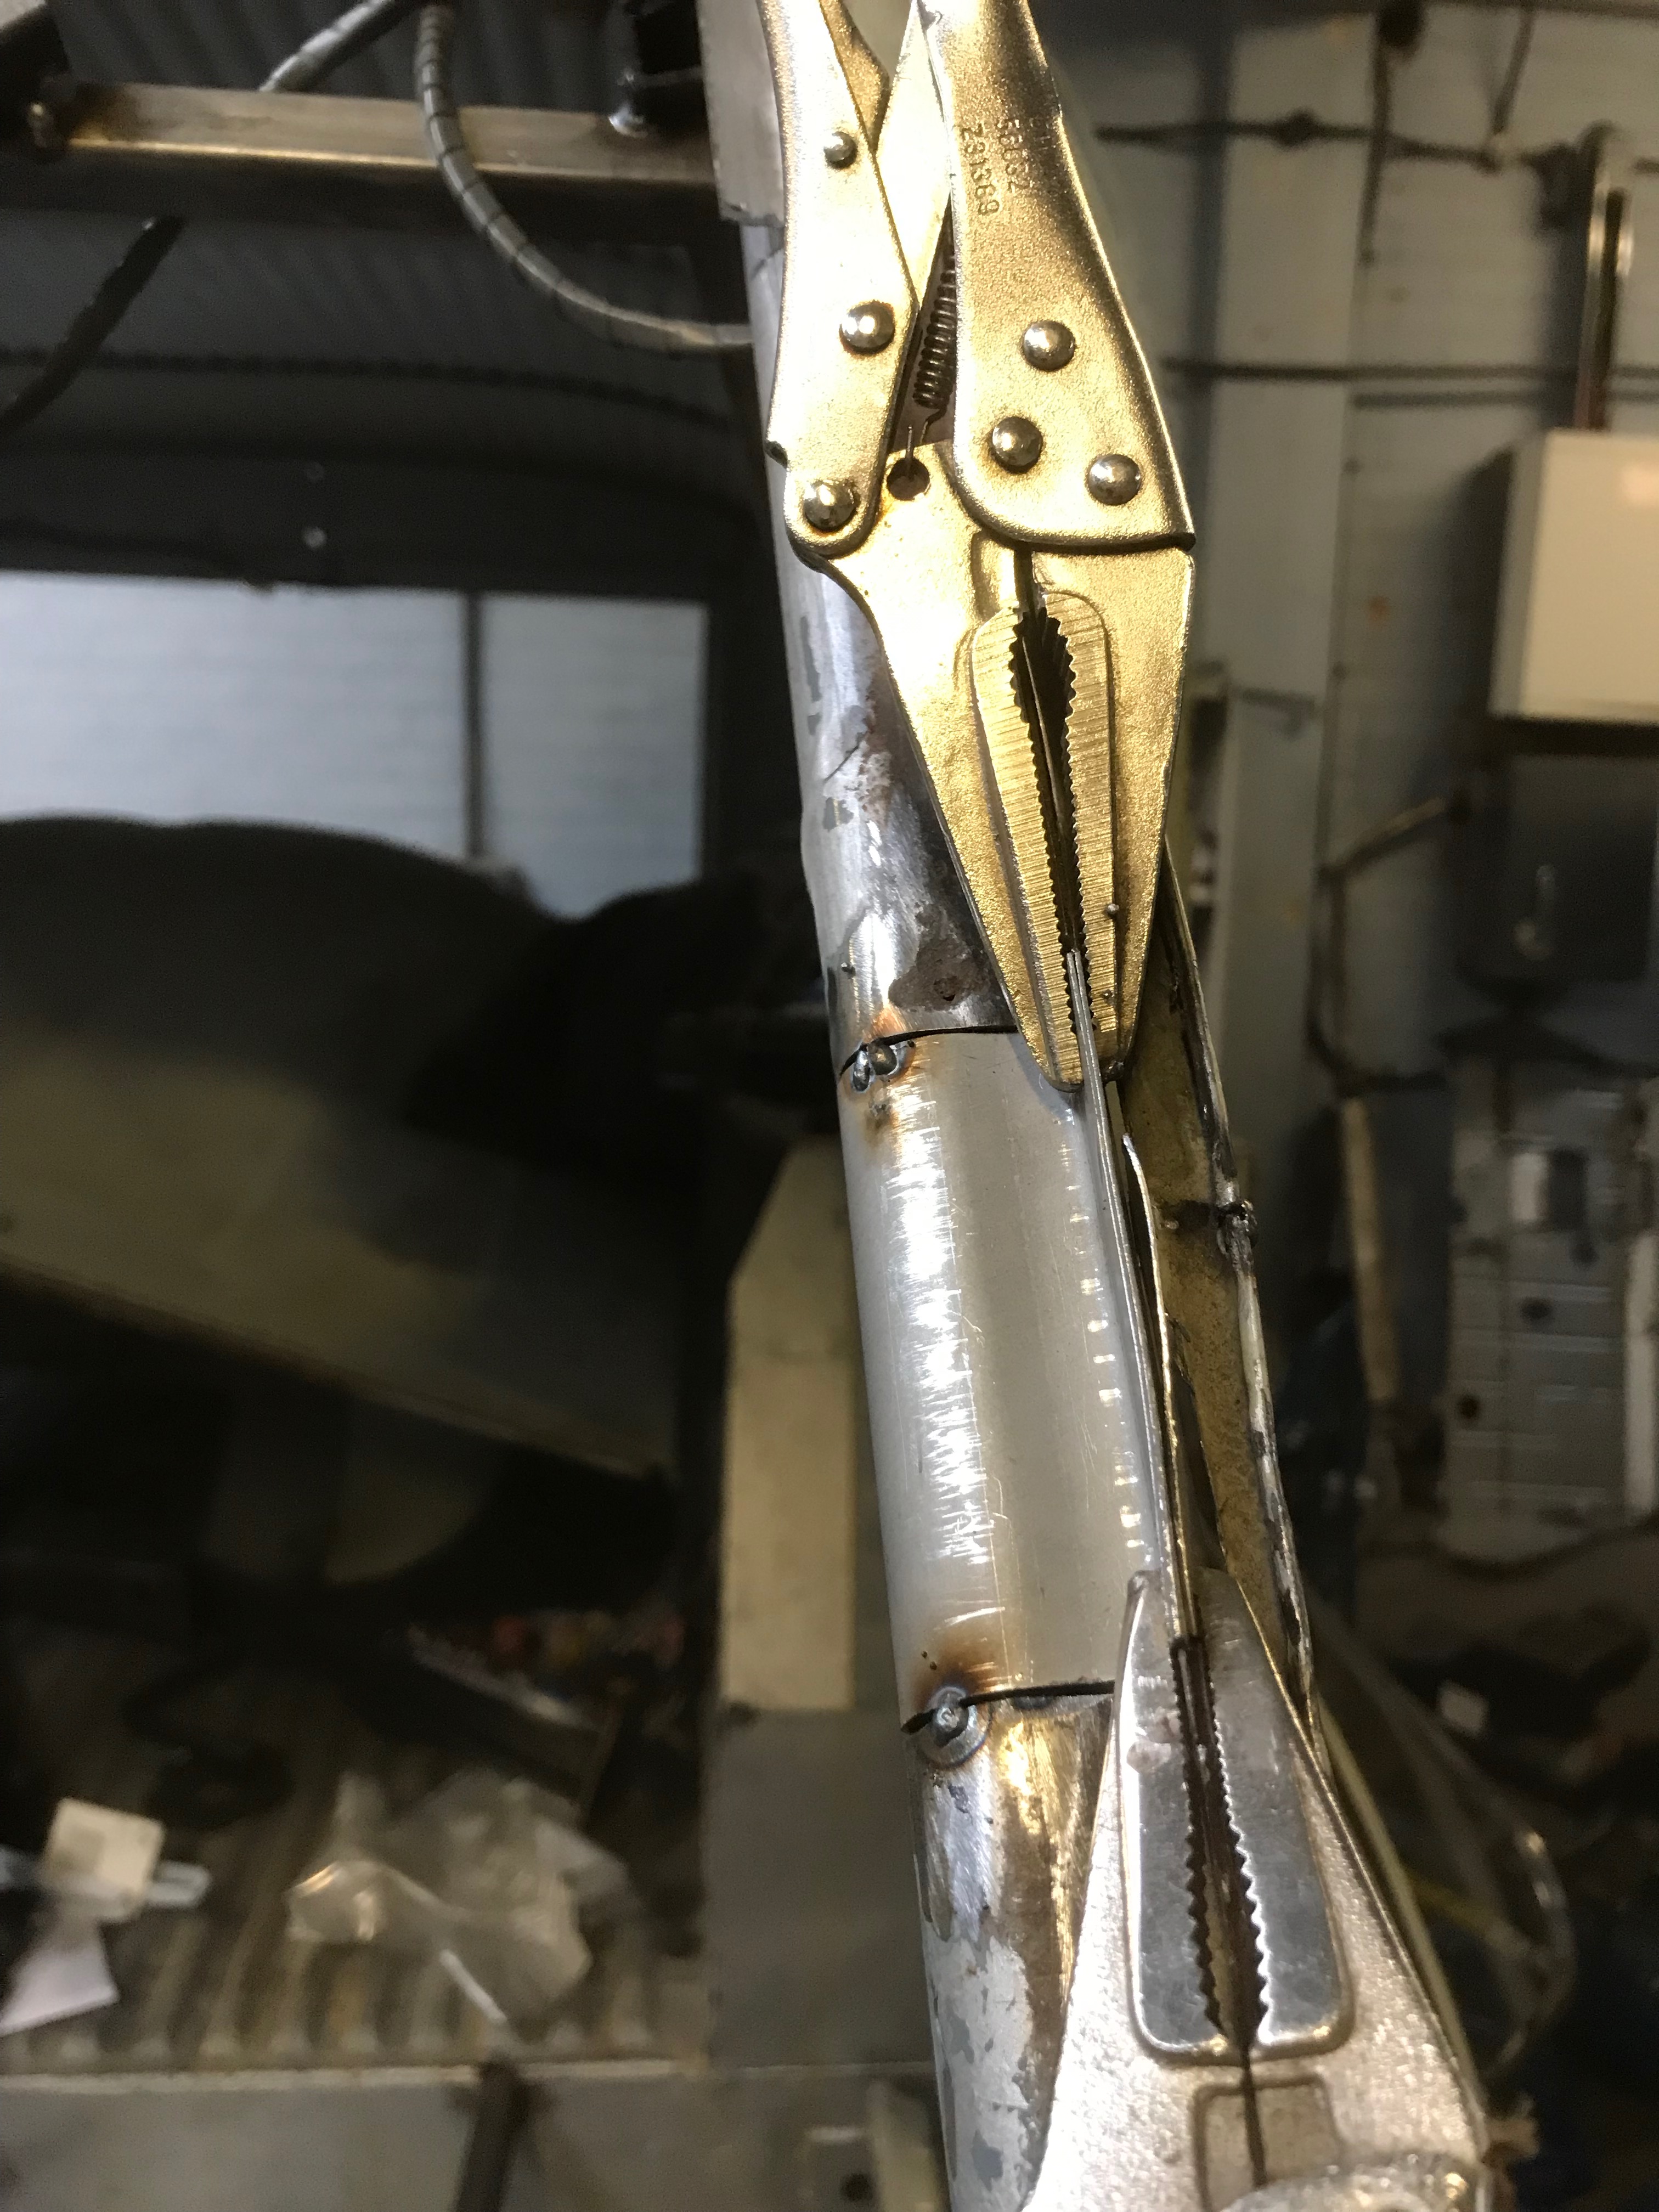
I could only puddle weld a couple of holes at a time, because it was difficult to clamp the 2 sheets together – anyway I managed to zip it up all the way along, including 4 welds to attach the new lip to the handbrake ratchet. Here’s a picture of it with the welds ground down. It’s not a perfect repair but it is strong and nobody will see it.
While I had the welder and cutting gear out, I decided to repair this rusty bit of the upper A post. This is where the windscreen re-enforcement panel is brazed and as you can see, has all but rotted through.

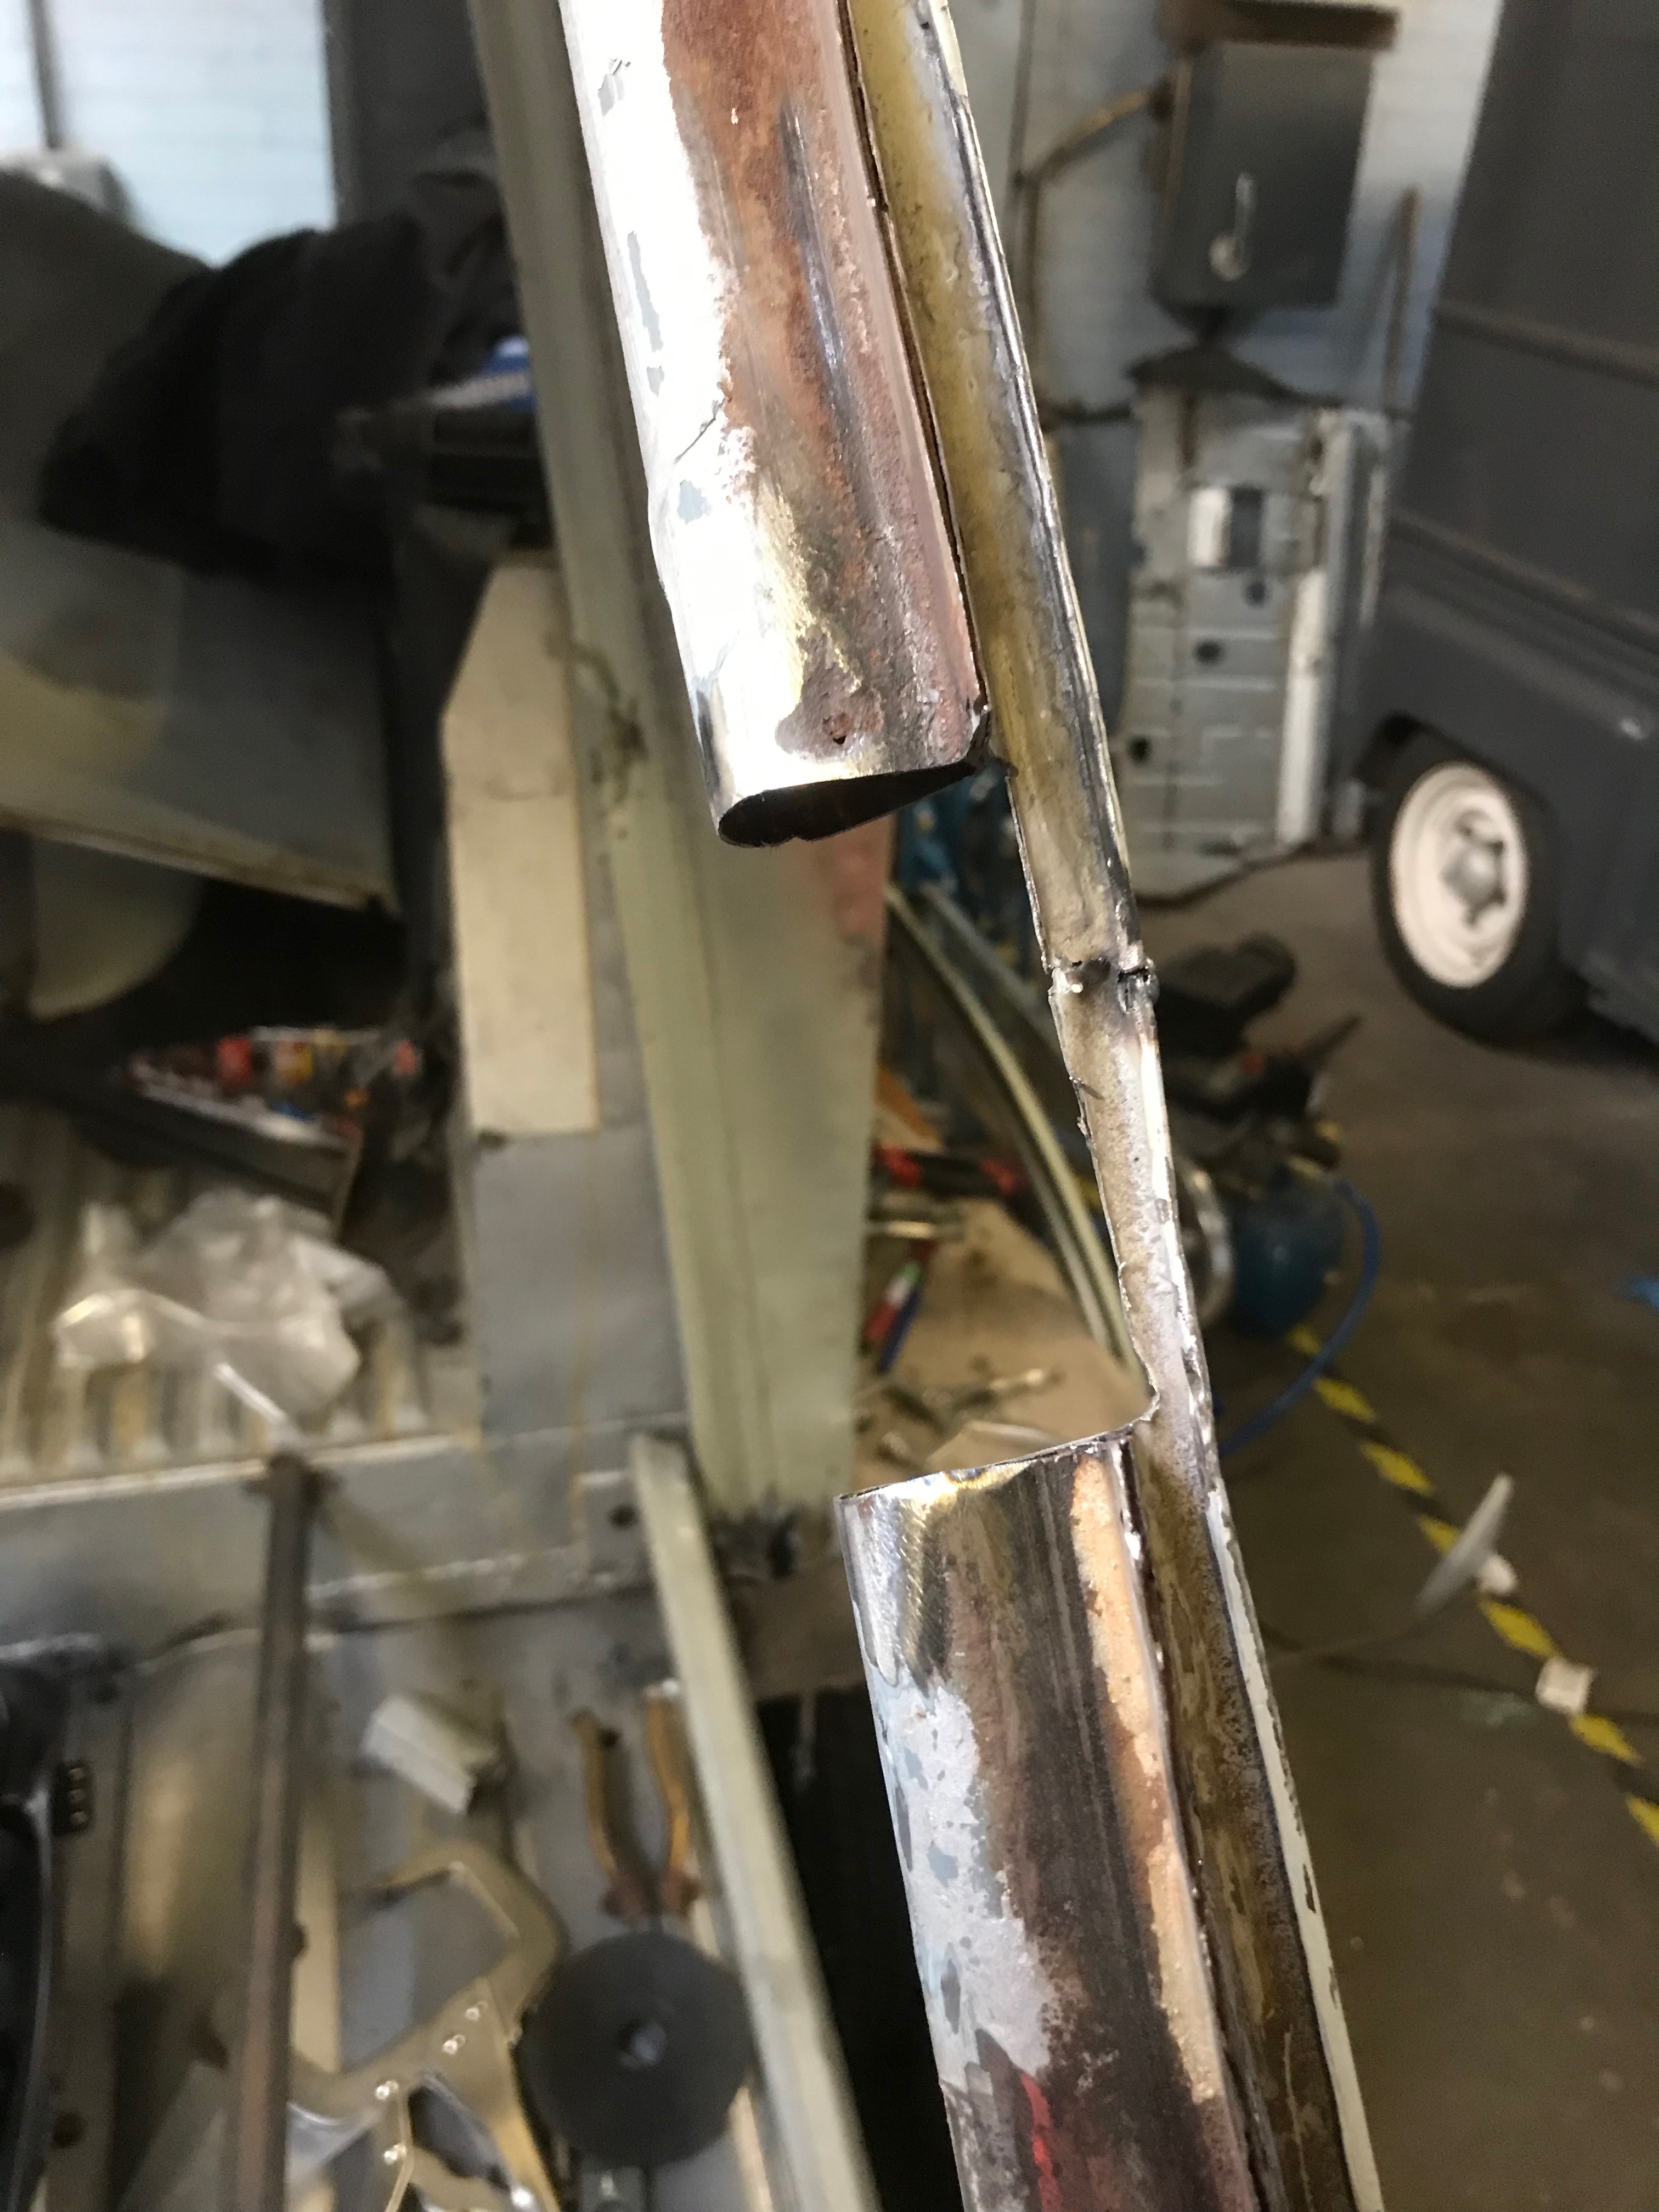
I cut out a section of the A post and cut a bit off the A post repair section that I got from ECAS and stitched it in carefully by using the welder to first tack it in place and then to join up the dots.
My next job will be to replace the gutter section that runs from the back of the cab to the bottom of the A post. My gutters finish abruptly at the top of the A panel, I think they had just rusted away and were clinging on with the very weakest of joins with the A post – so when the last restoration was undertaken, they had to go and were never replaced.
I’m not sure how I’m going to bend the new gutter to fit the profile of the A post without a stretcher / shrinker machine – and even then I think it would be a struggle. I’ll probably have to cut a series of slots in it, bend it to the shape I want and then stitch it back together with the welder. Something for a future blog I think. I can’t figure out whether the gutter is fitted before or after the A panel. I think after would be best and I also think it is brazed rather than welded. I’ll need to learn how to braze or try and remember what I learnt at school in Metalwork, when we made pokers with brazed handles. Mind you, then we had a forge at school and were unfettered by health and safety nonsense. None of us wore overalls or safety glasses. If you burnt a hole in your eye, you must have been too close to the inferno and would have had a detention given to you for being stupid. Imagine a class of 15 year old boys waving rods of cherry red hot metal about in each others faces, while the teacher re-lit his pipe with the forge’s gas lighter, oblivious to the mayhem around him…
Footnote
Toby was in the workshop today, welding patches to the body of his VW LT35 Camper – all was going ok until he tried to weld a patch over a hole which was lined with wood and insulation on the inside. Yes, it did catch fire, but was quickly put out. I expect Toby will remove the interior before he welds any more of the body… (this is the same as changing into old clothes in order to paint your house but only after you have started and got paint on your best clothes )
