I have to admit that I’ve done another U-turn. In earlier posts I wrote about making a jig for the chassis. A jig is a fabricated frame which matches the chassis dimensions upon which the body can be mounted temporarily whilst being worked on. The idea is that when it comes to putting the finished body back onto the chassis, everything will line up nicely – the jig acting as a template.
The book of ‘How to restore a Citroen 2CV’ states categorically that the body must be bolted back onto the chassis before fitting the new floor panels, sills and toe board. For me, this would involve putting the body back onto the chassis and then having to crawl around on the floor to weld, raise the whole van somehow to get underneath it, or go through several iterations of body on – tack weld, body off – seam weld, body on – check, body off – finish welding.
I rejected the jig idea as I thought it would be too difficult to make a perfect copy of the 2CV platform chassis but after having talked it through at the old mans memory club, I decided to give it a go. I’d have nothing to lose, because if it turned out to be a bad copy, I could write it off and will have just wasted more time and materials.
Firstly I cut a sheet of steel to match the width of the upper side of the chassis. Then I used one of the captive nut clips, to mark off where each of the holes would need to be drilled to match those on the chassis. It would have been easier to have used a roll of paper to make a template – ie lay paper over chassis, poke holes in it where the bolt fixings are, transfer paper to steel sheet, cut and drill. I didn’t have a large enough sheet of paper and there are no shops near the workshop. Besides, I was on a roll (no pun intended) so I carried on anyway. With the holes drilled on one edge of the sheet of steel, I bolted it down (approx 8 bolts per side) and then drilled the other side. I now had a long floppy tongue shaped sheet of metal with all the holes in the right places, which matched those on the chassis. I welded a frame of box section to the underside of the ‘tongue’ so that it would remain rigid when bolted to the body. Here’s a picture of it in place.
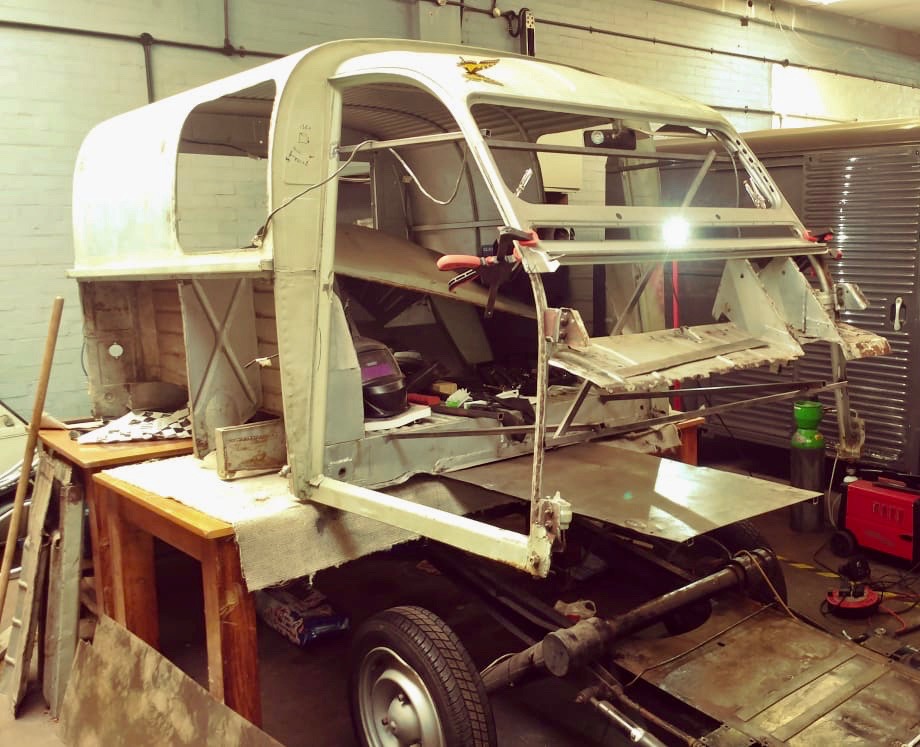
With a bit of lifting the two Pete’s and I slid the jig under the body and bolted it to the body. We only had 2 bolts each side, but they fitted perfectly, so between us we agreed that the rest of the holes and their alignment must be correct.
A trial fit of the new panels, including the sill confirmed that this was the case. Somewhat worrying was that the distance between the centre of the bolt which sticks out of the sill, to the back of the body was 12mm different on each side. As I am replacing pretty much everything which makes up the van cab, Pete and I concluded that it was wise to use the same measurements for each side for the sills and with everything clamped into place, that this distance would be dictated by the pre-drilled holes in the new A-panels, we settled on cutting the new sills to the same length each side – using this a datum to fit the rest of the cab around them.
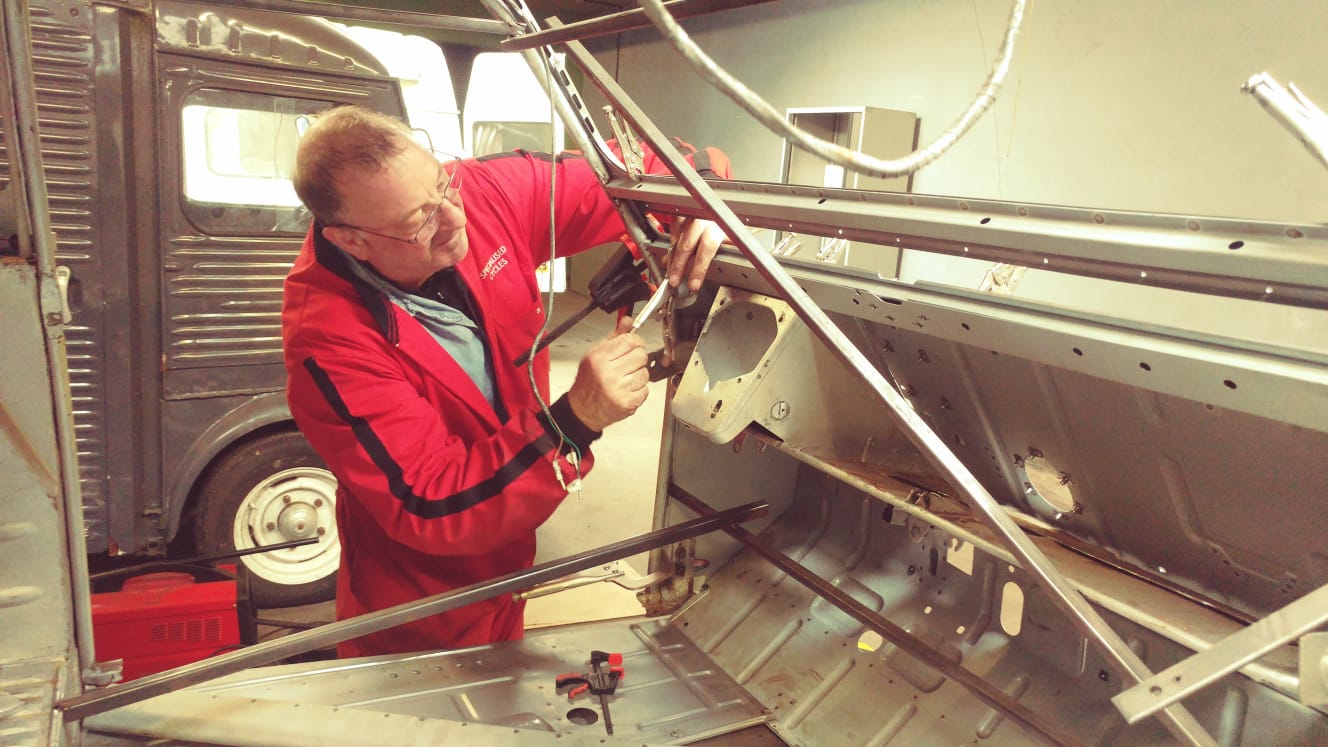
Clamping on the rest of the new panels has given me a new problem to solve. The new sill, to replace the one already chopped off, won’t sit properly in its slot in the new toe board. The saddle on the b-post (just on front of the welder in the above picture which the sill butts up to is too far in – or the new floors are too wide, or there’s another explanation which I can’t fathom out. I think I’ll have to put the door back on, line the sill up to it, tack the sill in place and work back from there. I might have to cut a sliver off the floor and make a new flange along the edge that joins the floor to the sill.

We are looking forward to restoring a 2cv , I appreciate your sharing the jig so we can benefit from your experience with the task.
Thanks very much
LikeLike
Hi Paul – it was well worth the effort to make it as it meant I could repair the body properly with the shell off the chassis. Good luck with your project!
LikeLike