In my last blog I may have mentioned the oversight of not fitting a new clutch whilst I had most of the van in small and easily manageable pieces. I discovered the need for a new clutch when I tried to re-fit the clutch cable – and noticed that there’s was less that half an inch of movement in the clutch fork. Clearly this vital piece of detail was overlooked when I took the van apart – or if I did register it at the time, I immediately forgot it or filed the memory way in the place where I keep all the tools I have since replaced with new purchases.
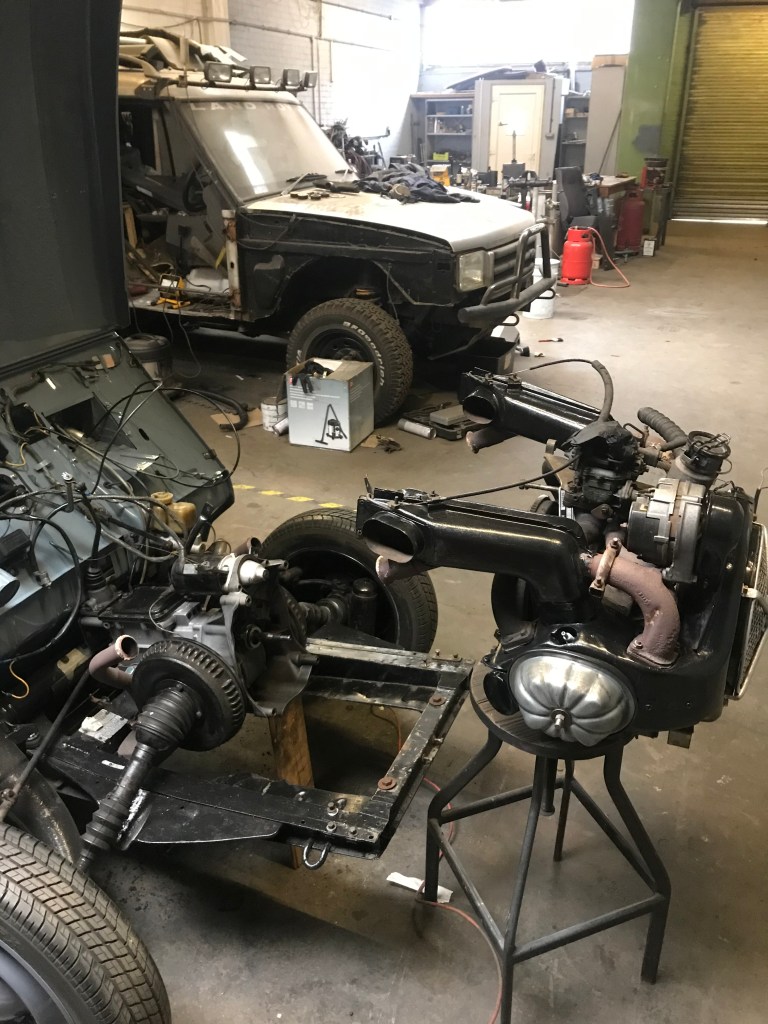
So – out with the engine then…
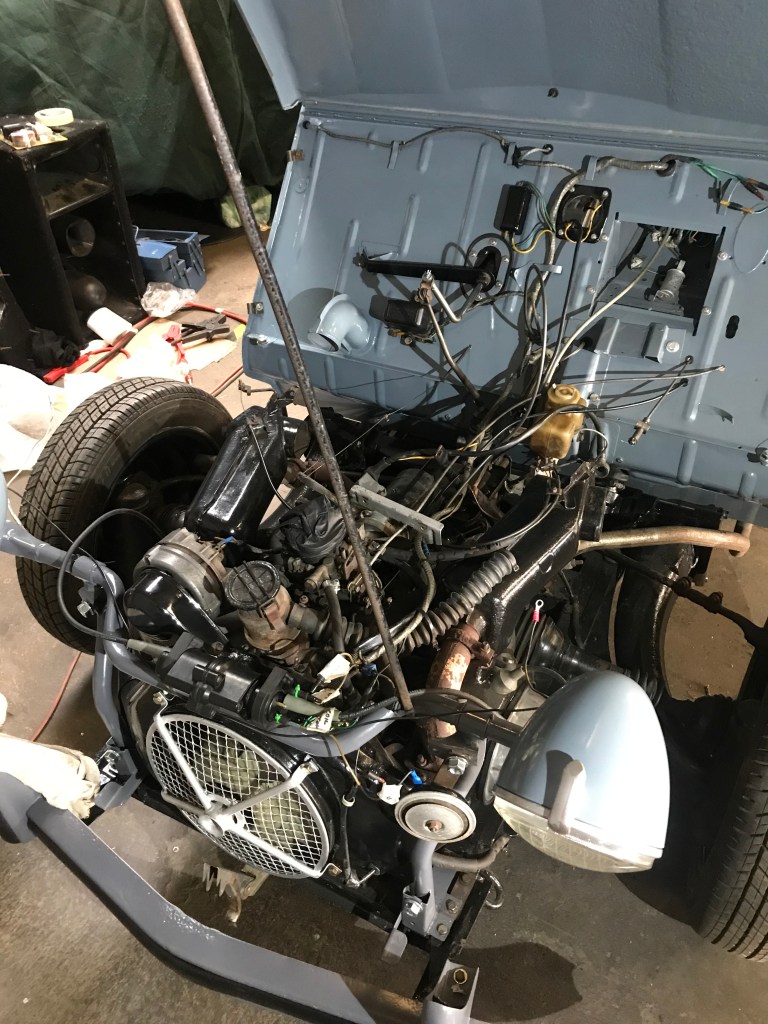
First a few bits need to be removed
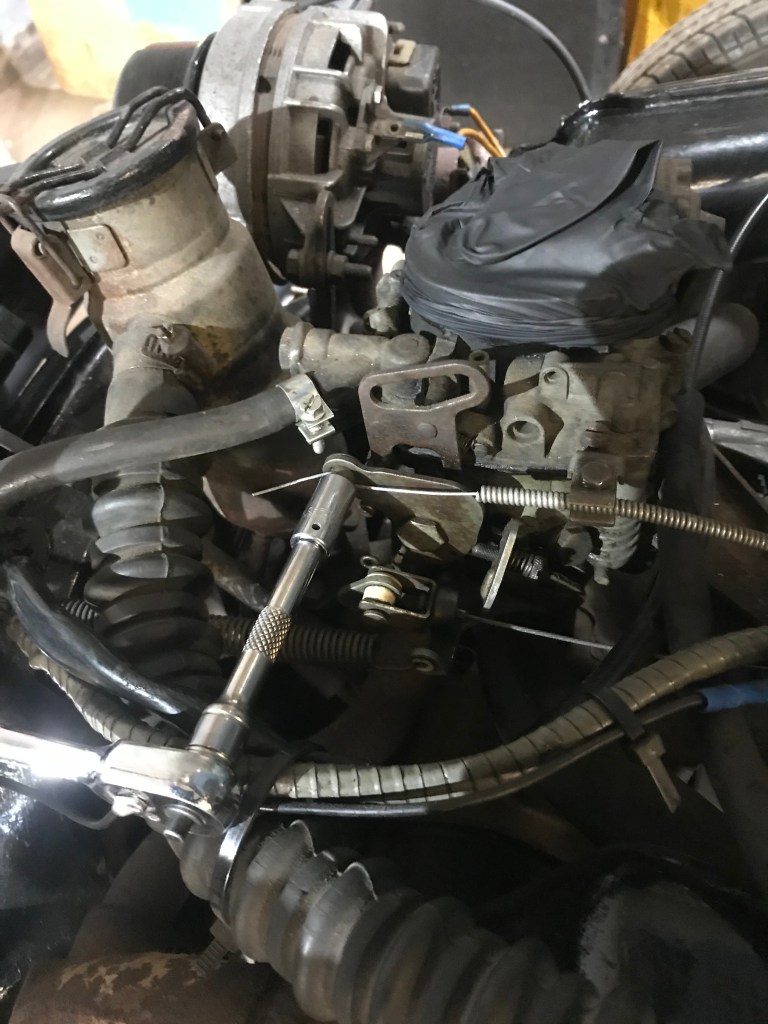
Air filter – only 3 bolts, two underneath the airbox and one which secures the assembly to the gearbox via a strip of metal
Wiring loom – unplug the connections from the lamp bar, remove the horn wire, take off the two connections to the alternator and move the loom back toward the bulkhead – out of the way of the engine
Remove the lamp bar. If it feels really heavy it’s because you haven’t first removed the bonnet stay and either removed the bonnet or tied it back. I didn’t do either of these things, so was left struggling with a lamp bar that felt like it was (a) made out of lead and (b) had designs on making it’s way across the workshop under its own propulsion.
Remove the split pin and uncscrew the headlamp adjuster rod – then push it back through the hole in the bulkhead – collect the washer, small tube and threaded insert piece from the greasy pit at the bottom of the engine
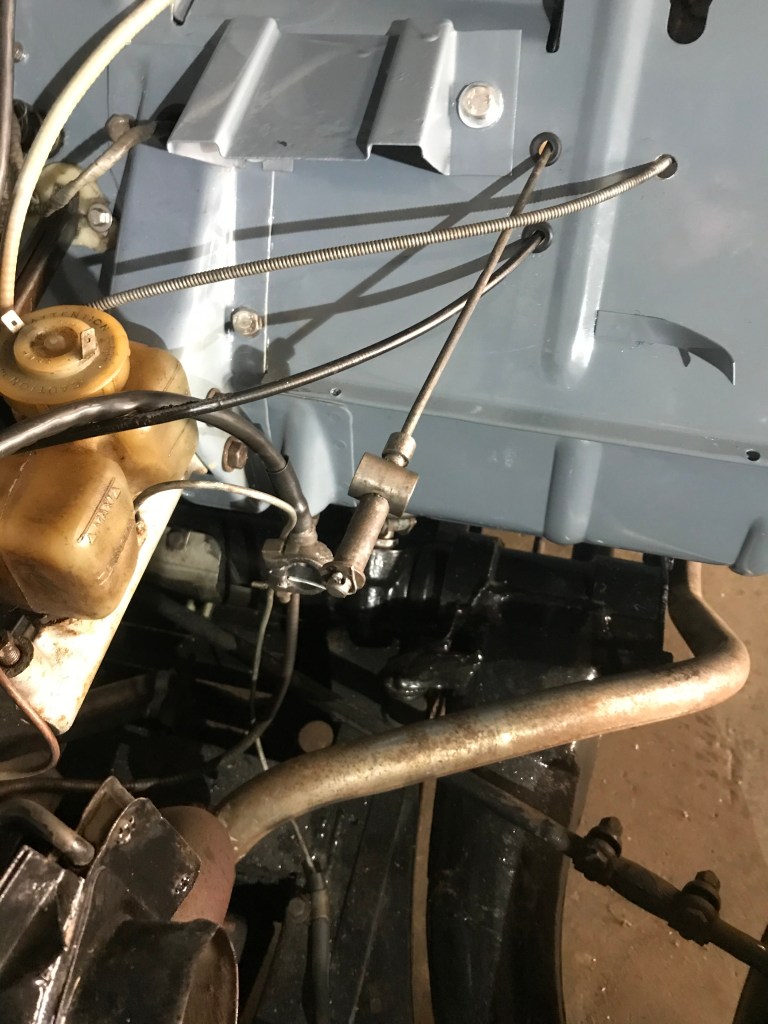
Remove accelerator, choke and heater cables and tuck them out of the way
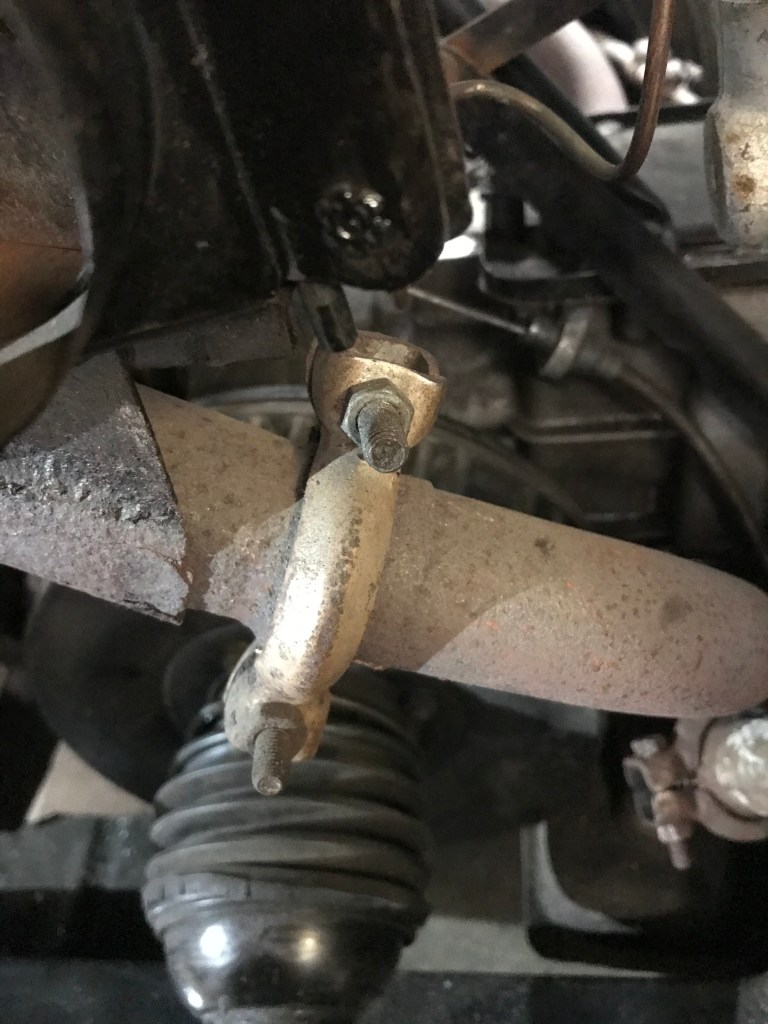
Undo the fuel pipe where it’s fixed to the chassis – under the front of the engine and plug both ends, using a suitable ‘plug’ – I used a couple of drill bits.
Undo the 4 nuts/bolts which secure the engine to the gearbox. 2 at the top of the engine and 2 at the bottom. Undo the 2 large bolts which go through the engine mounting at the front of the chassis
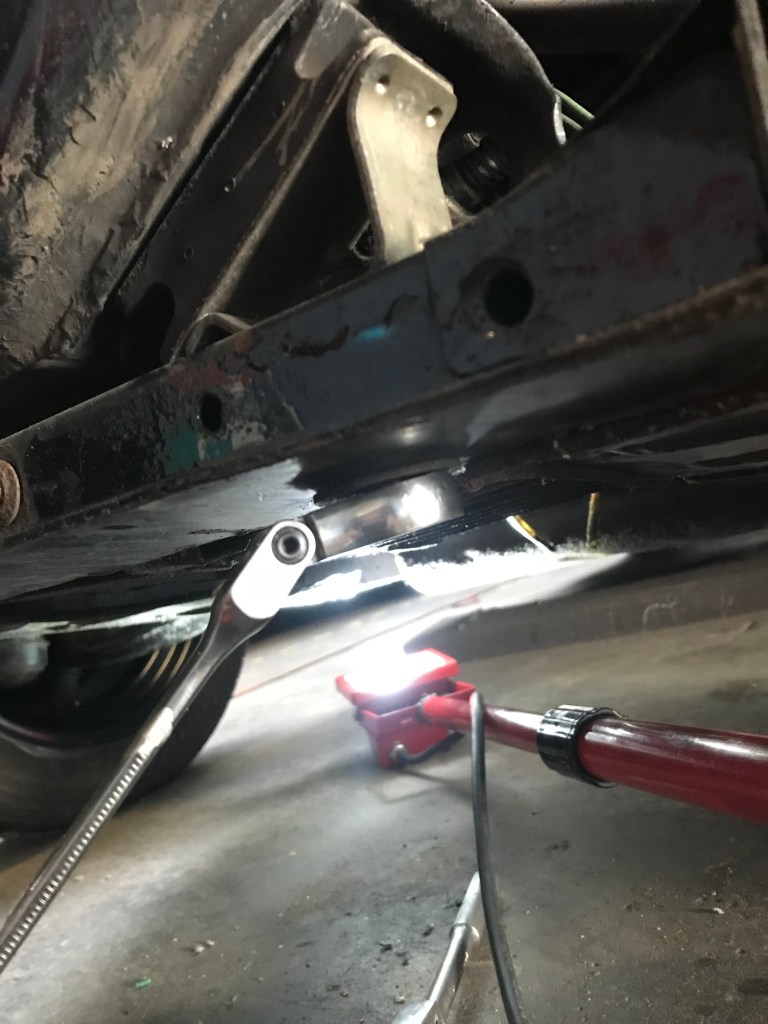
Undo the 2 clamps which mate the heat exchanger pipes to the cross box – one on each side. If you are lucky these will come undone, if not the nuts might just snap off. No matter, these clamps are as cheap as chips from any motor factors – just don’t tell them they are for a Citroen 2CV (or a CV2 as Norfolk people like to call them)
Jack up the gearbox so that the front of the engine can slide forward without catching on the chassis rail at the front and prop up the gearbox with a bit of wood.

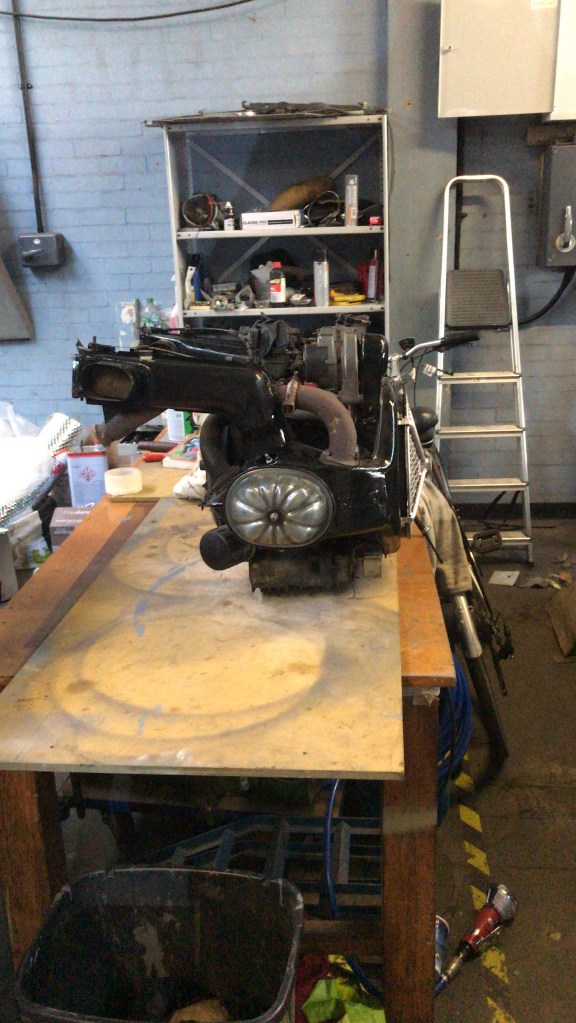
Heave out the engine and place on the bench. I’m making this bit sound easy because it is. The engine is quite heavy but easily lifted by 2 people. I had to move it on my own, which was a bit of a struggle but doable.
Time to take a look at the clutch
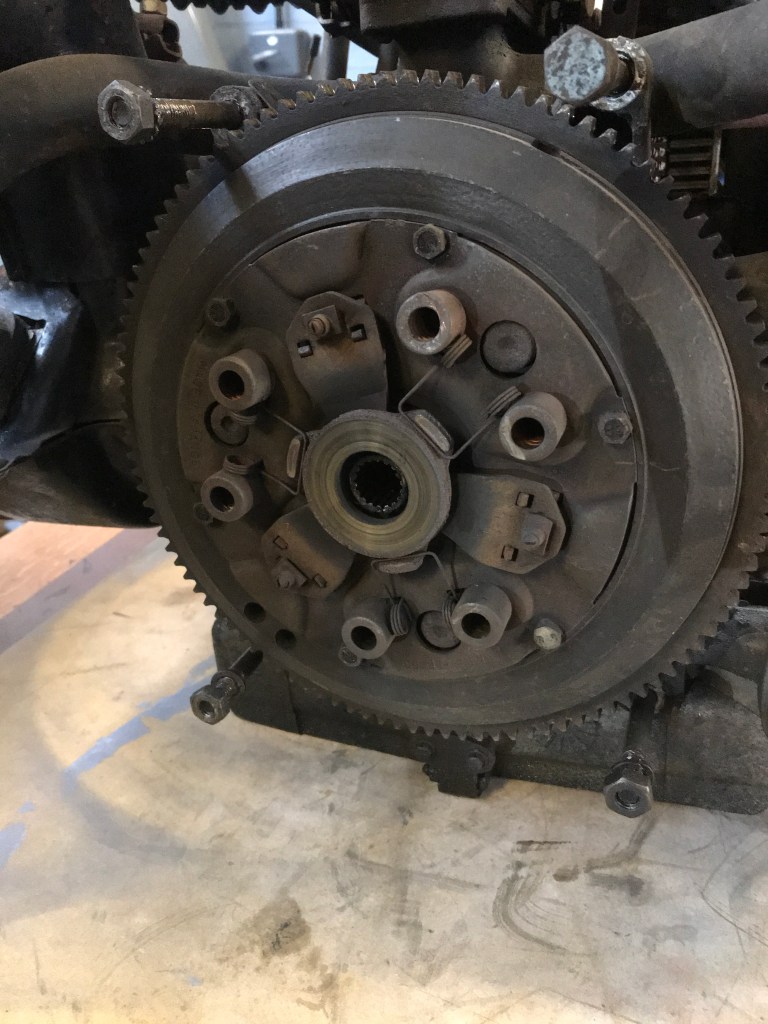
Unscrew the bolts that hold the cover onto the flywheel and remove the clutch cover and friction disc
Here’s where it gets interesting. This looks to me like a ‘Trafficlutch’ flywheel – with the gubbins removed that make the semi automatic clutch work. A trafficlutch enables the car to be left in gear when the engine is idling – it engages as soon as the revs pick up and is ideal for creeping along in traffic as one doesn’t need to use the clutch pedal. Anyway, the vital parts of this ingenious system are missing (crown and friction wheel etc.). I do have some parts I could use to fit the trafficlutch but I’m not going to bother with it this time. I really need to get the van on the road and retro fitting the trafficlutch parts isn’t going to be straightforward.
Here’s the friction disc and clutch plate. It doesn’t look it but the disc is very worn – almost down to the rivets, so I’ve caught this just in time
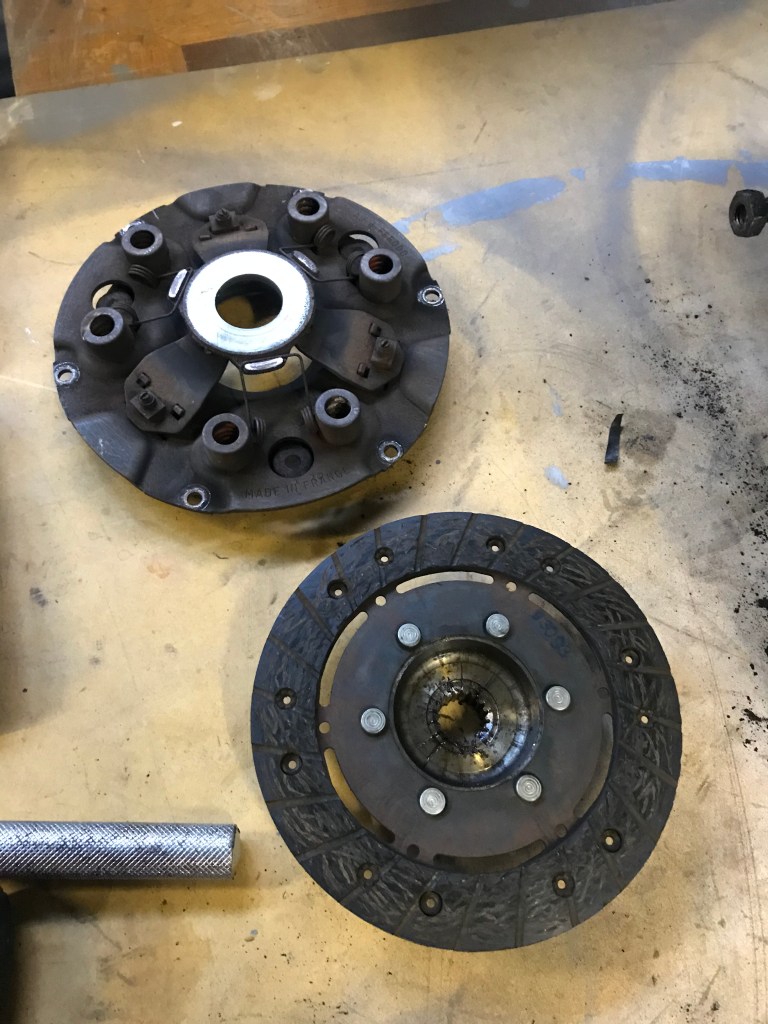
New parts on order – I’m going to replace the cover, friction disc and the graphite clutch release bearing, which is also looking very worn
Now that I have the engine out, I’m tempted to take off the tinware and do a proper strip down and paint job on all the parts. I’ll have to see how I’m fixed for time – maybe I’ll leave it for another time.
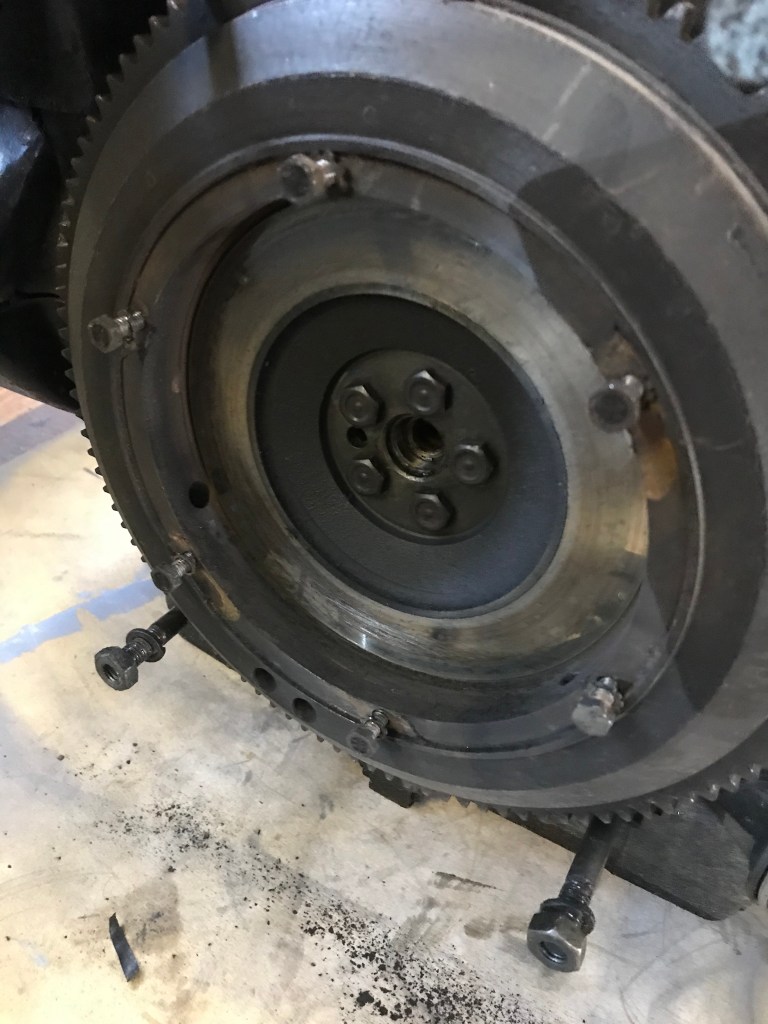
New parts arrived today from ECAS. Like many old 2CV’s I have a odd gearbox / engine configuration – older gearbox and later engine, so I decided to keep the same clutch type as the old one on the basis that it worked before I pulled it all apart so it should work when I put it back together again.
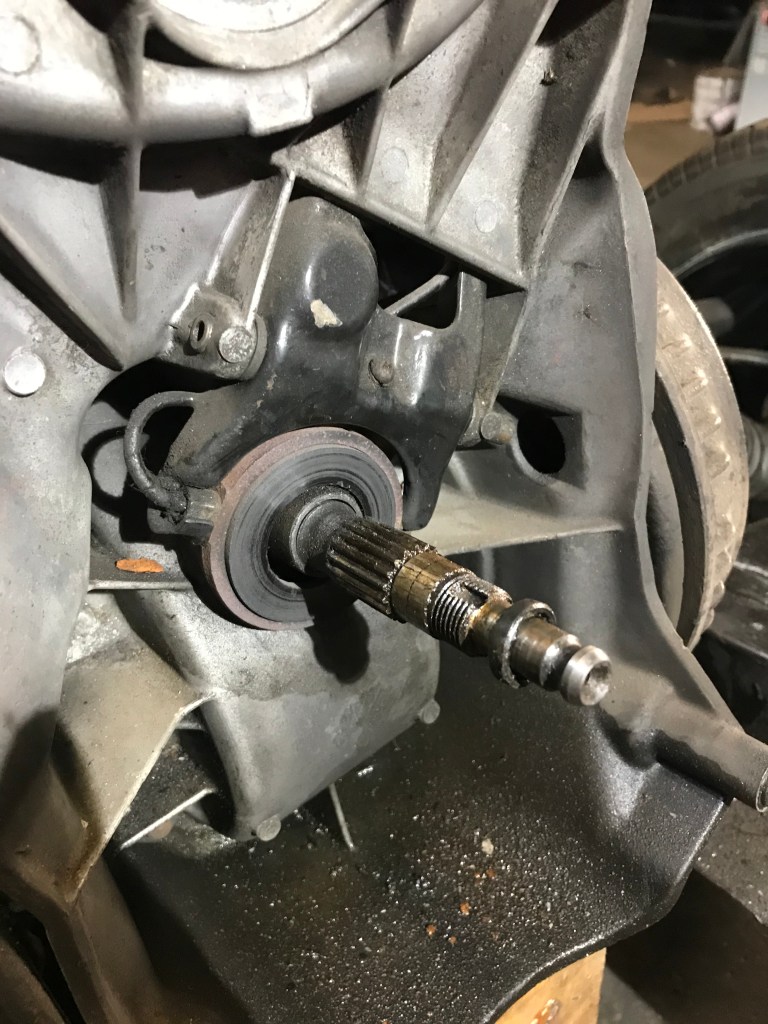
I bolted in the new clutch and aligned it by eye. I don’t have a clutch alignment tool – nor do I have a spare gearbox output shaft I can use to line up the clutch, so I made do with a socket set bar, some tape and my eagle eye. If it’s not properly centralised, then the engine won’t fit back onto the gearbox and I’ll have to heave it out again and adjust it. Fingers crossed, if not there will be more on this later.
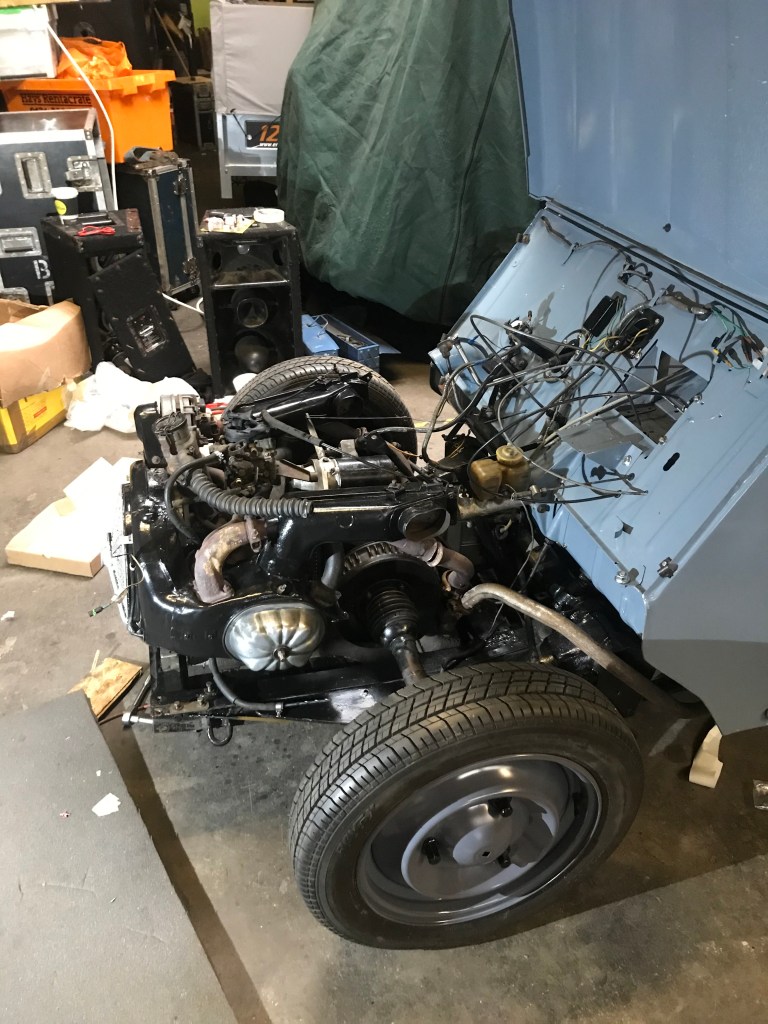
I managed to get the engine back in on my own but it’s not a task I’d like to repeat without help. It took some wiggling about before it went fully home onto the gearbox. I then spent the next few hours connecting everything back up again, re-fitting the lamp bar, bumper, cables, exhaust, electrics etc. The good news is that it works! Clutch feels much better now. I could probably do the whole job again in half a day now.
Other news. The man shed part of the workshop have recently acquired a plasma cutter. It needs a 3 phase supply, which we have, so as soon as someone wires it up I can have a play with it. I can’t wait to see what havoc I can reek with this dangerously powerful electric metal light sabre
We were in a sober mood at the Old Mans Memory Club this week. One of our old friends Bill Wilson passed away a couple of weeks ago and we are steeling ourselves for what will surely be an emotional funeral. RIP Bill, we miss you.
