I’m suffering from withdrawal symptoms, having not been to the workshop for a ‘poke about’ for a few days, because I’ve got a frozen shoulder. Not a shoulder of Lamb, but my own shoulder has frozen, probably from welding upside down and stretching too far, so I’ve taken an enforced break. Anyway, my thoughts are turning to paint – or re-paint to be precise. The two previous owners of the van had their own solutions to the traditional methods of vehicle painting. The first was to use a thinnish coat of silver paint, applied with a brush. This looks like it might have been a base coat of metallic silver – sans lacquer and actually looks very good and quite period. I think I could have lived with this and with a bit of flatting off and a couple of coats of clear, it would have left the van looking like a used, well worn but well preserved example. Furthermore they had masked off the original signwriting, so as to preserve some of the patina. The sign said:
- Bernard Merli – Ebeniste
- Chemain De La Soux
- Aix en Provence + telephone number (I can’t recall the exact numbers)
Anyway, the next owner neither liked the silvery finish, nor did they appreciate the original signage, so they obliterated all with a tin of Farrow and Ball ‘French Grey’ – applied with a brush again and quite liberally to boot. Underneath these coats of paint is the original (or what is left of it) factory paint. Bleu Neve code 609 which translates to French Navy Blue. I tried stripping off the French Grey from the sign-painted panels, with limited success and I think I’m resigned to re-painting the whole van in the correct colour and then re-instating the sign writing. Luckily I managed to find a full set of metal letter templates in a very French looking typeface, which are about the right size, so I’ll be able to recreate the sign writing without too much bother.
So – the question is, what paint should I use and how to apply it. The choices as I see are:
1.Cellulose paint and thinners – actually this has been outlawed as environmentally unsound, but can be used on classic cars. I have painted with this before and it’s quite forgiving in that a poor finish can be cut back (wet sanded) and polished. The downside is that all that buffing and polishing takes time and removes most of the applied paint.
2. Modern Auto paint. This is water based and is a two pack system. It is toxic to breathe in and one has to have an air fed mask and all sorts of heath and safety precautions have to be taken when spraying it. It needs to be ‘cured’ in an oven as well. All modern cars are painted using this system – primer, top coat and lacquer to give it a shine and protect the paint from the elements.
3. Synthetic Auto paint – AKA tractor paint.. Nothing too fancy about this, but it can be mixed to match any colour and should be relatively easy to apply.
After a chat with the Auto paint suppliers nearby, they have recommended the following ‘system’ using Synthetic paint.
First, strip the outside shell of all existing paint, down to the bare metal. Then, fill in and flatten off all defects with filler and sand smooth. Next, apply a coat of Etch Primer. This is a 2 pack paint, which is a bit toxic, so I’ll be doing this bit outside. Next, I have to apply 2 coats of synthetic primer, which is mixed with 10% ‘thinners’ . I’m guessing it’s some sort of polyurethane paint which can be sanded flat, ready for the top coat(s). The top coat is the same synthetic paint which comes in 2 finishes, Satin and Gloss. Now here’s the thing: I don’t want to use a load of filler on the van. It never looks right and because the panels are so thin and flexible, it will at best crack and at worst, fall out in chunks. So, my bare metal surface is not going to be free of dings, dents and the odd ripply bit – and if I paint it with a highly glossy paint, every one of it’s many carbuncles and warts will stand out like sore thumbs. Nor do I want a ‘satin’ finish – it will just look like its been badly painted (which no doubt it will be), so the guys at the body shop suggested a compromise – 50% satin and 50% gloss.
This ‘special’ paint can be applied with a brush, a sponge roller or sprayed. I’ll spray the outside, but the inside (also brush painted silver currently) will not get the bare metal treatment as it will take too long and will be an enormous ball ache of a job for very little reward. The front floors, bulkhead, sills and toe board are all new metal and will be sprayed inside and out, so it’s just inside the back of the van, roof and sides that will probably end up being brush painted again – and then only if there’s enough paint to go round.
So, It remains to be seen what it will turn out like. If it looks horrible, I’ll have to deal with it. If it works as I hope it will, the van will look like it’s been around the block a bit. It won’t look too over restored, but then again it won’t have much in the way of original patina. A compromise then. More about paint later – after I sort out the rear door pillars and rest of the rear body. Will it ever be finished…?
Here’s a bit of work I did on the rear right pillar. I had the van on it’s side when I cut out the old panel, which with hindsight was a bit of a mistake. Imagine a cardboard box with both ends open, sitting on its side – now place a tin of beans or fruit cocktail on it – and watch it turn into a parallelogram. This is what happened to the van. The new panel would not fit and I had to flip the body the ‘right’ way up, clamp the new panel in place, re-fit the rear doors (to check the alignment of said new panel), re-clamp the panel, remove the doors, mark it’s position with a sharpie…. you get the picture. I chopped out some more rust where the door panel meets the rear inner wing and replaced it with a new fillet of steel.
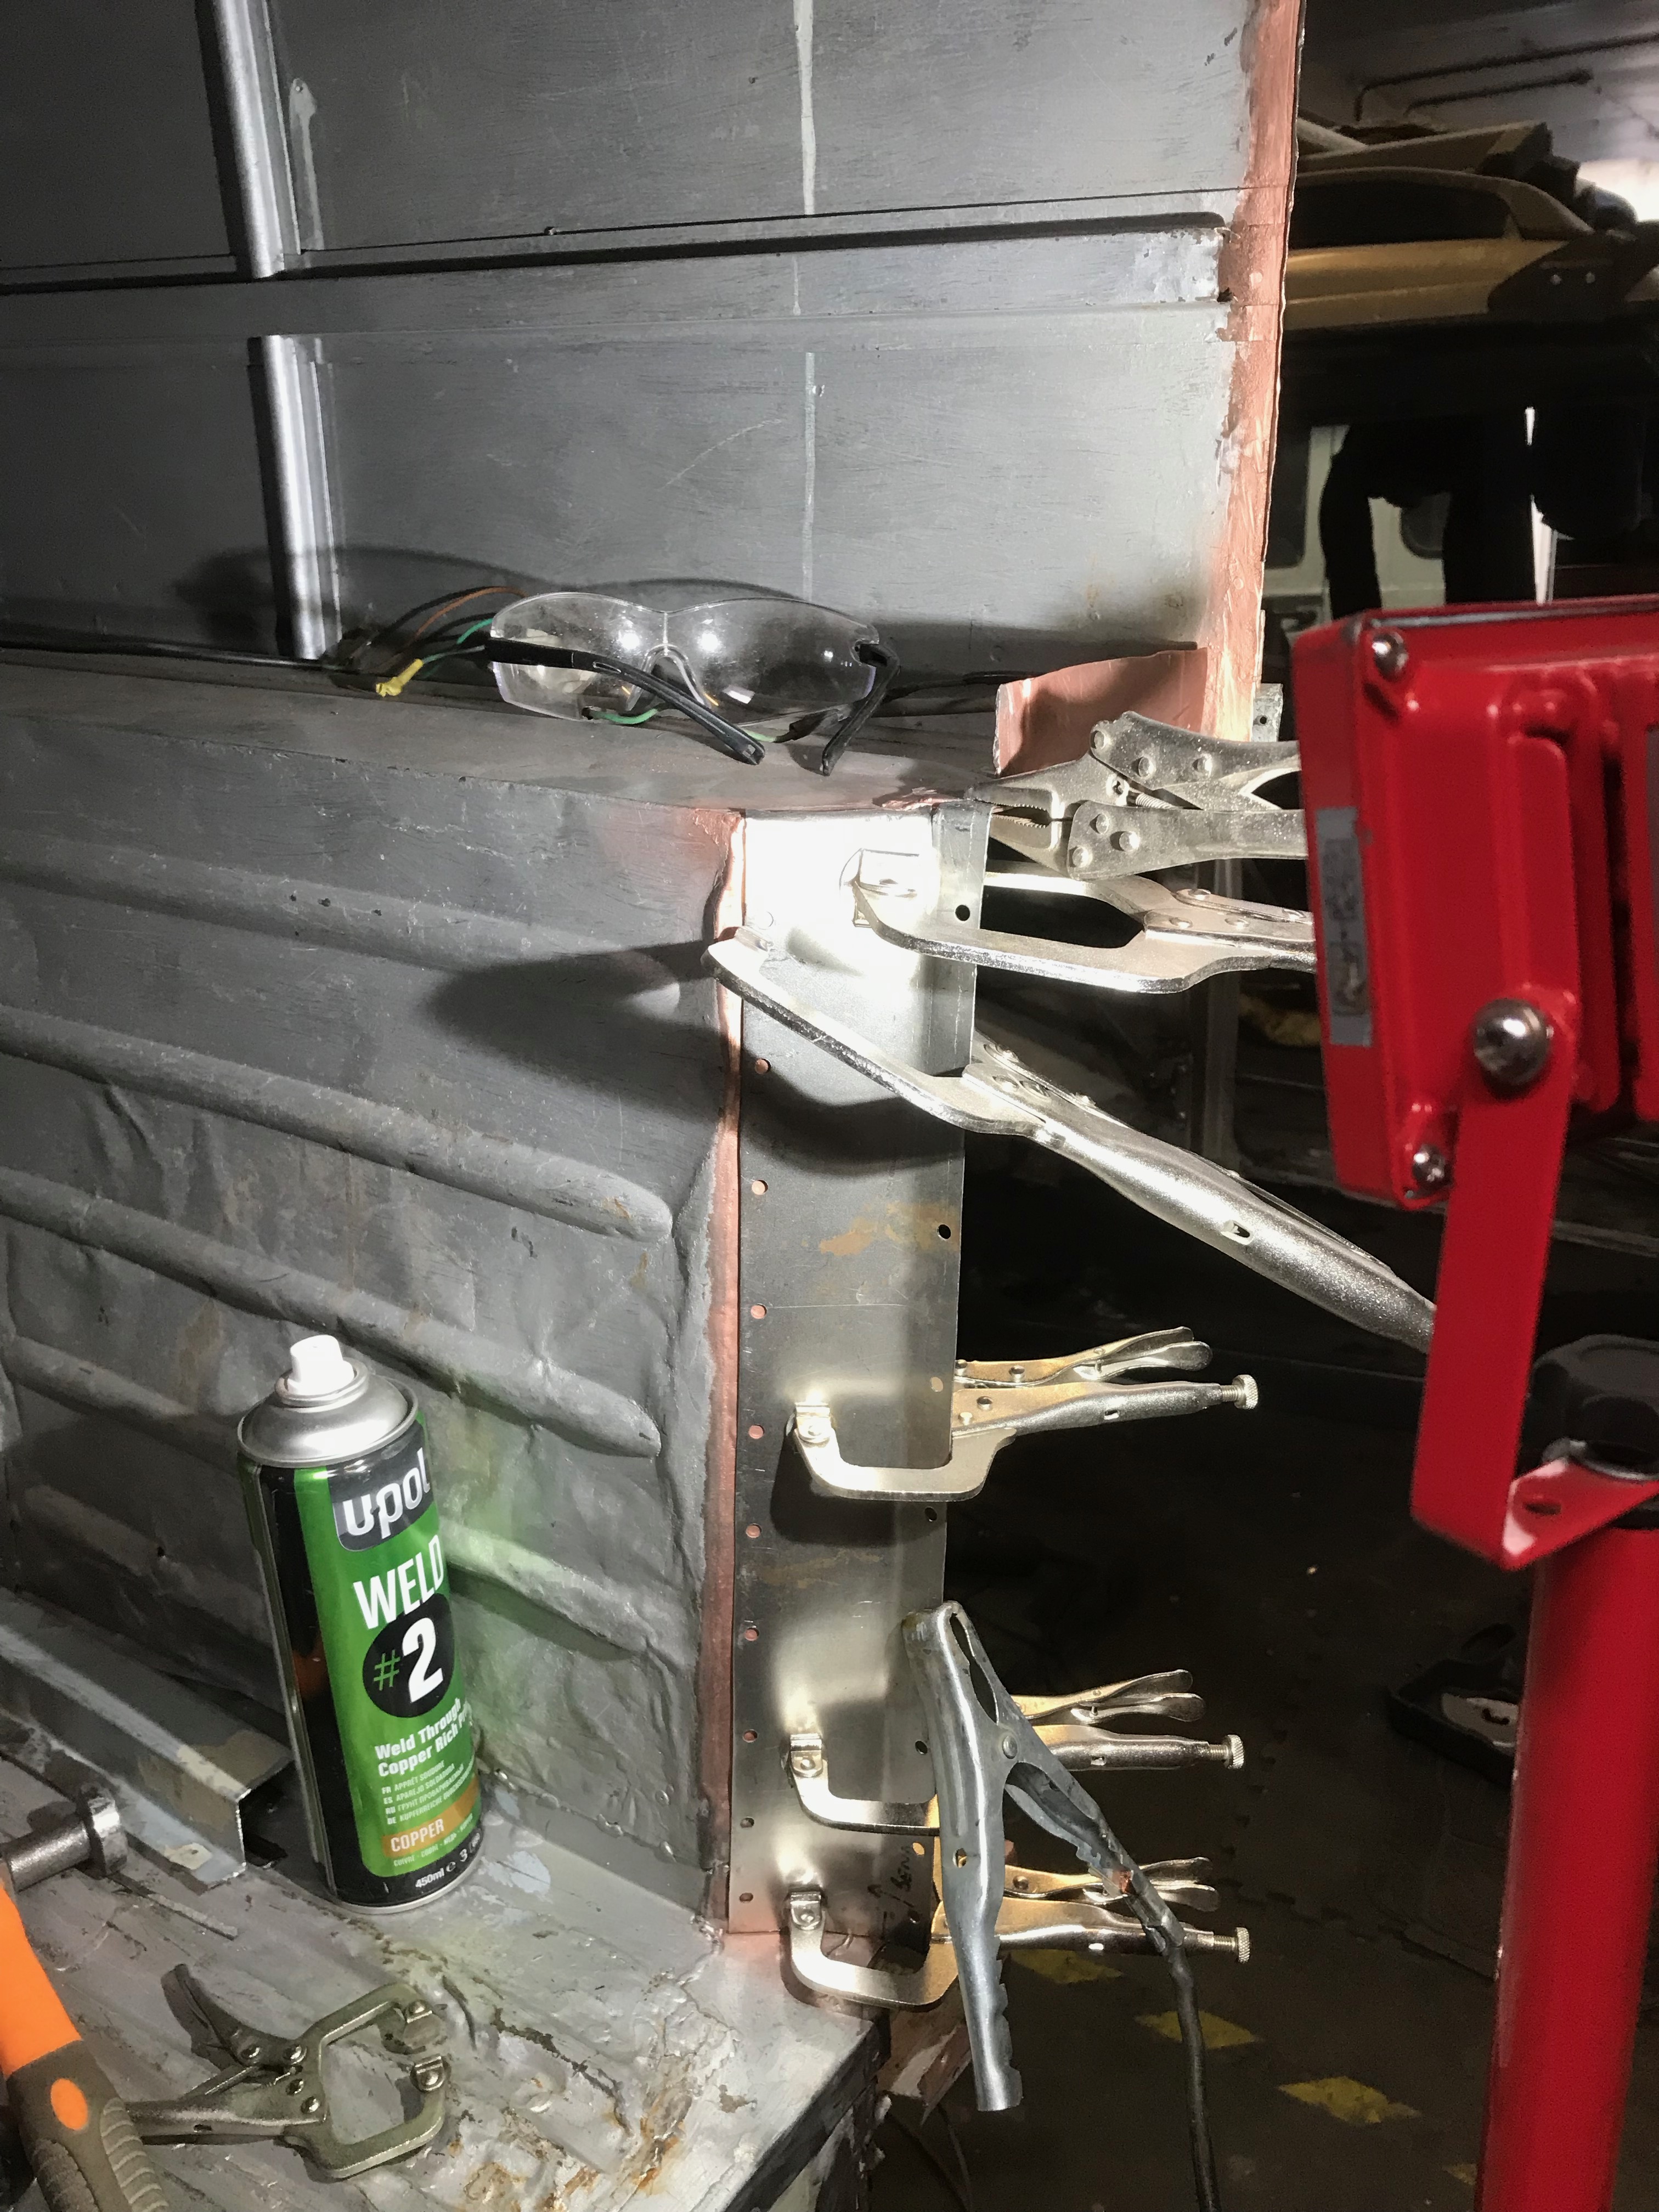
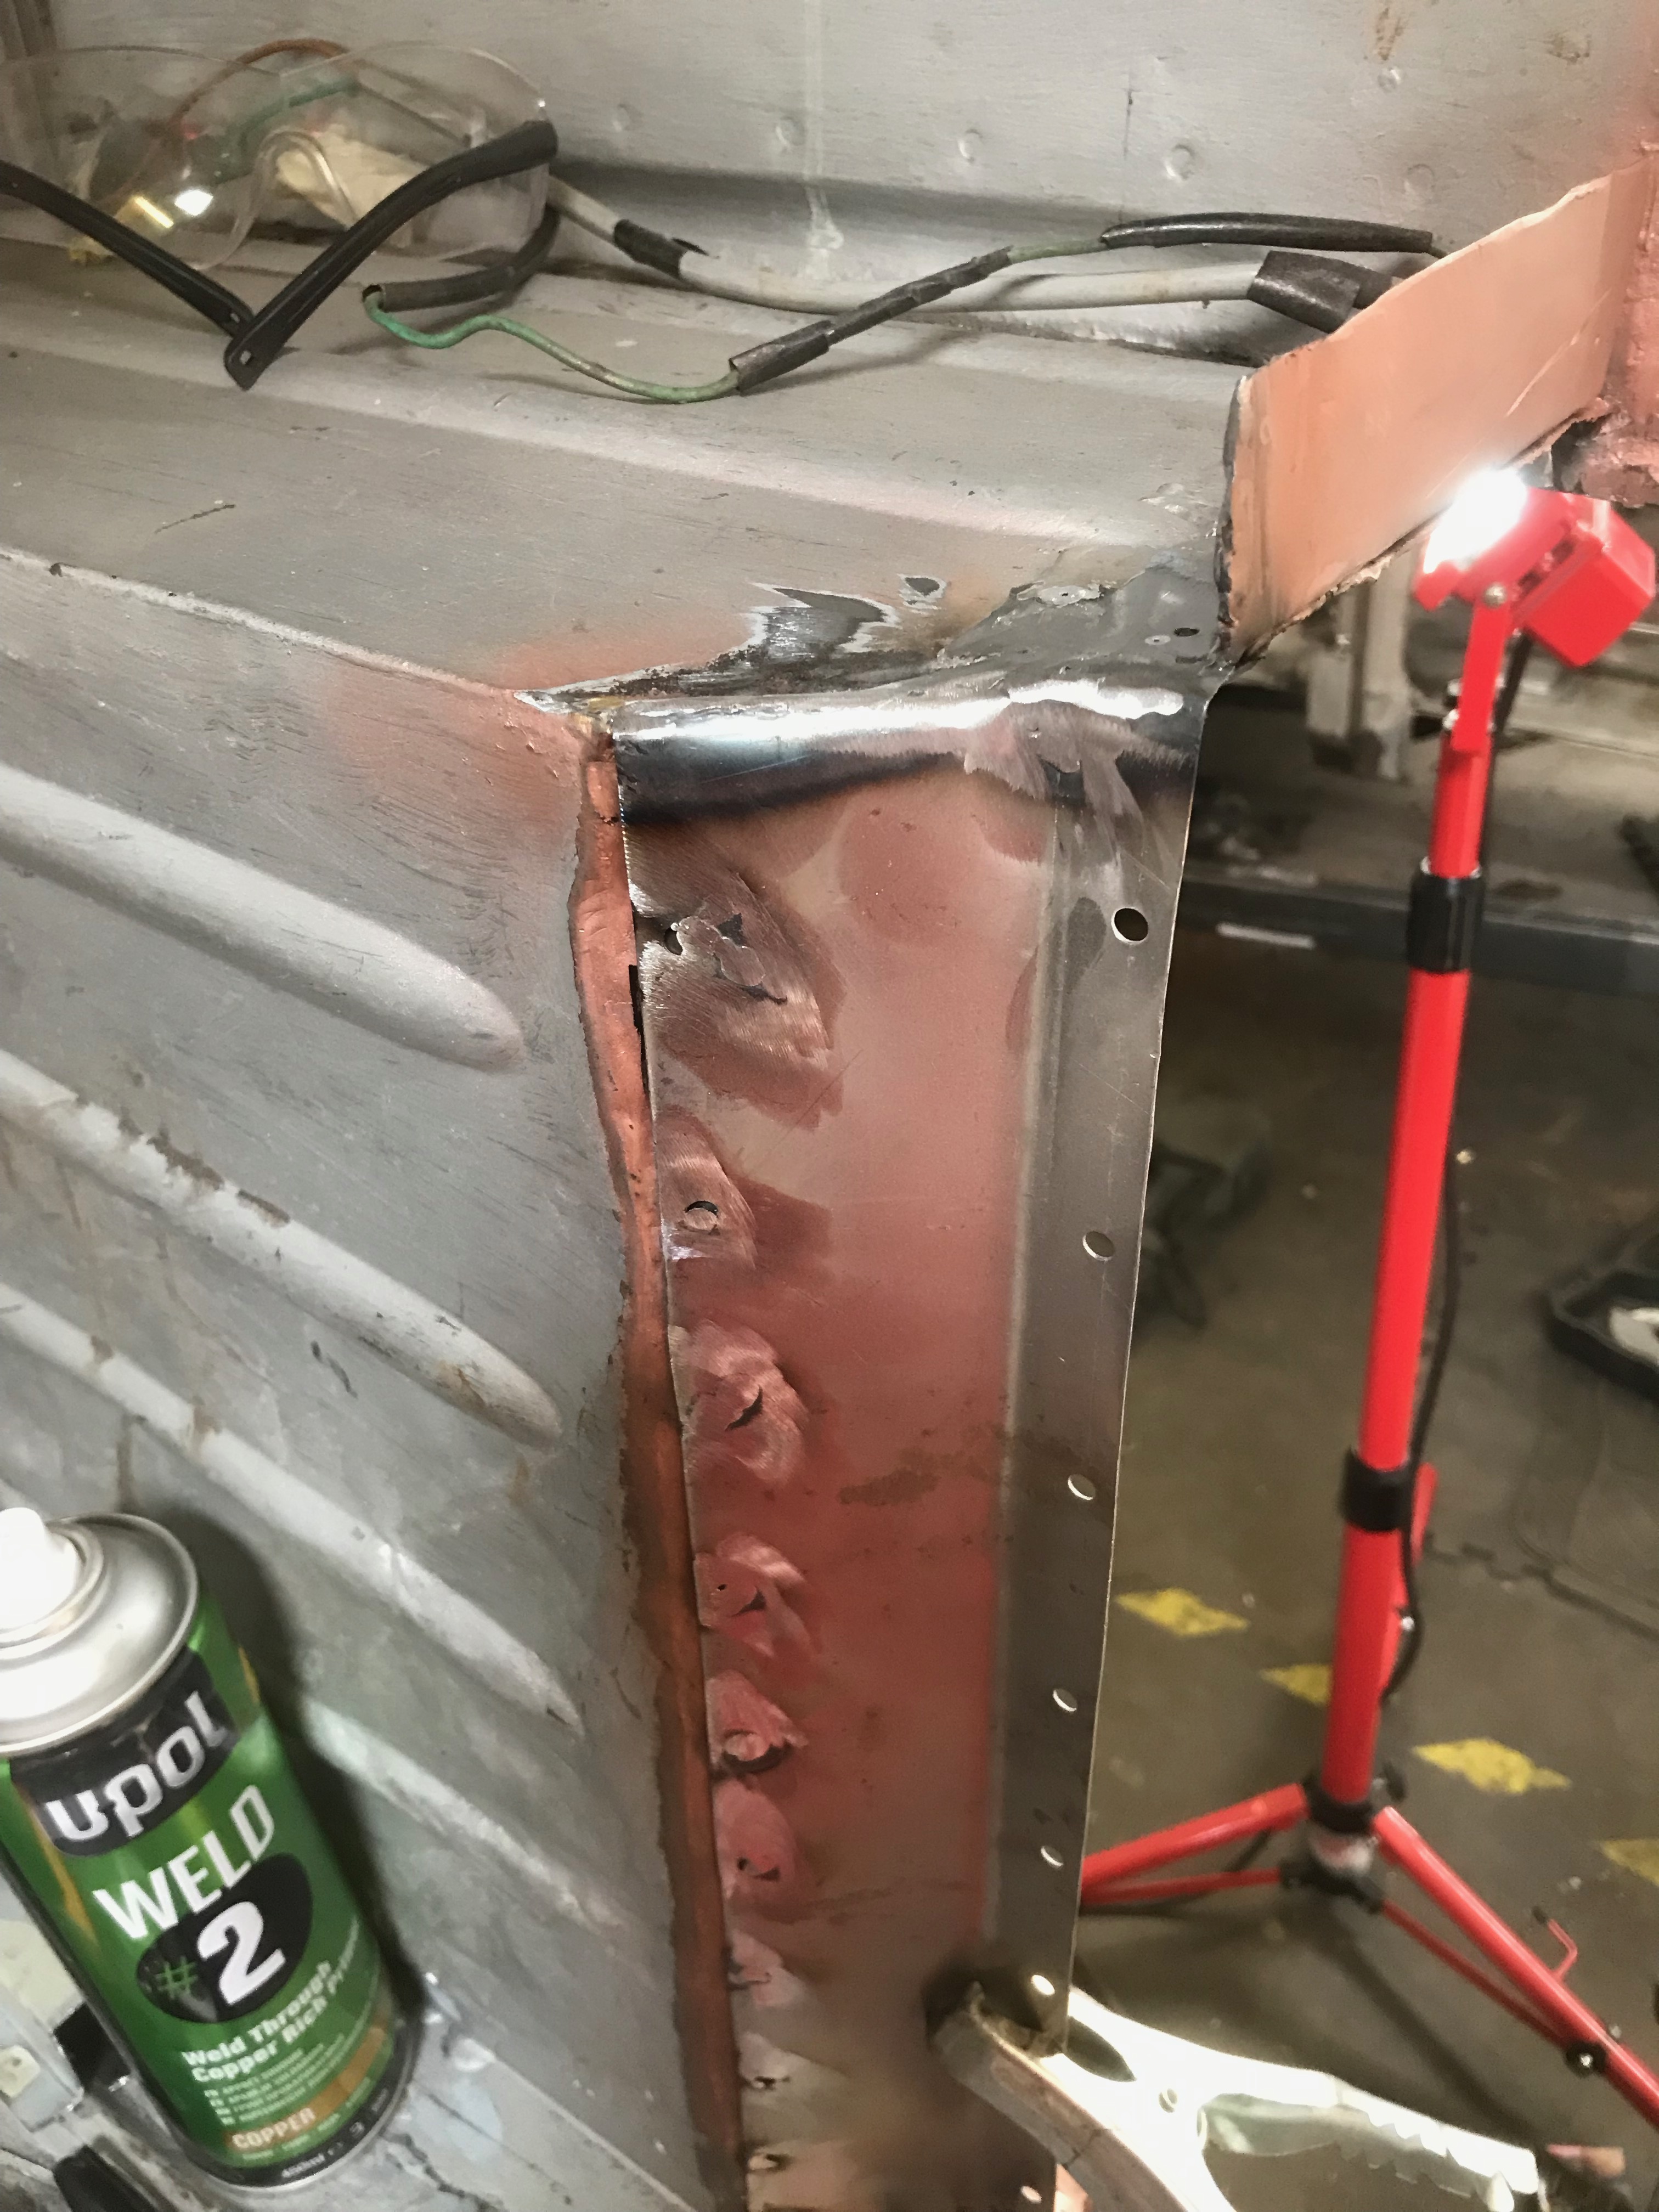
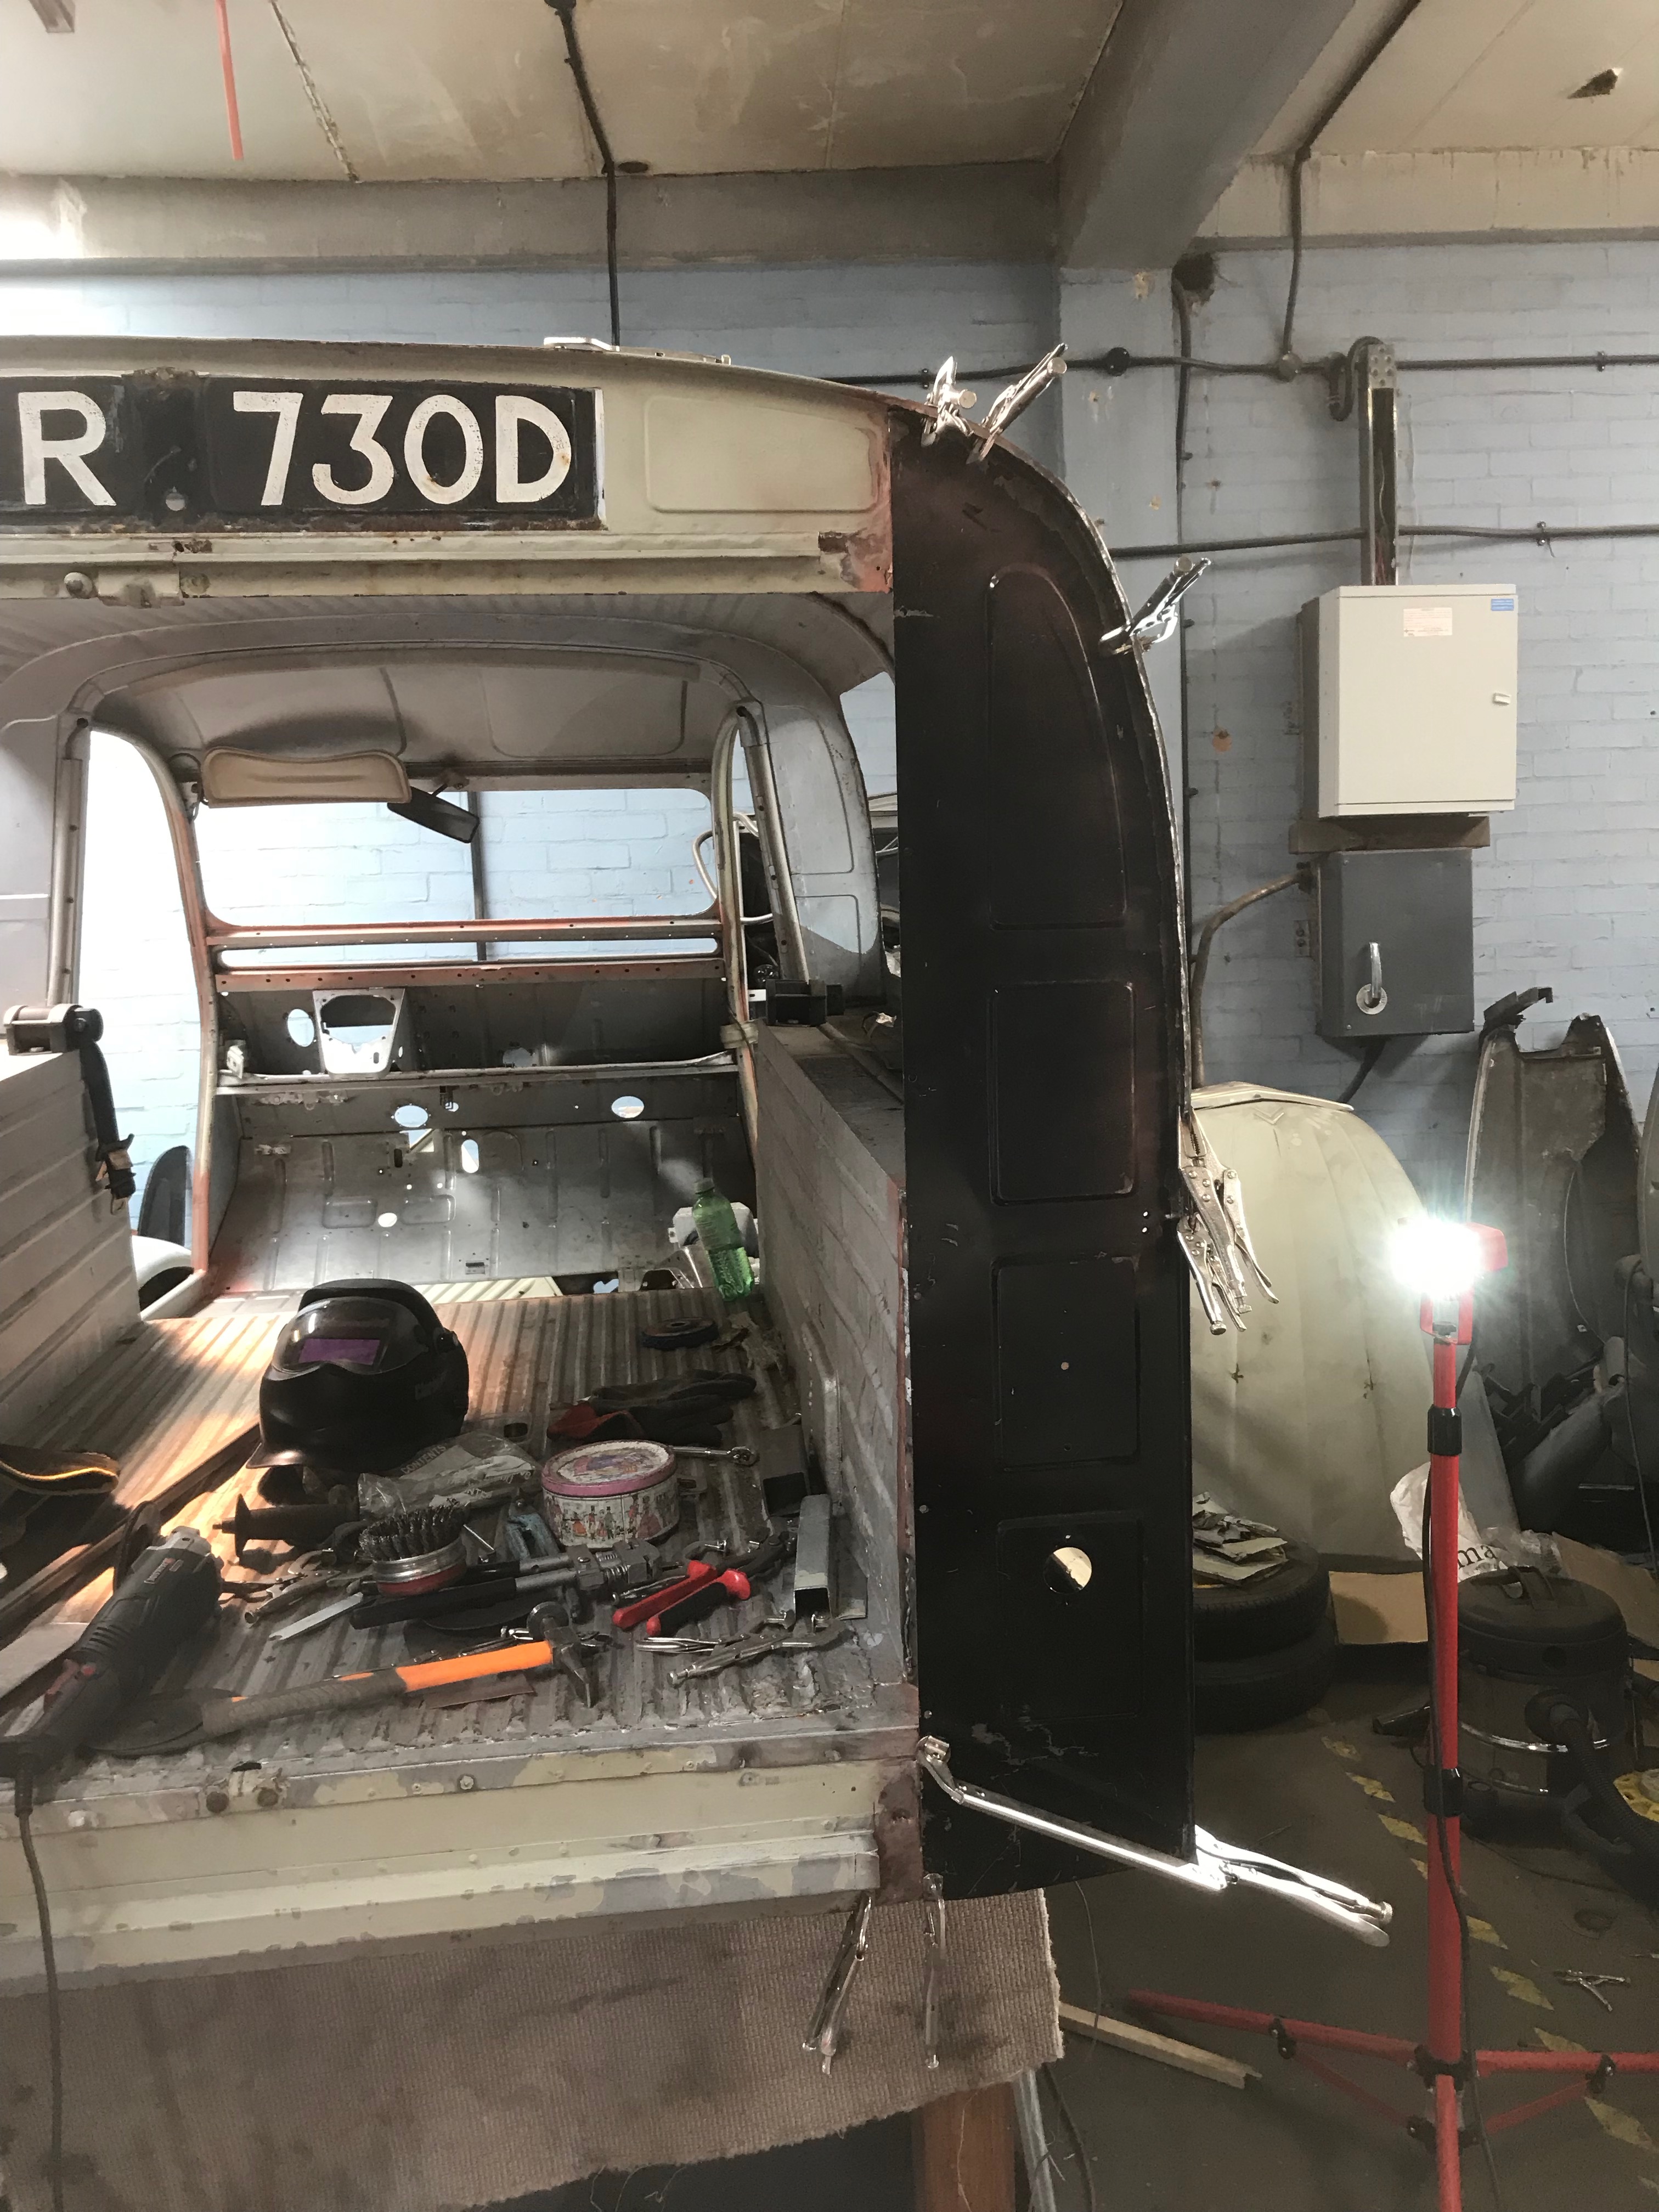
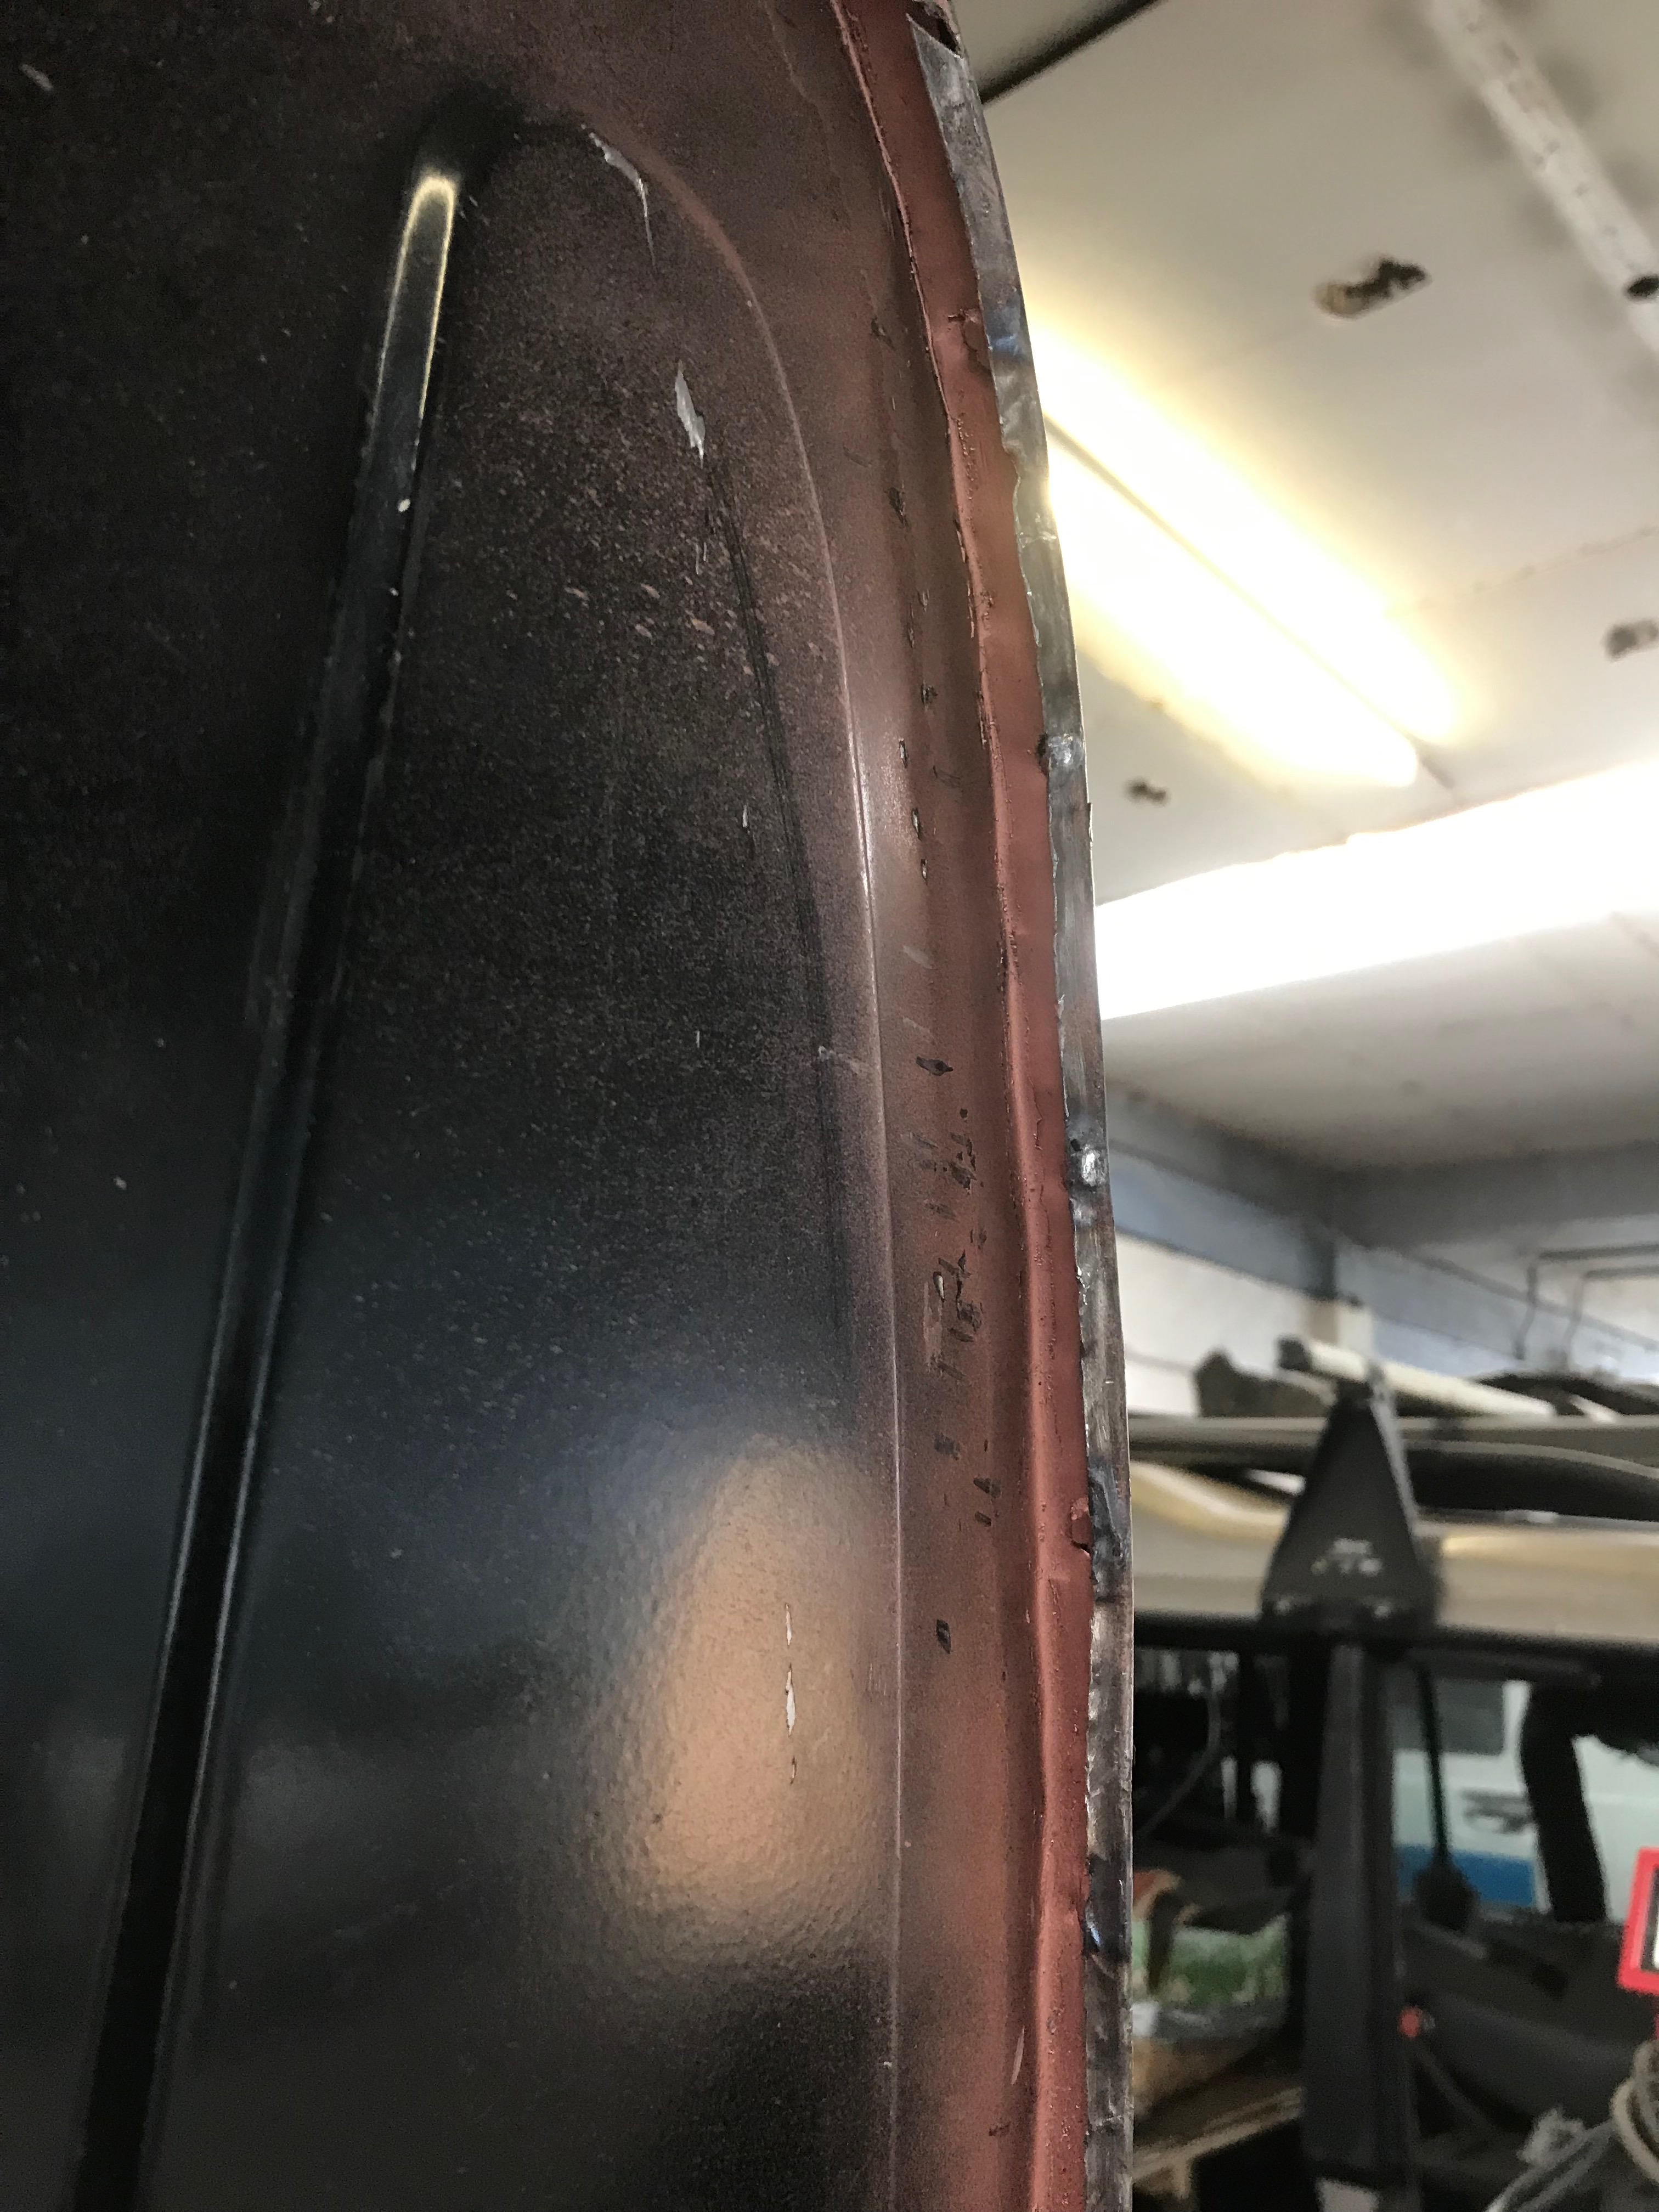
One new reap panel in place. I’ve peened over the right hand edge – to fold over the side of the van and make a nice join between it and door pillar.
That’s it for now, I’m off to Bearded Theory in Derbyshire (music festival) for a well earned rest tomorrow, so no more updates for a week or two.
