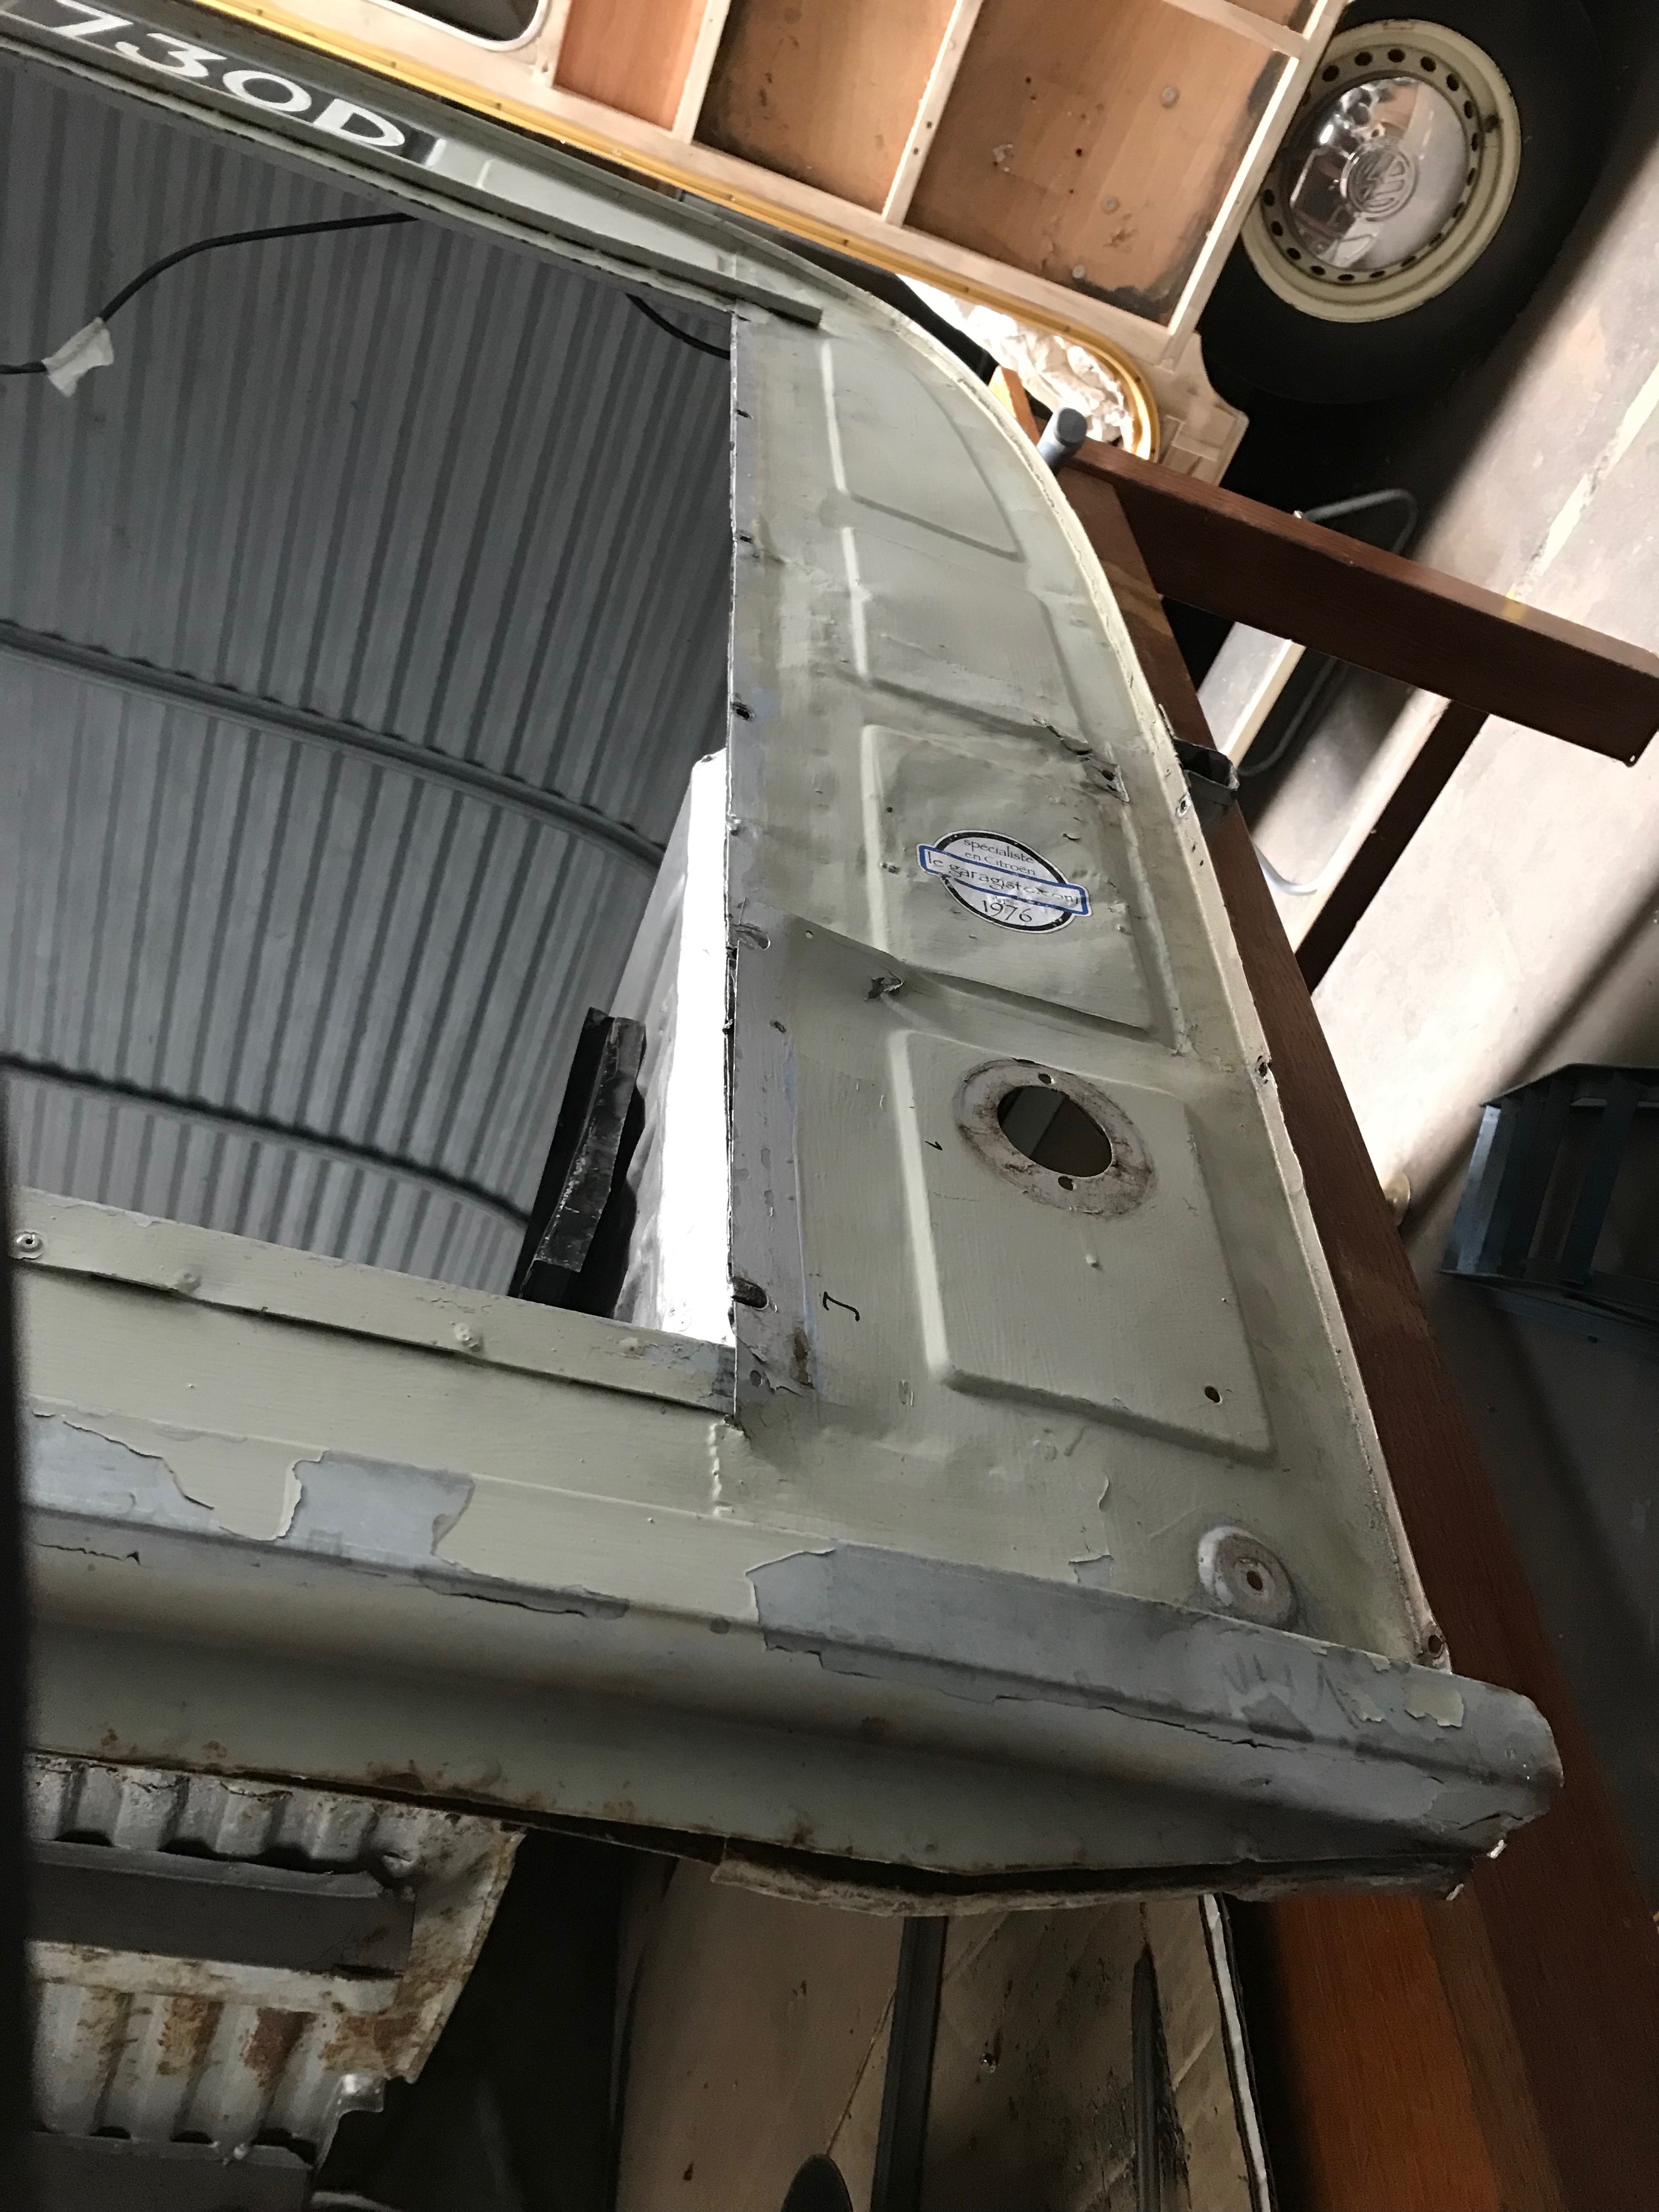
I’ve done what I can to get the front door hinge plates in the right place and have twisted the top of the drivers door frame, so that it fits nicely in its frame now – or at least it’s much better than it was. Any more fiddling with it will invoke the law of diminishing returns, so I’m going to leave it for now and have a look at the rear door pillars. At some point in the past, the van has had a clout in the offside rear corner, which has been repaired by letting in a new section at the bottom where the rear light fitting is located. However, above this, the metal has been bashed about and has stretched too much for me to reshape. I do have a shrinking hammer but access is limited and I’m not sure I have the metalwork skills to put it right – and as I acquired a pair of replacement door pillar panels, now seems like a good time to sort it out.
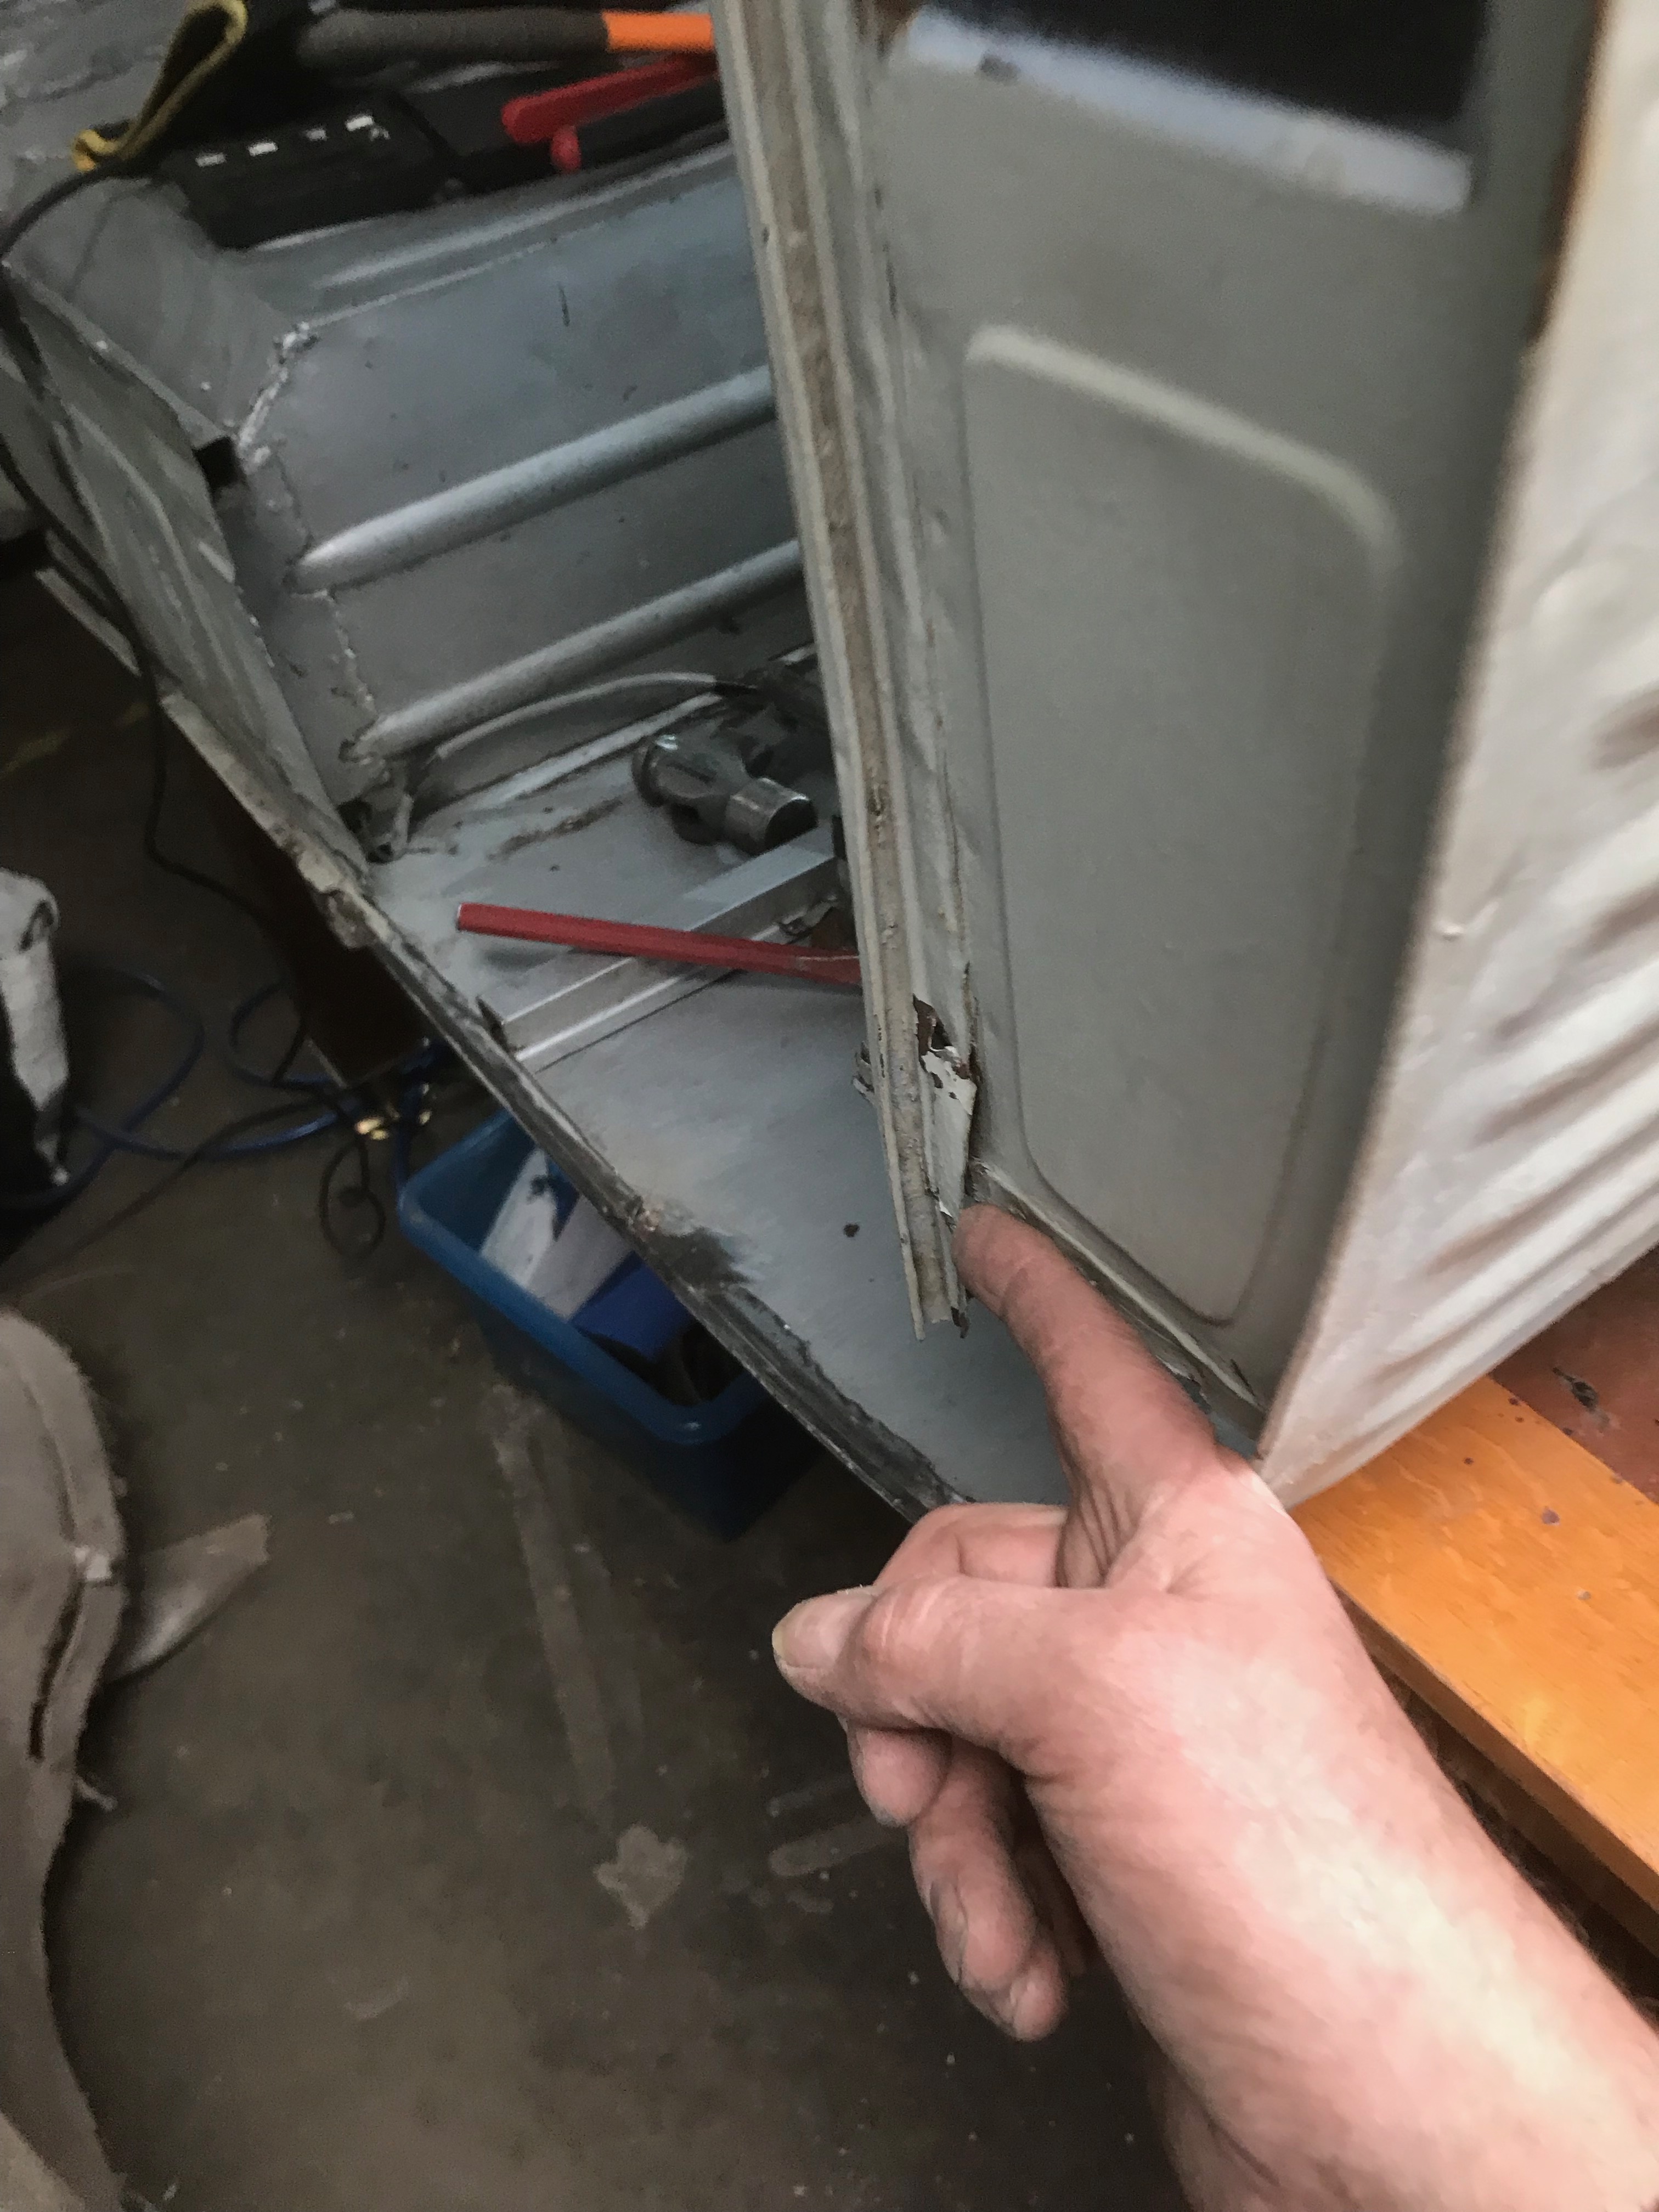
Here’s picture of the offside pillar. You can see where I started to peel away the previous repair, just above the hole and to the left of where the rear light fitting goes. Below the light hole, another section has been let in. If I replace the whole panel I can sort this out at the same time.
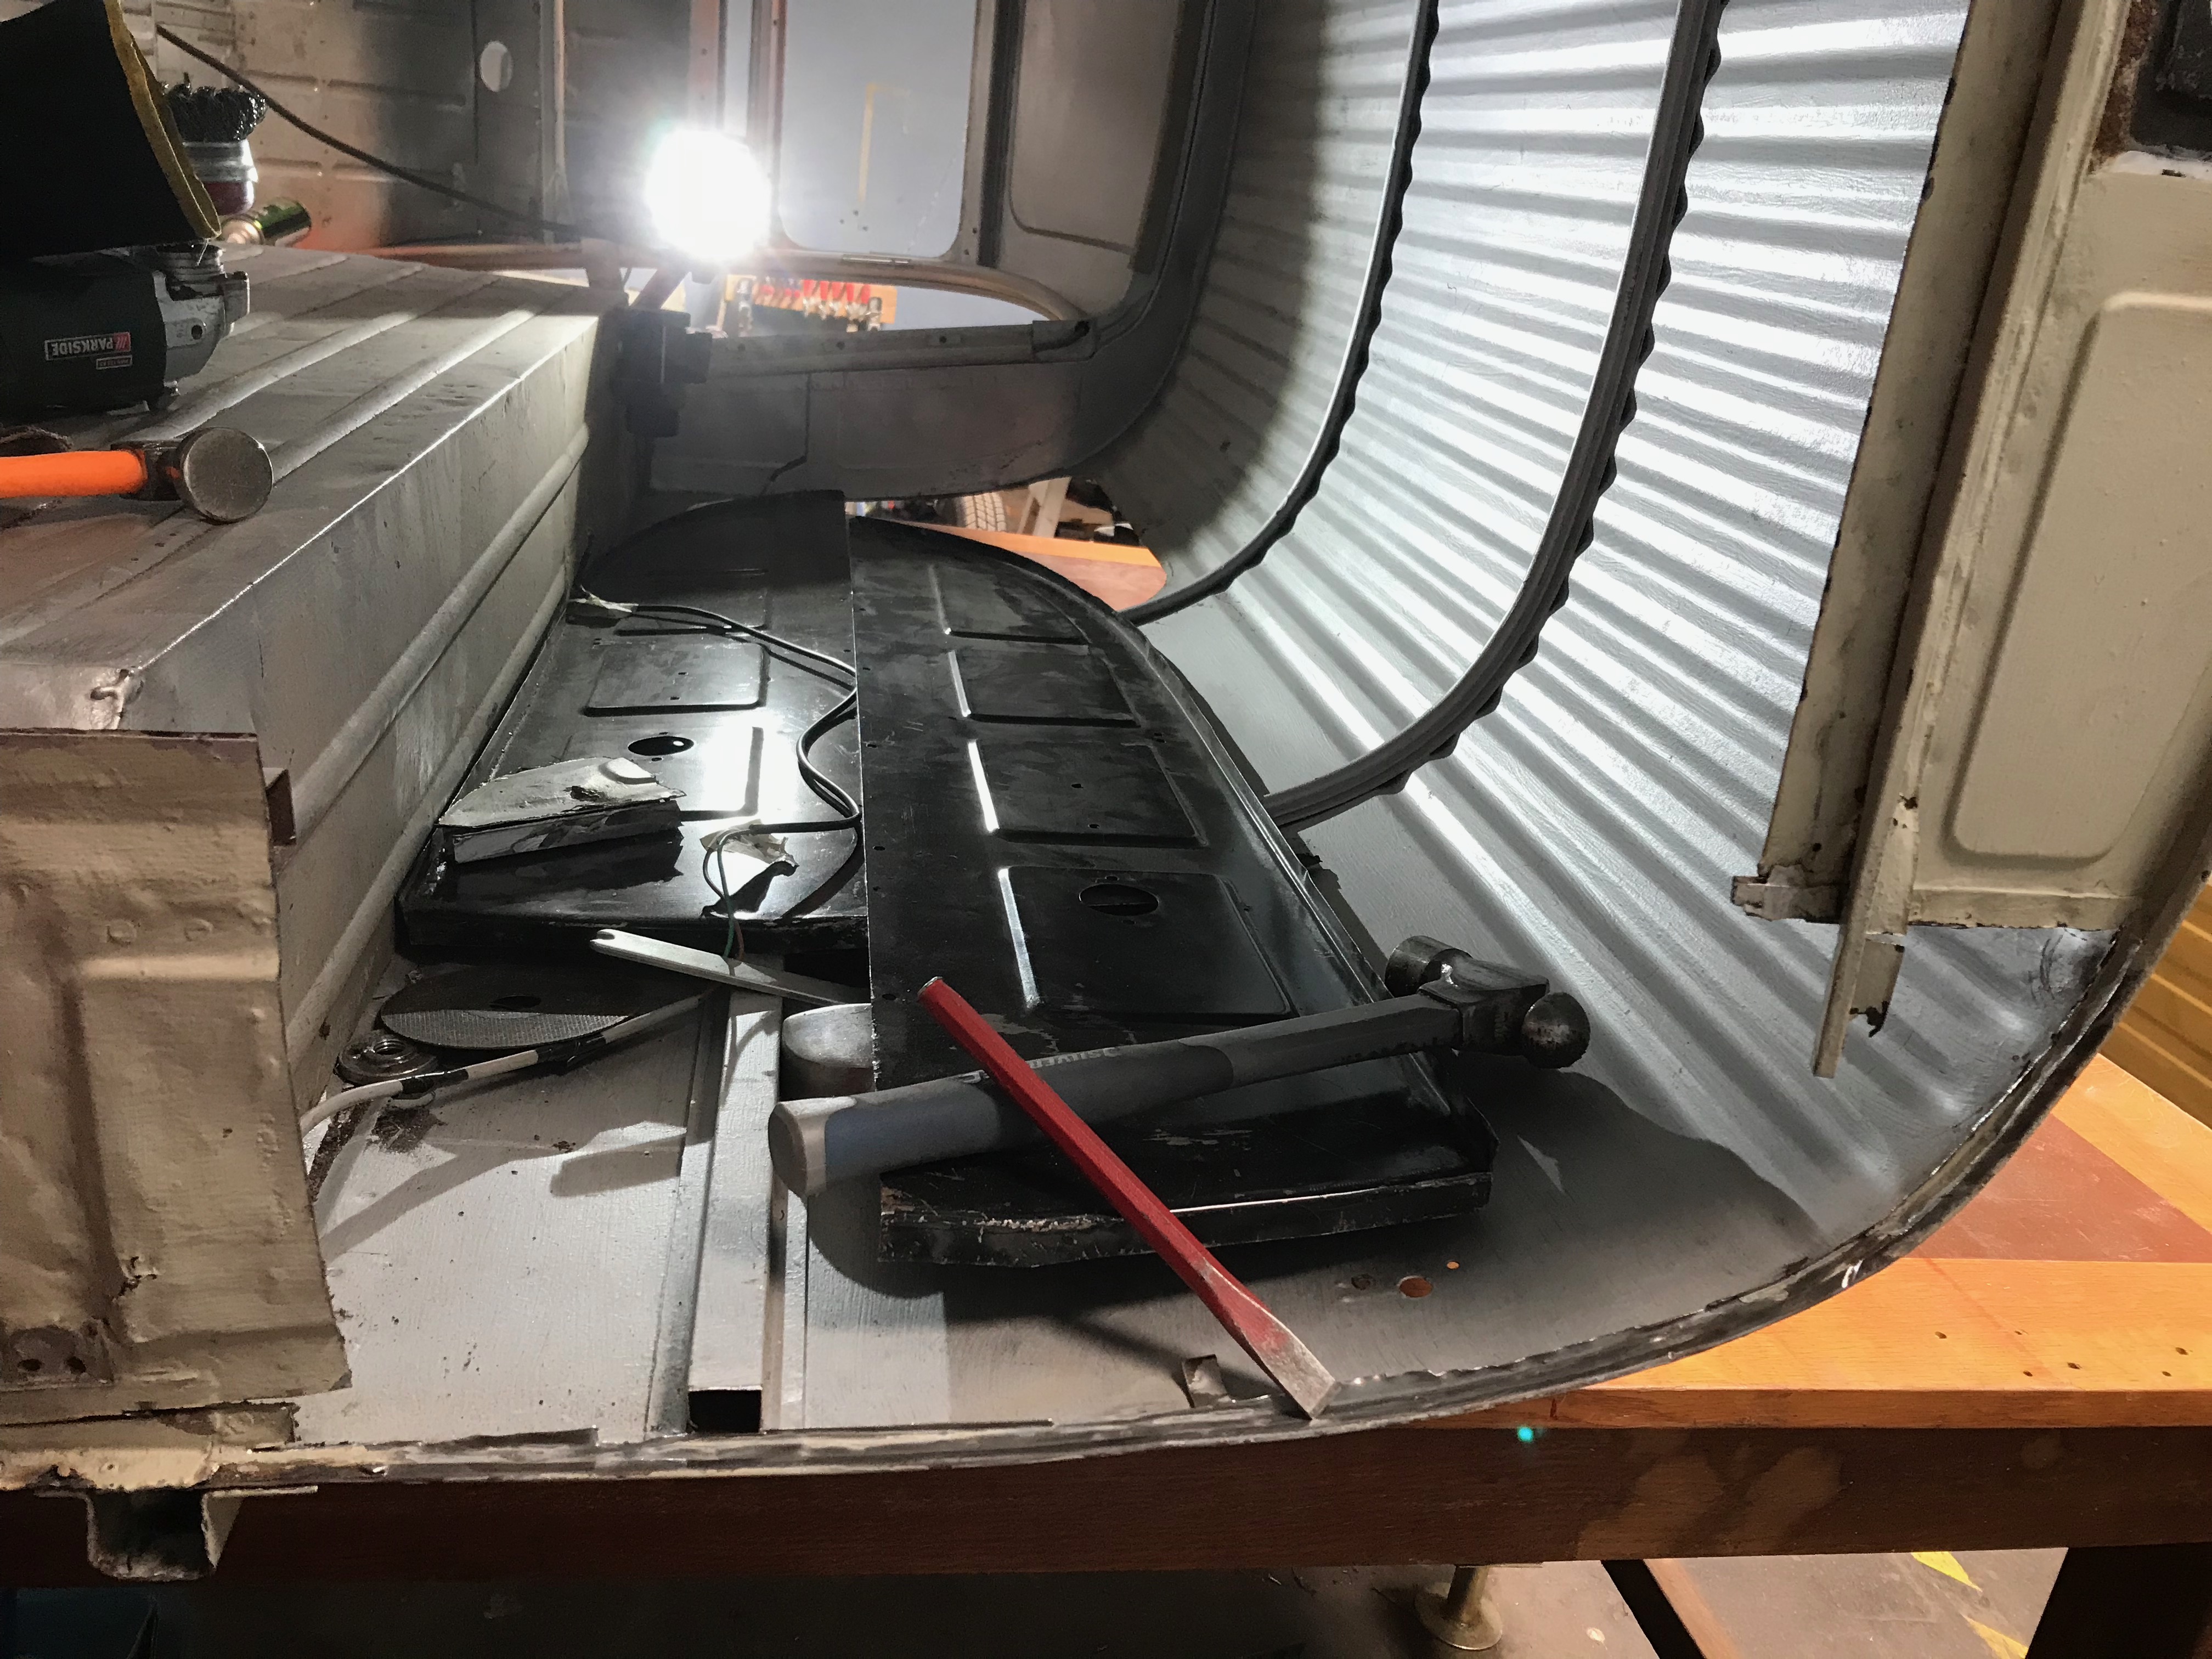
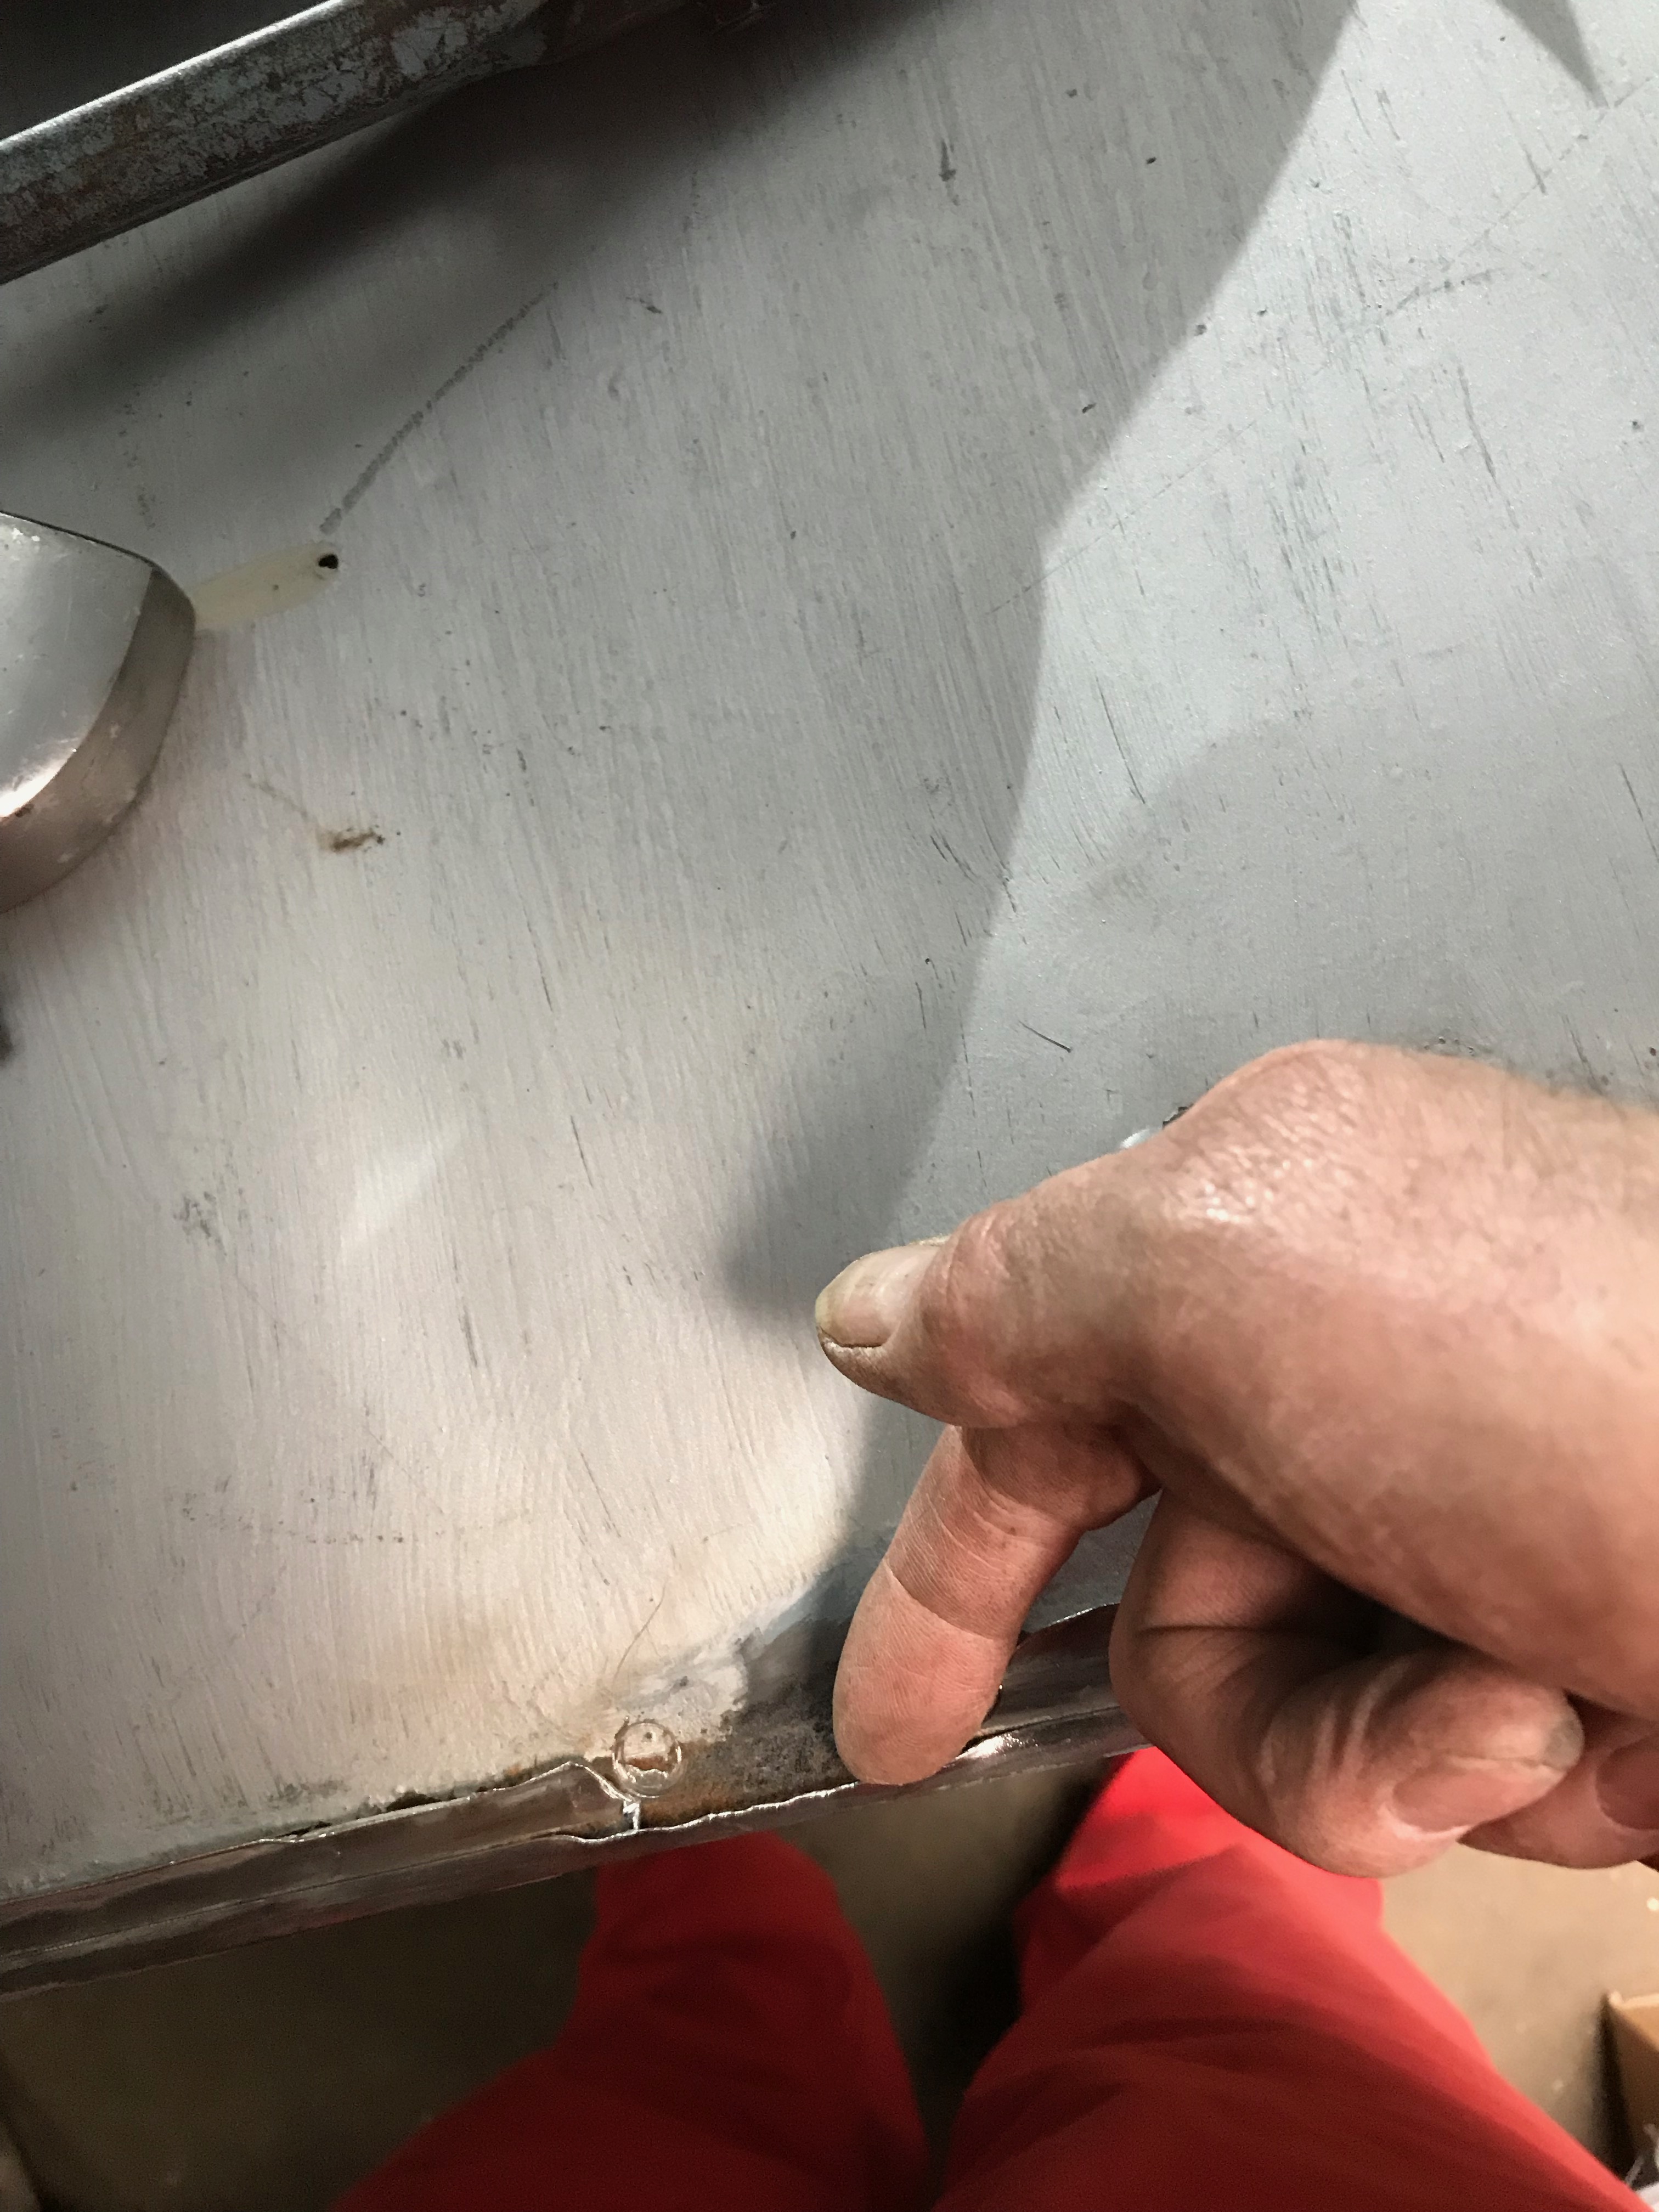
The edge of the van sides have been folded over to grip the edge of the door pillars – this is quite a neat way of closing the edge. Cutting out the pillar panel has presented me with 2 options. grind down what’s left and weld the new panel to edge of the old panel which is still spot welded – or unpick the spot welds, bend back the flange, weld in the new panel and fold the edge over again. A bit more investigation and I think I can replicate the original fitment – or I could be making a lot of extra work for myself.
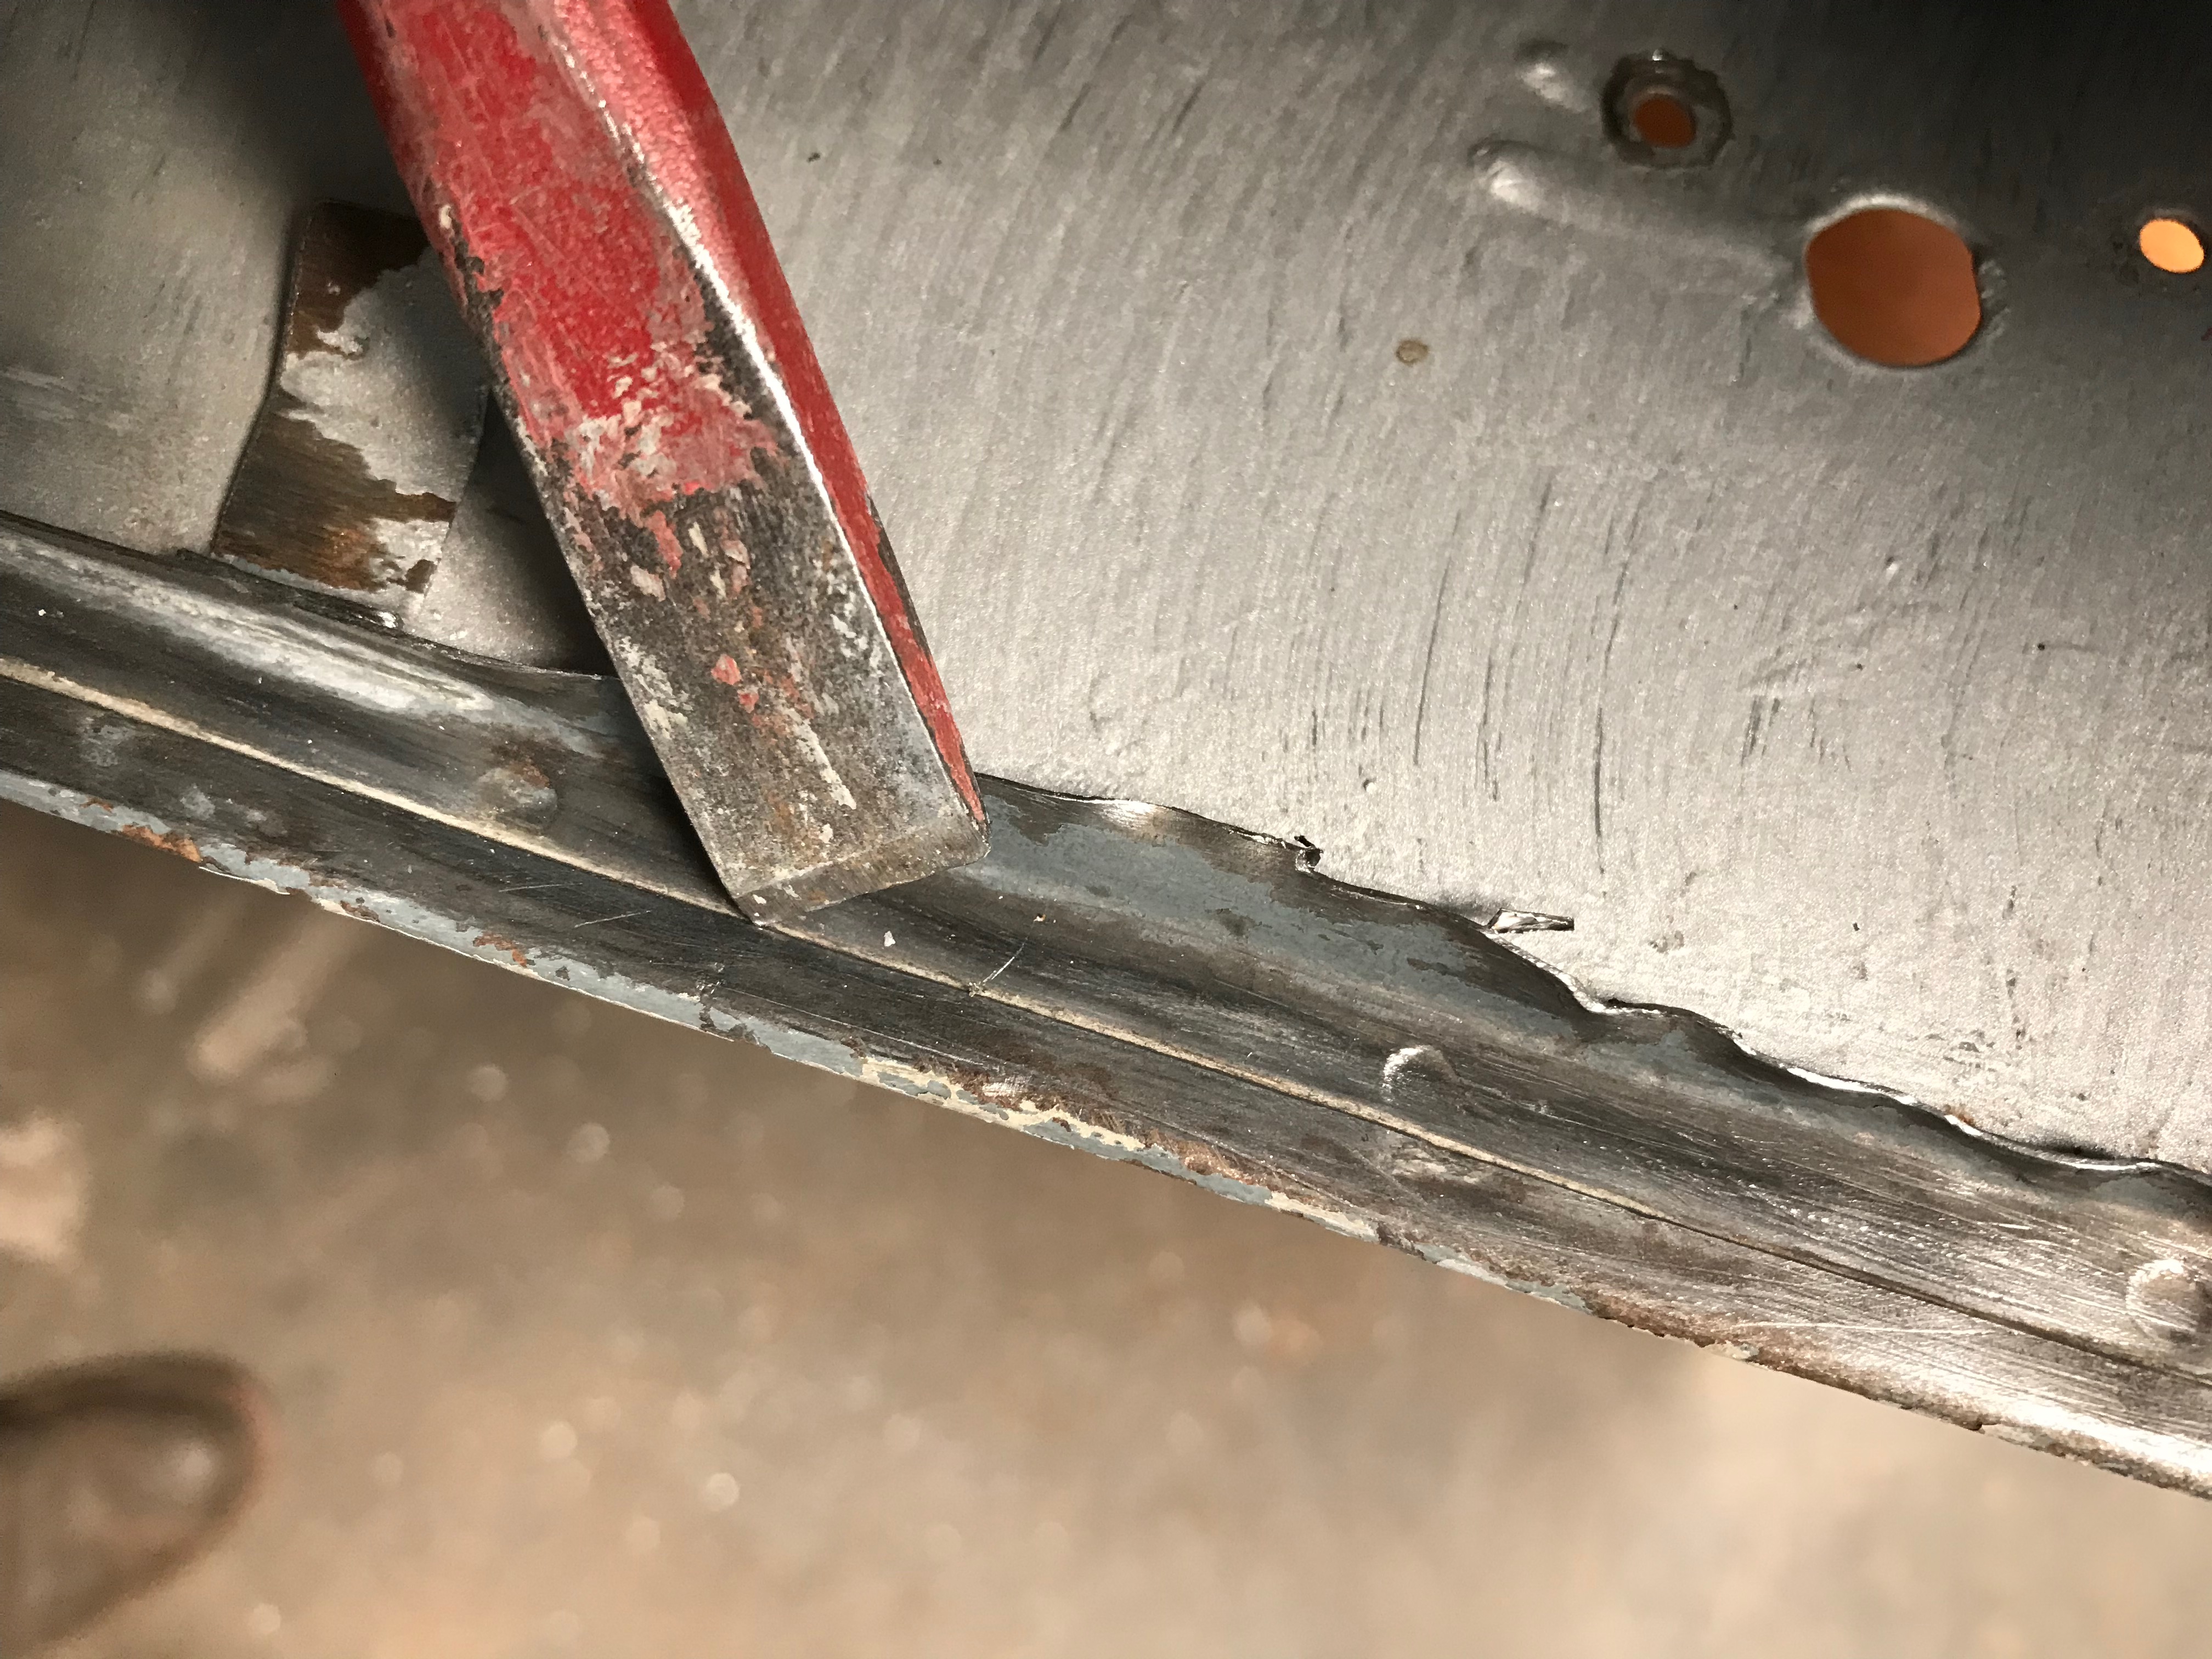
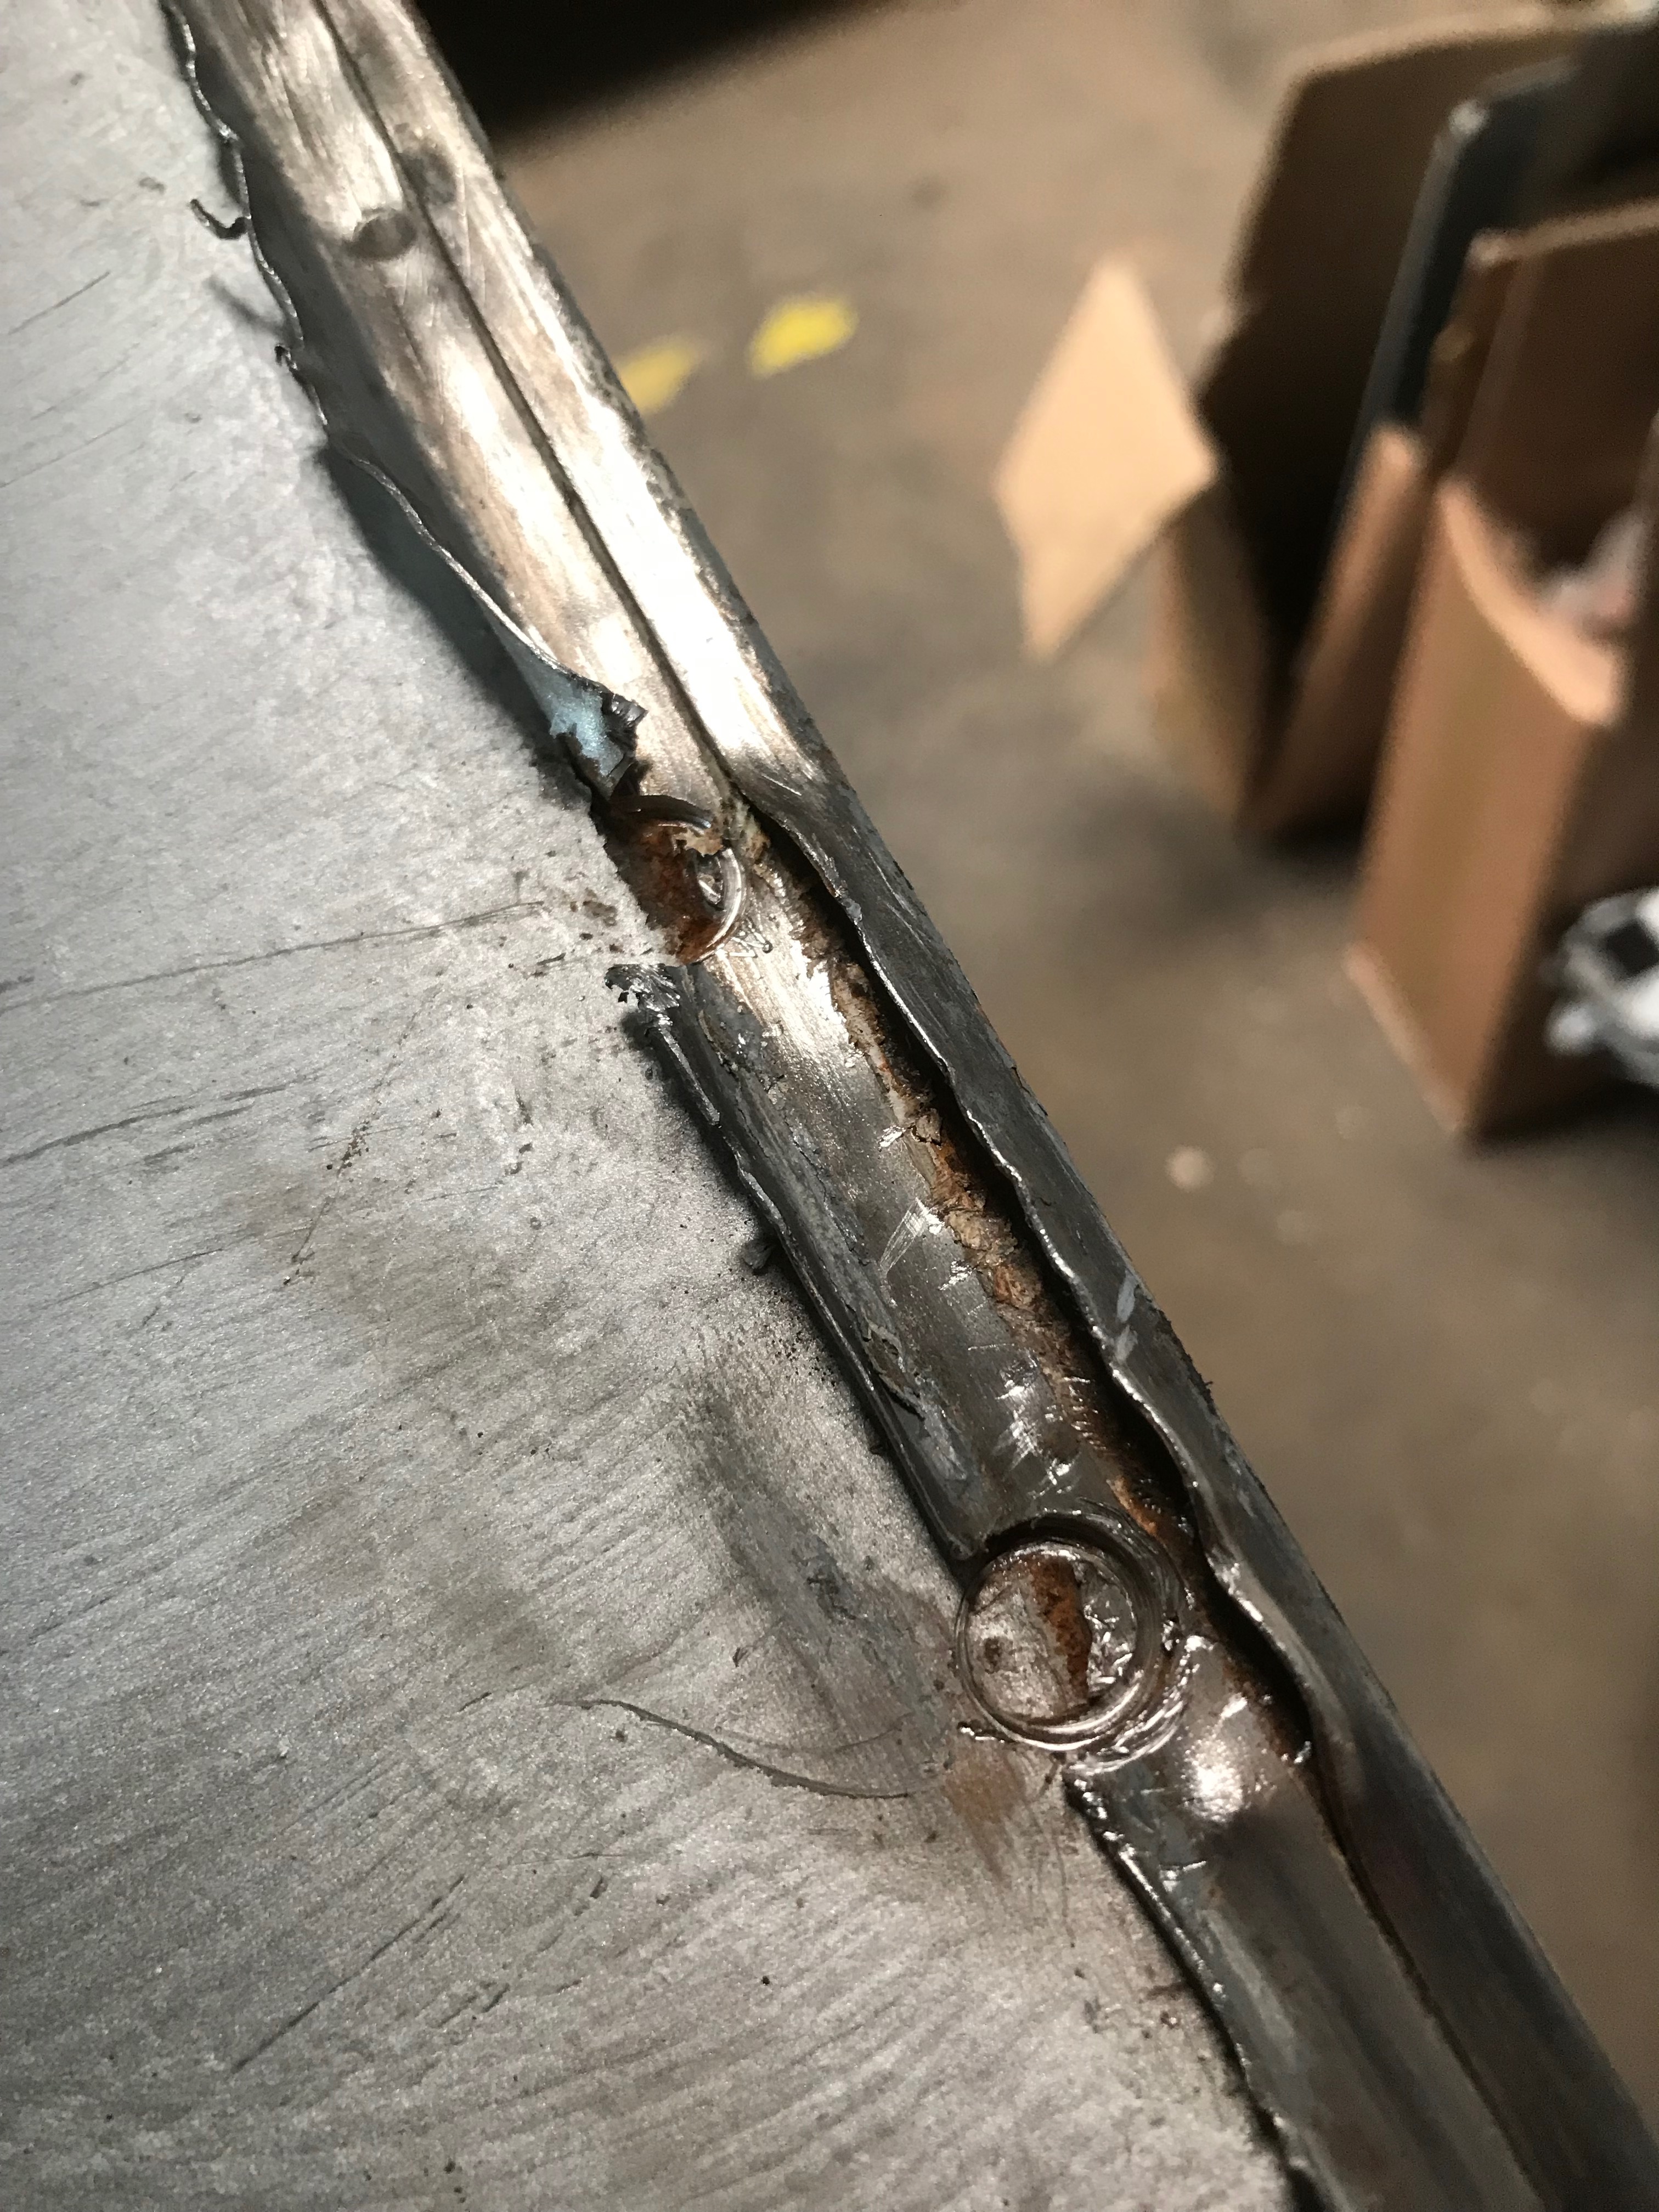
I drilled out a couple of the original spot welds and had a look
Below is where the new panel will tuck into the edge, which can then be folded over again
I decided to call it a day and have a think about how best to proceed while I watch the snooker final….
