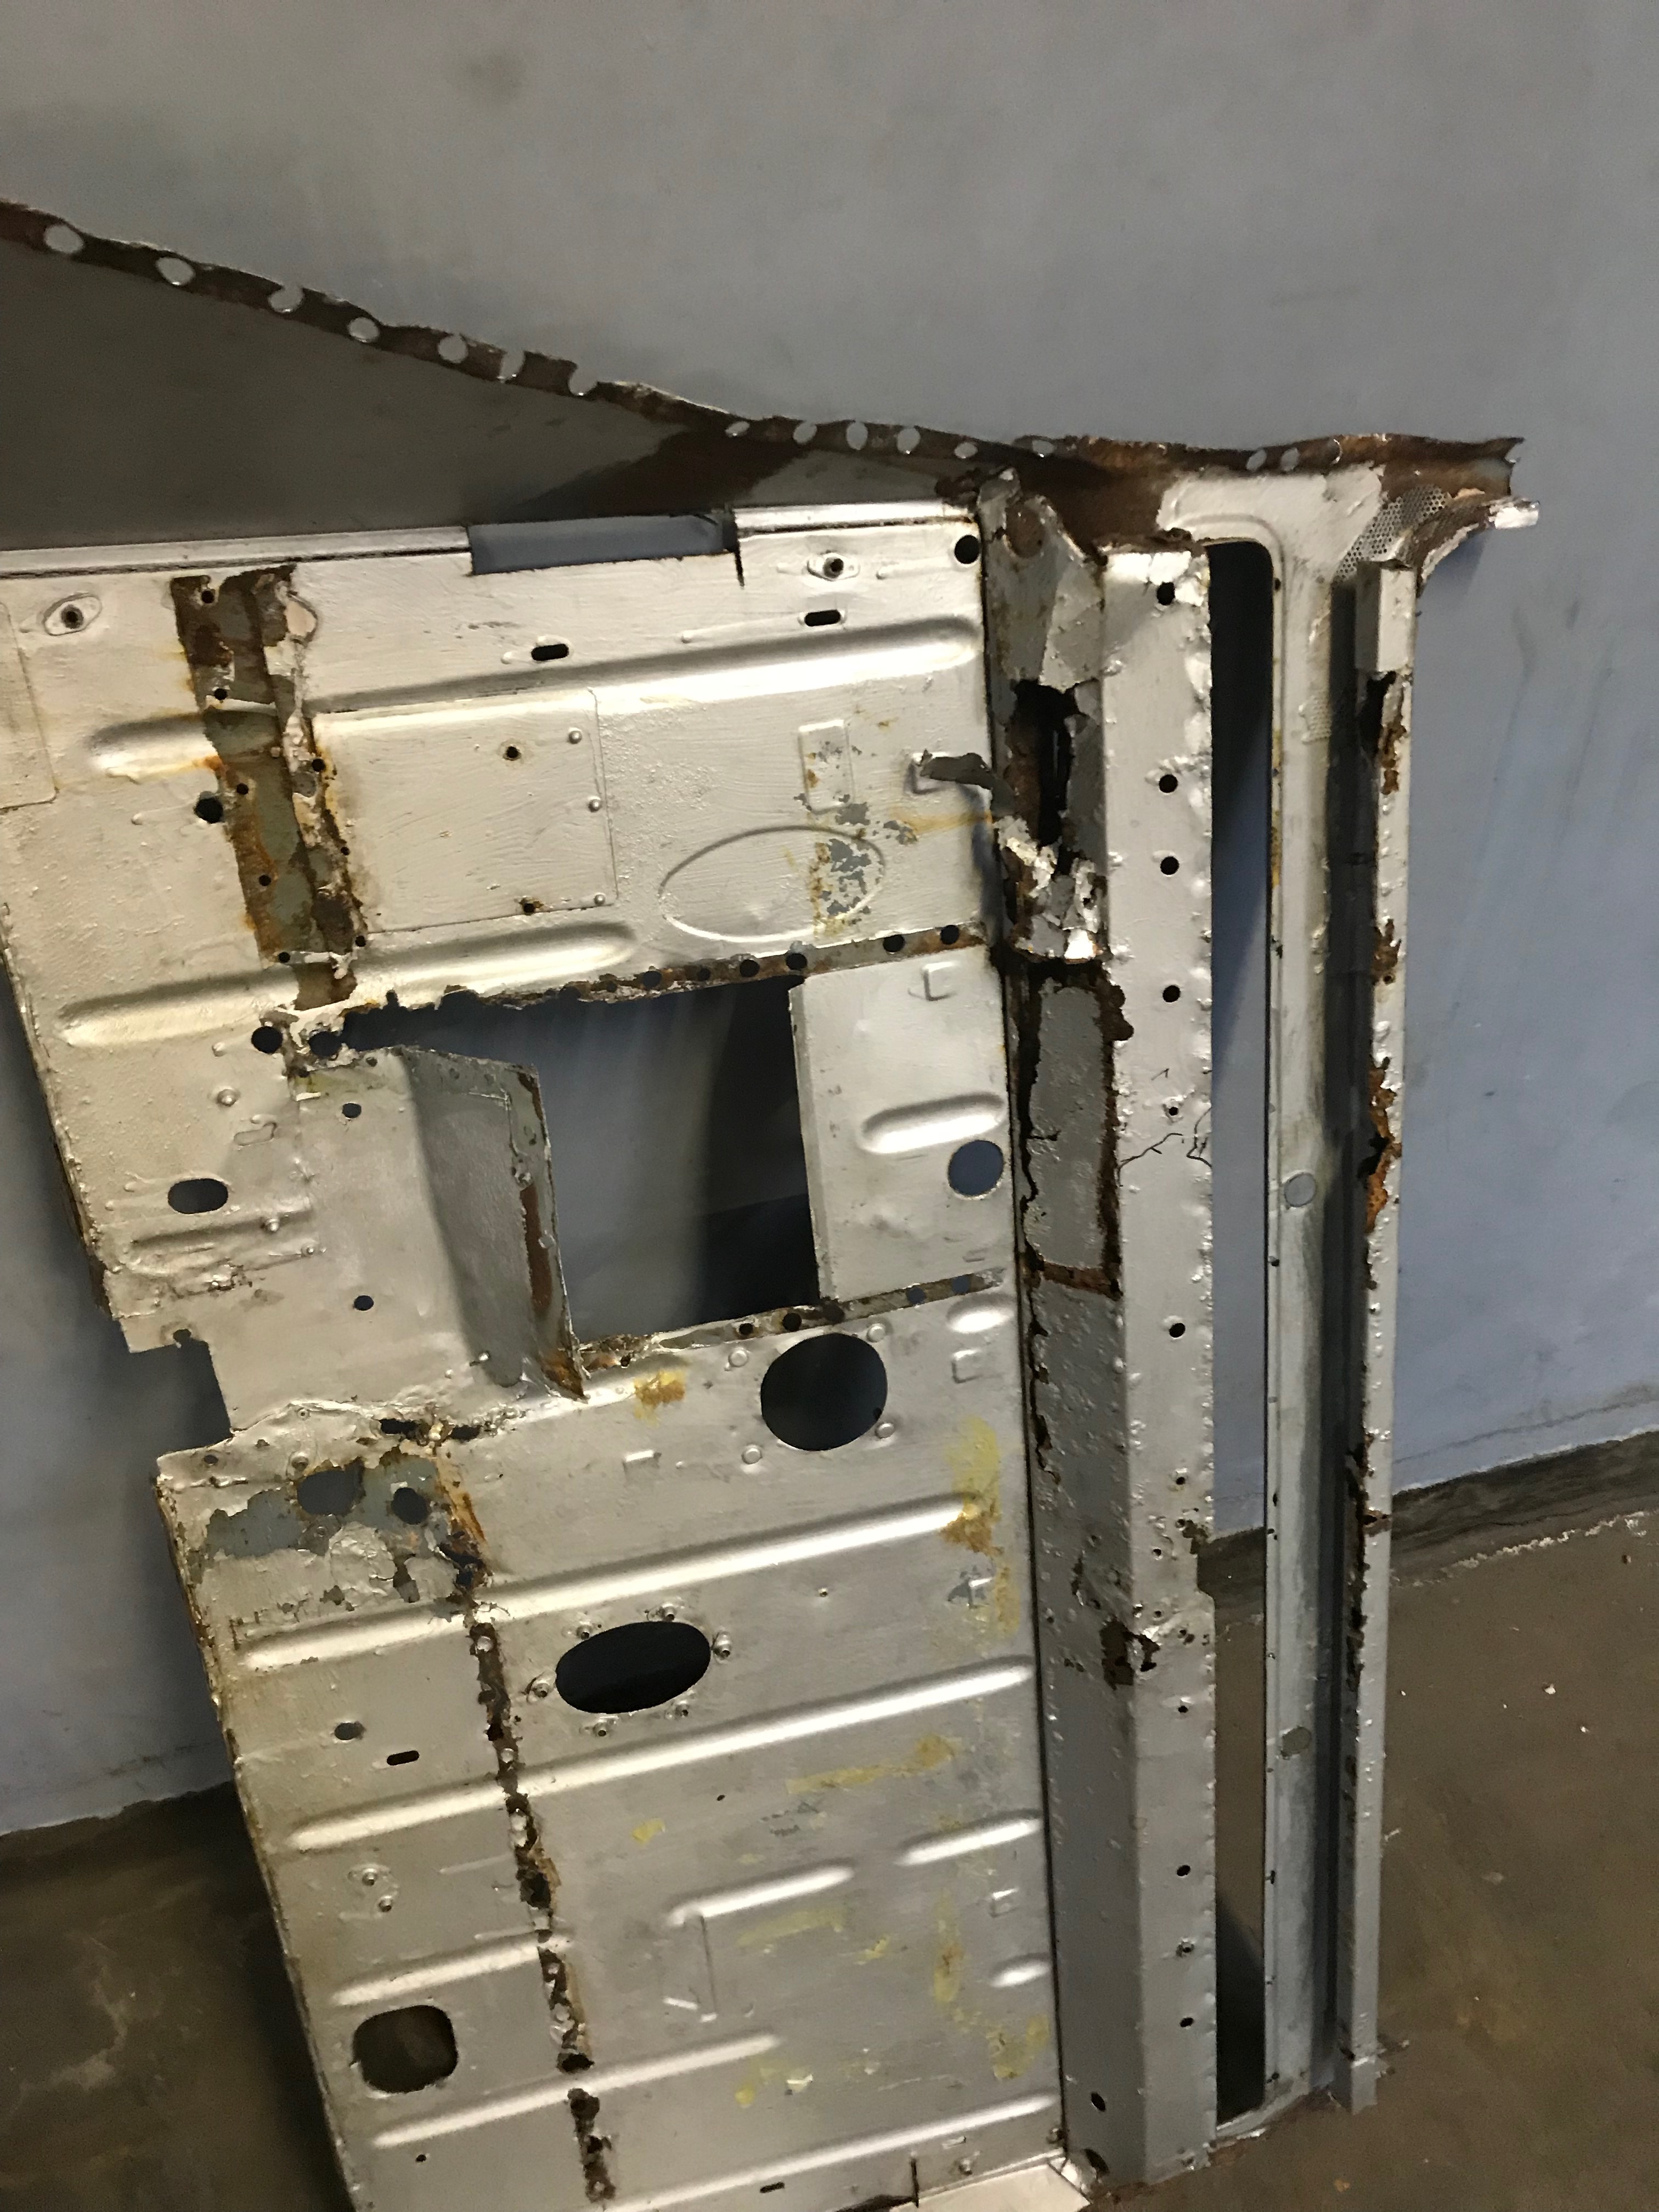
Here are few pictures to show the extent of the rot in the upper part of the firewall, ventilation flap area and the lower part of the windscreen surround.
I had not expected it to be as bad as this – it really is horrible and almost certainly beyond repair.


Anyway – after a trial fit of the new toe board, bulkhead and A panels, I can honestly say they don’t all fit together as expected. There’s no denying it, the fact is that they just don’t fit together at all.
It’s not easy clamping the panels together when you don’t have enough clamps and only one pair of hands. I’m not likely to grow another pair of hands anytime soon and by the time evolution delivers them to the human race, no-one will give a fig about me and my van, so I’ll get some more clamps.
It’s as if the front of the Van is 1cm narrower than it should be. The toe board won’t fit into the gap left behind when I cut the old panels out which is odd because I made sure to weld some braces across the front of the A pillars and the B posts before cutting anything so I could be sure that nothing could move. As all the other bits join on to this vital piece, everything is just a little bit out of whack.
Here are a few shots of what’s left of the front of the sills – these need to be the right shape for the toe board to slot into.
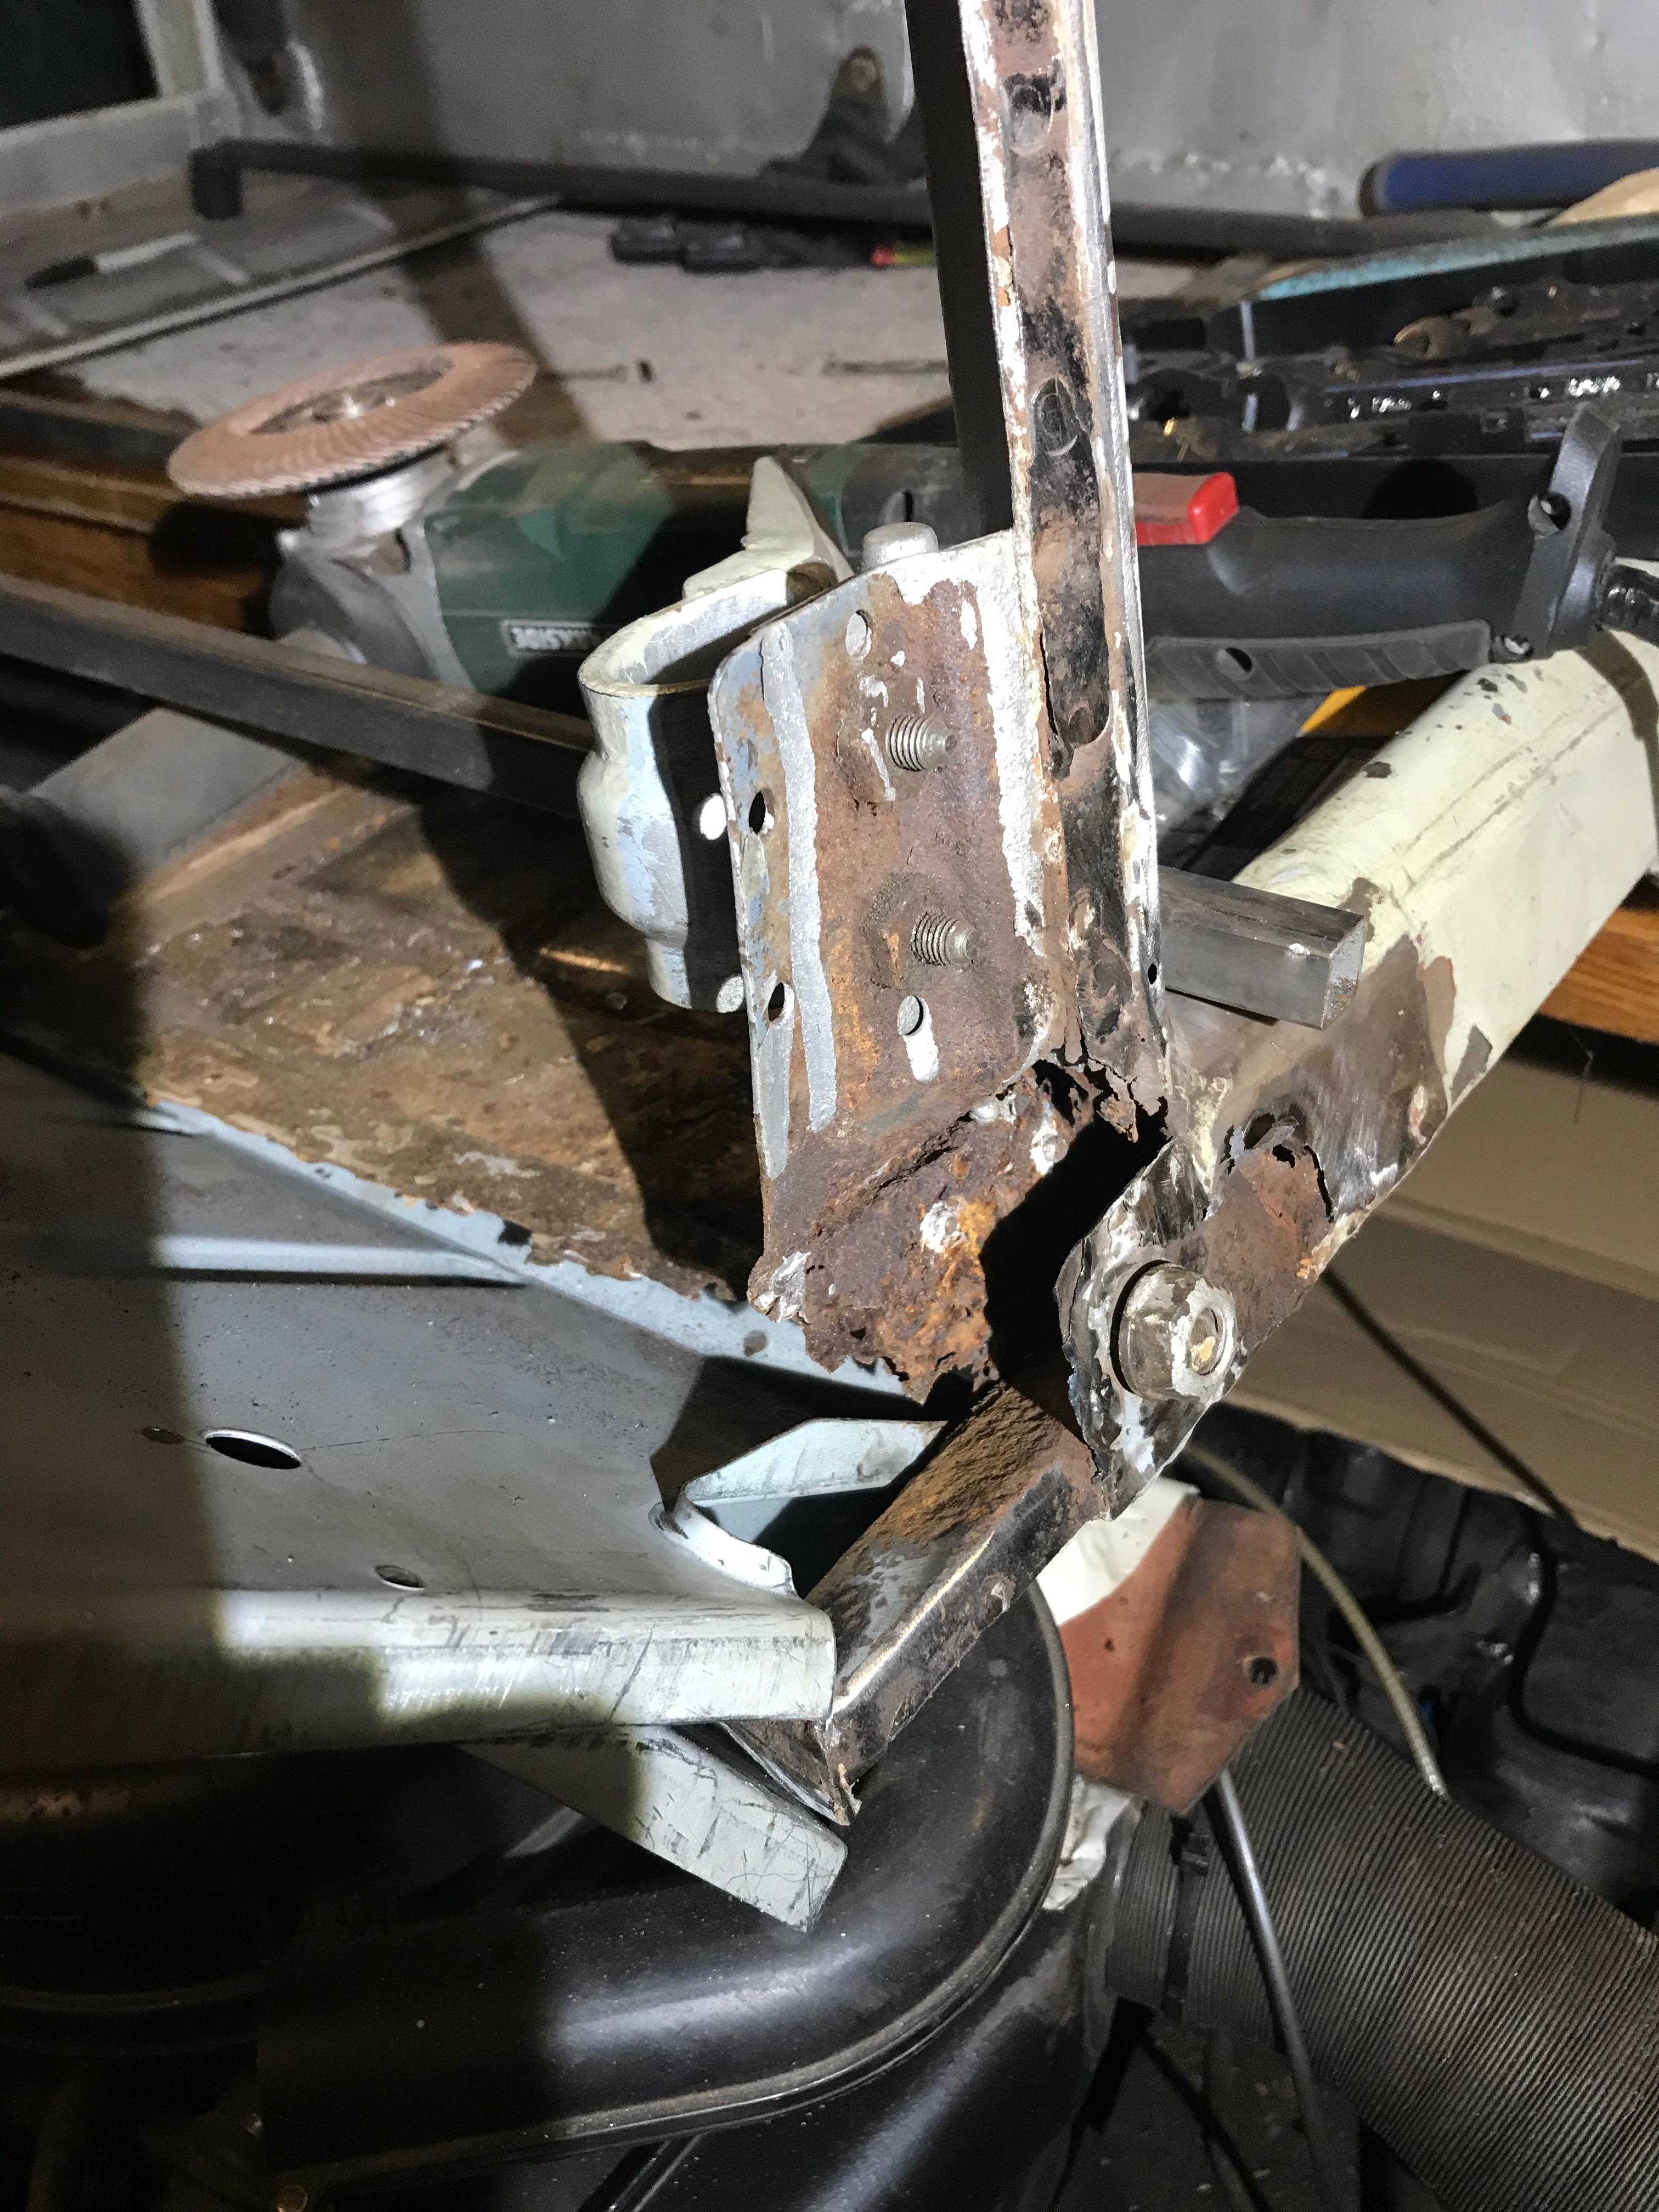
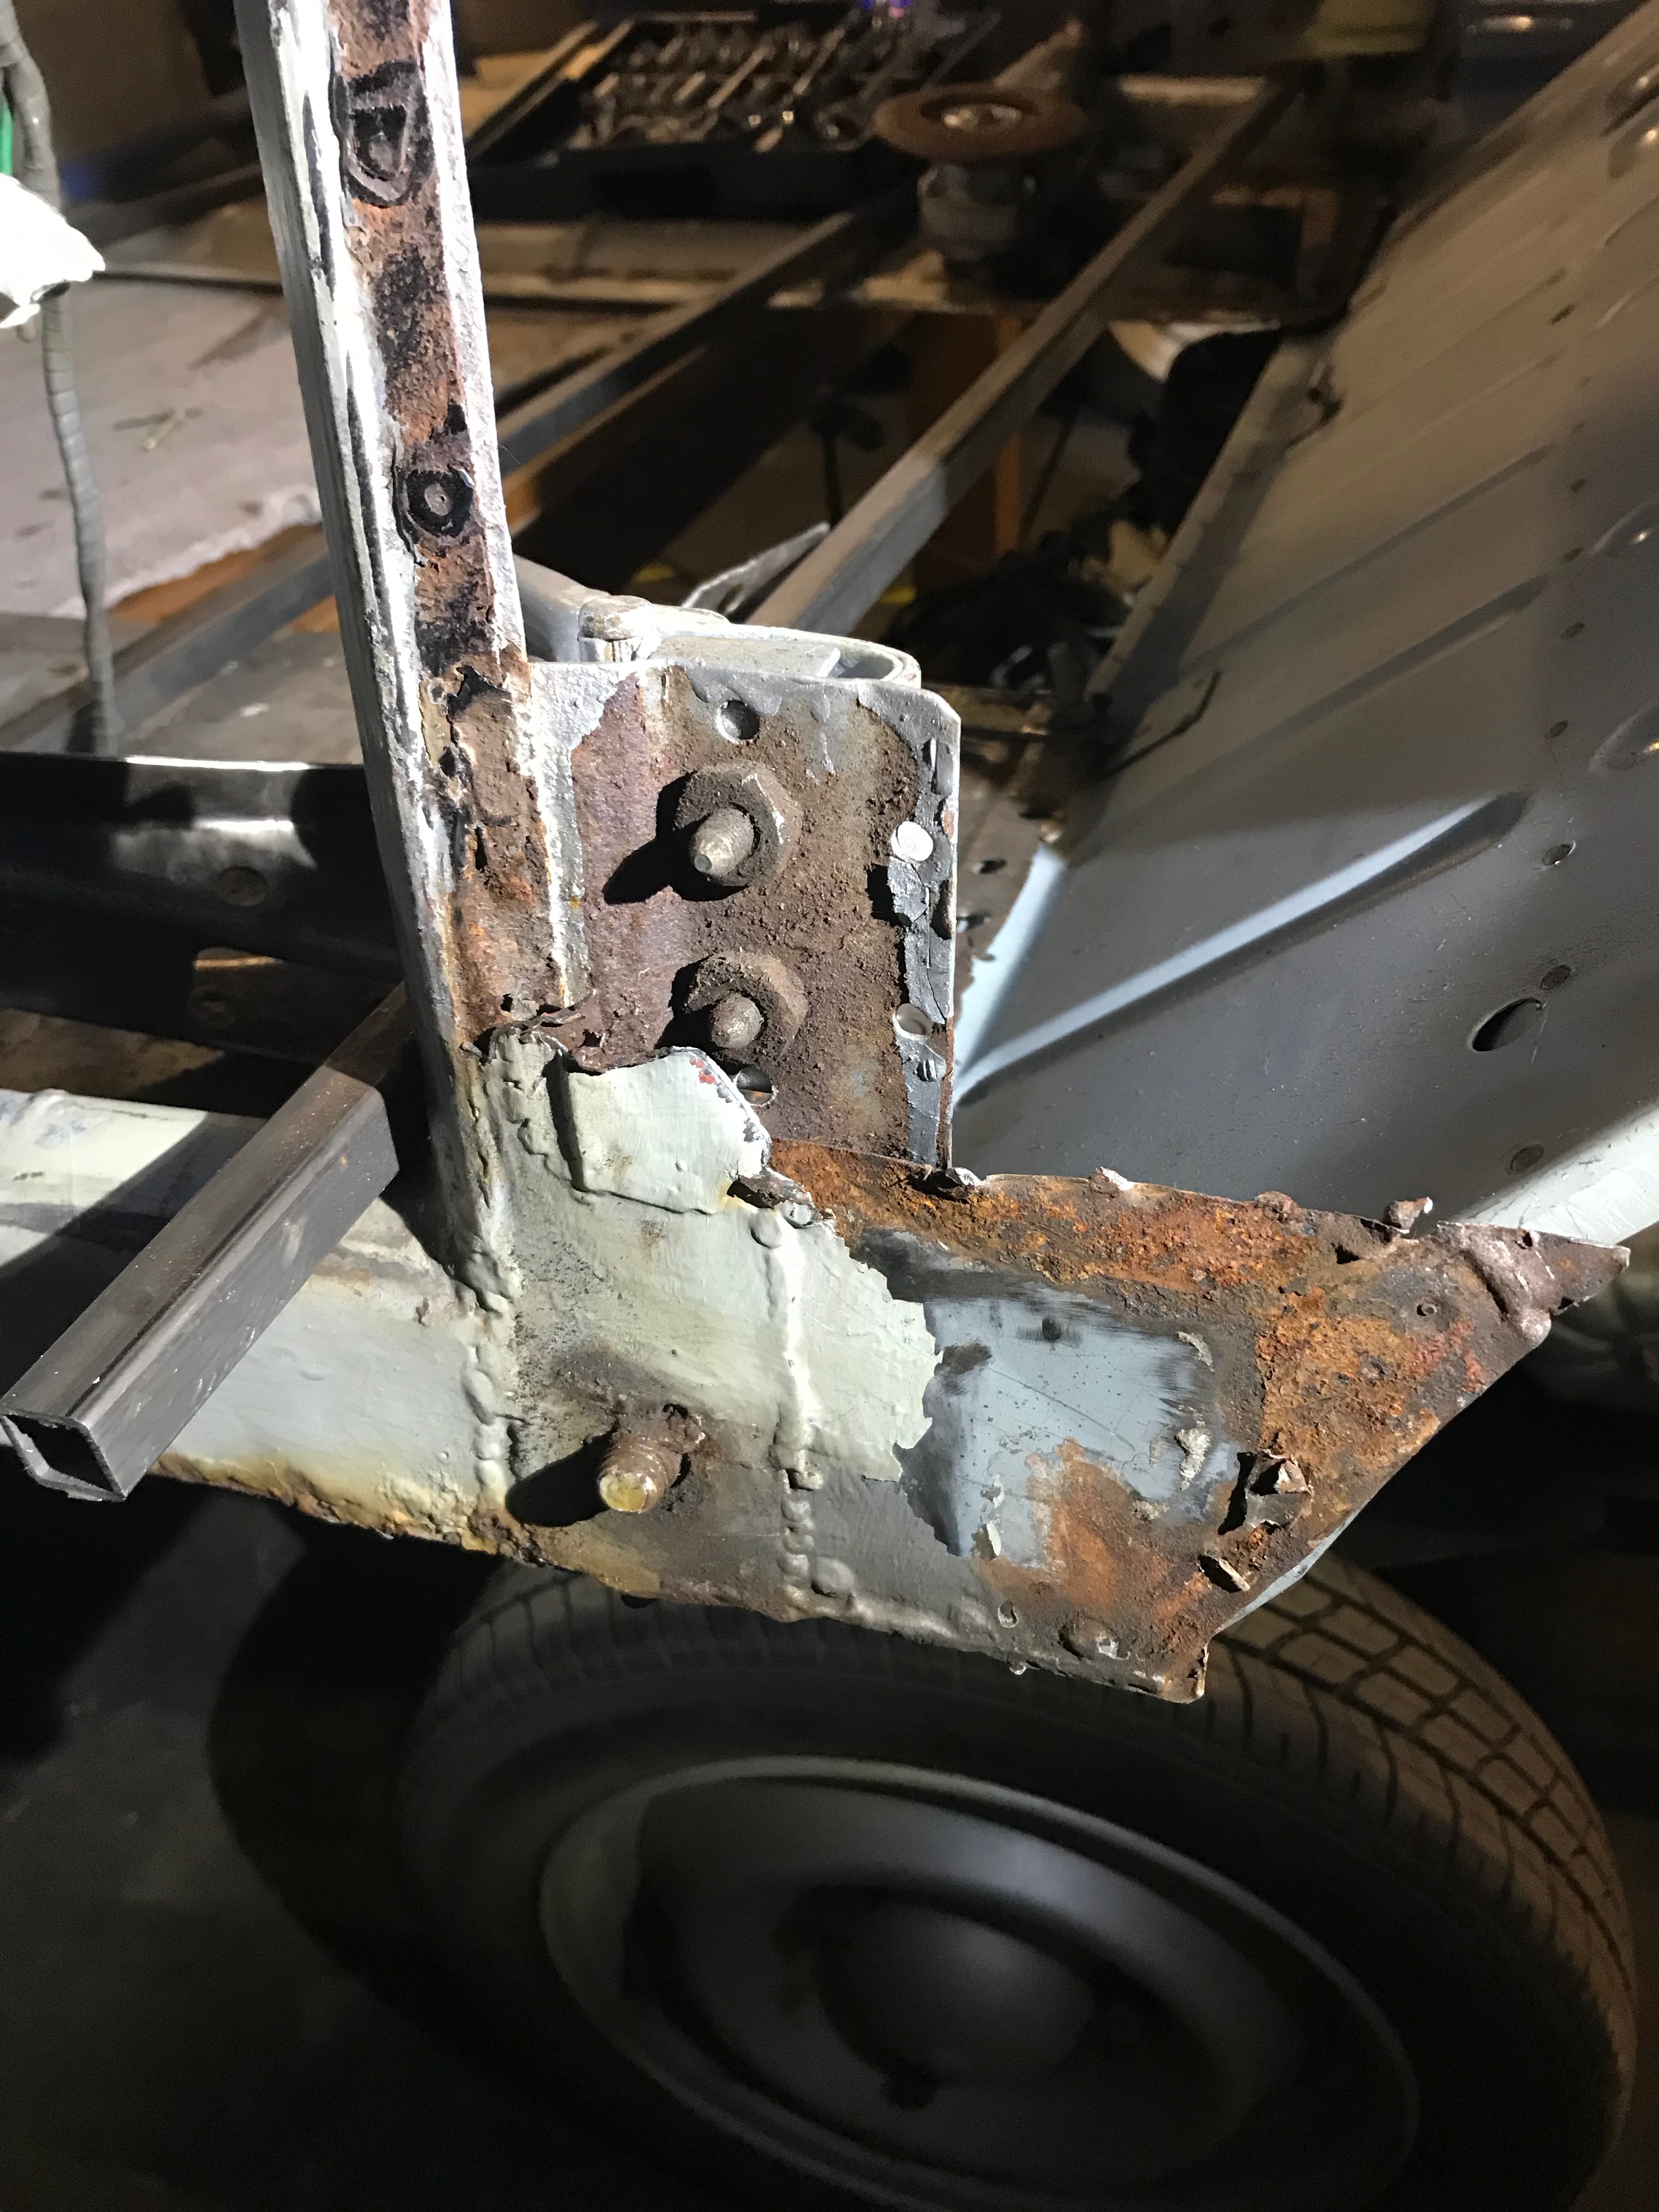

The only conclusion I can make is that ‘suffin hint roite’ as they say in Norfolk, or it wasn’t right to begin with. When the van was last restored, repairs were made to the floors, toe board, A panels and sills. Extra metal was added to the front of the sills (ahead of the wing fixing), to the lower part of the A panels, the front, back and all along the sides of the floors where they meet the sills. So – I think what may have happened is that the A posts were cut away from the sills which were then repaired before the A posts were welded back on again – and that during this process, something might have shifted and it all went a bit pear shaped. The doors don’t fit very well and this is consistent with the A and B posts being out of alignment.
I don’t want to repair the front of the sills by letting in new metal – I probably could get away with it (my welding is not that good), because it won’t be visible, but then I can’t guarantee it will all fit together as I will have lost all of my datum points – or I’ll have to rely on measurements which were incorrect at the outset. Also, it will be a bodge and will therefore bother me ever so slightly whenever I think about it, which is something I can do without.
Plan ‘B’
Here’s the new plan. I’ve ordered a new pair of sills, 2 new floor pans (left and right) and a 400 mm of A post repair section which came with a short length (10cm or so) of ¾ inch tube and 3 of those captive rivet things that have a thread inside for a small machine screw and a single nut, bold and a couple of washers. Does anyone know what these are for?
I already have 2 floor repair panels but the nice people at ECAS said I could send them back for a refund. This might sound like it’s a cop out – and it would be if this part of the van hadn’t been repaired a good many times since leaving the factory. I really don’t have a choice, unless I want to spend days and days cutting and welding in more patches on top of patches.
Oh – and if anyone out there has a 2CV and it’s starting to go a bit crusty round the edges, my advice would be to cut out and replace like for like as opposed to letting in patches or worse, welding patches over existing metal / rust. It might do the job short term but sooner or later, someone is going to have to put it right.
What to do first? I will make a jig out of welded 1cm box section to match the holes on the chassis where the floors are bolted down to and where the centre cross member bolts to the chassis. I can use this jig (frame) to line up the new floors and sills and then trial fit the doors, weld in the A post repair sections and re affix the B posts. It has just occurred to me that I’m going to need some new bottom door hinge brackets – these are welded to the A post and to be brutally honest, they’ve been repaired once already and are not likely to survive another encounter with Mr MIG. Right, better order them..
Once this lot is in, the toe board, bulkhead and A panels can be attached. Then the screen repair can be let in. With the body bolted to the jig, I can be sure that the body will fit back onto the chassis, because all the bolt holes will line up nicely… At some point during this process, I will lose confidence in the jig I have made and will want to put the body back onto the chassis – just to make sure.
The biggest obstacle to progress will be committing to actually welding, as opposed to a few weedy tacks here and there. I think I’ll trial fit everything first with self tapping screws.
There, I’ve summed up in a couple of paragraphs, what will surely be weeks’ worth of work and head scratching.
